Moto Guzzi V700, V7 Special, Ambassador, 850 GT, 850 GT California, Eldorado, and 850 California Police models
Created:
Updated:
I took these photos while assemblying the rear drum brake for my Moto Guzzi Ambassador2.
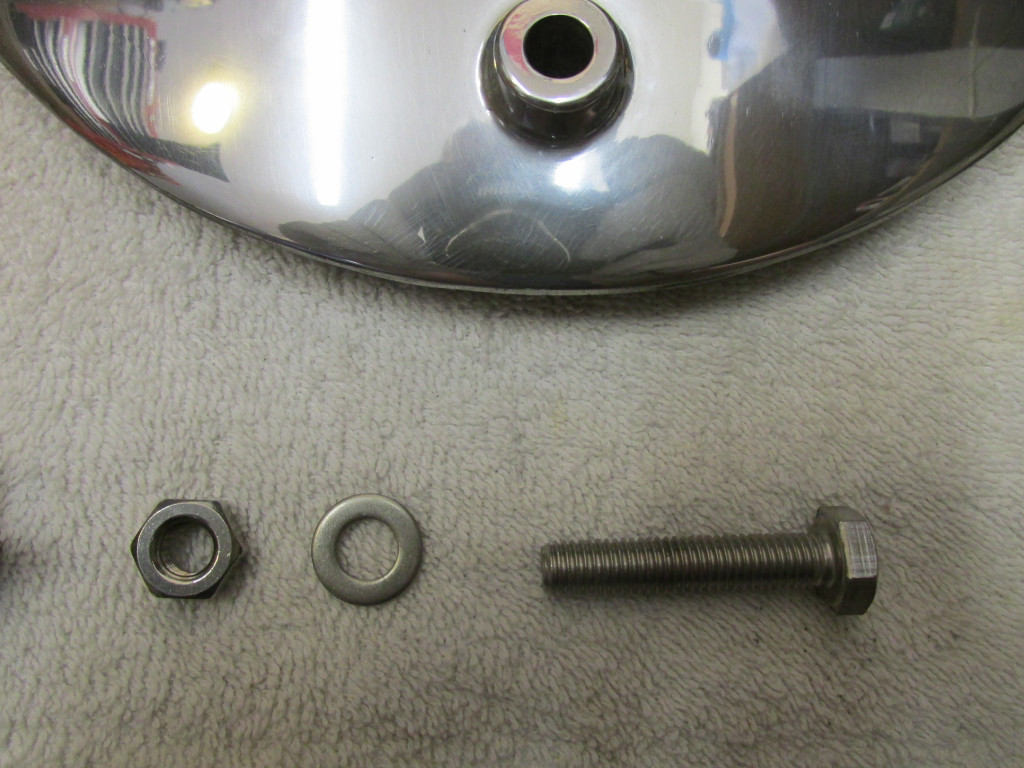
Here are the basic components.
Photo courtesy of Gregory Bender.
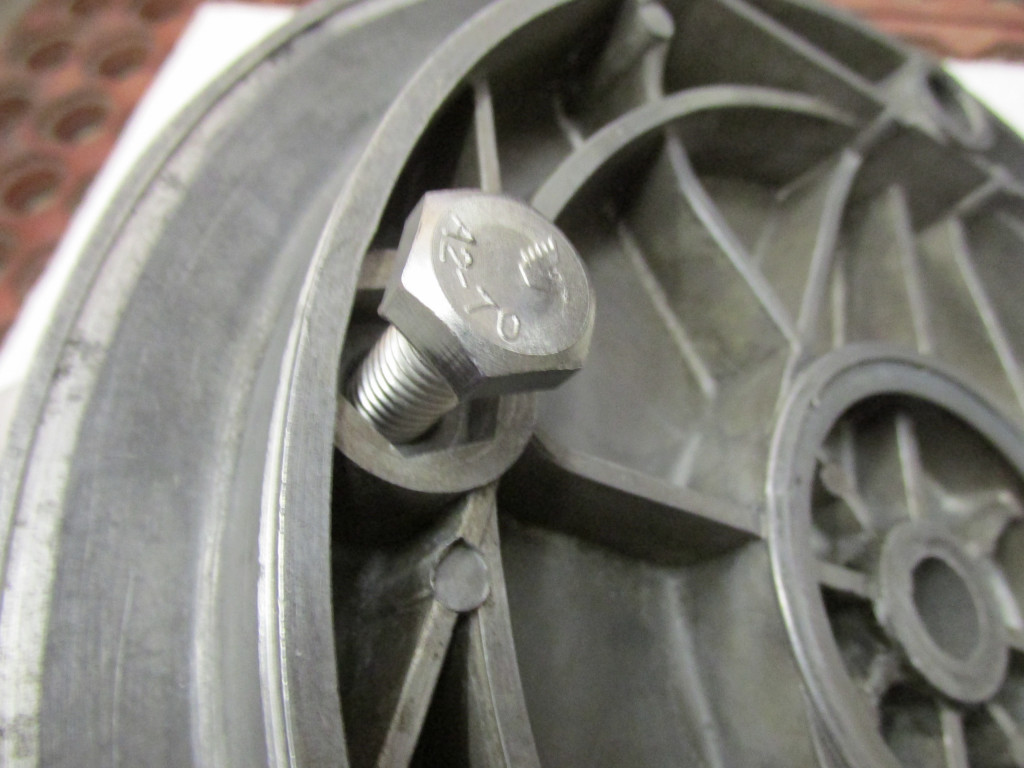
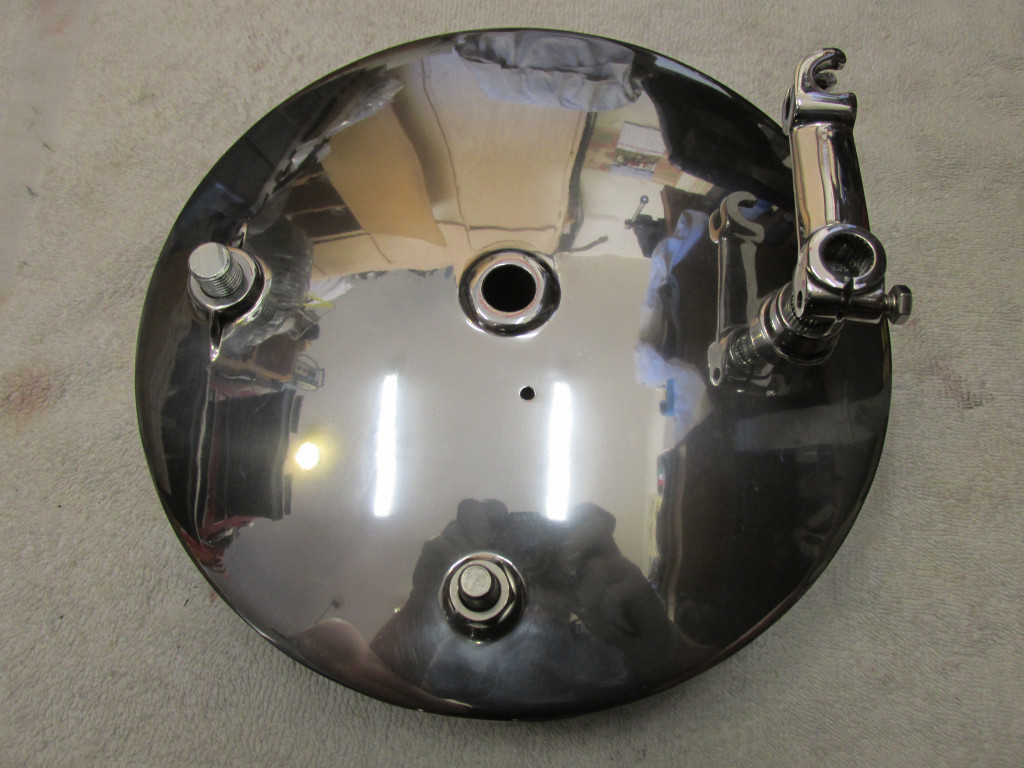
I start by fitting the bolt that secures the rear brake stay to the rear brake plate.
Photo courtesy of Gregory Bender.
Slide it through from the inside of the brake plate.
Photo courtesy of Gregory Bender.
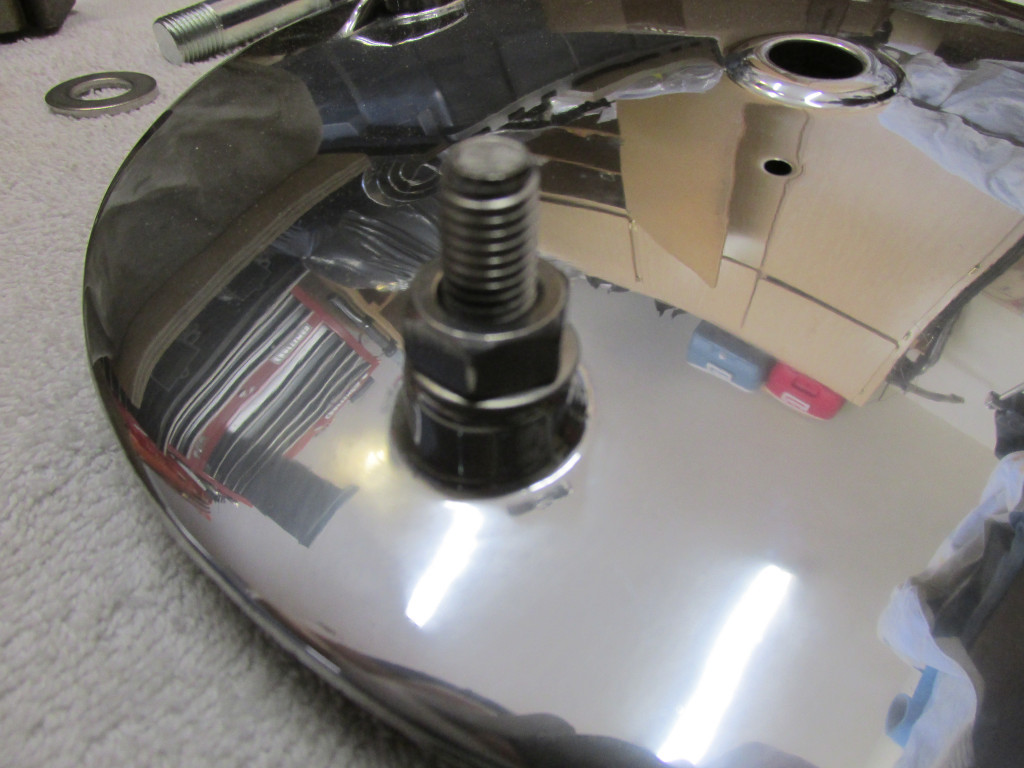
Then secure in place with a flat washer and nut.
Photo courtesy of Gregory Bender.
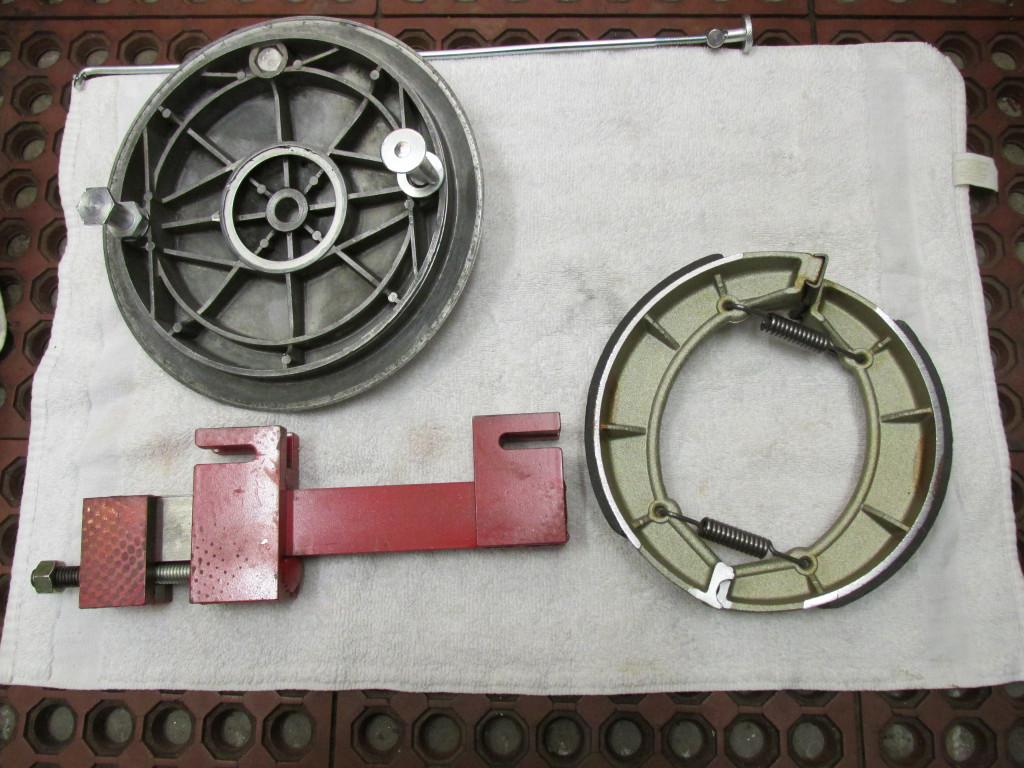
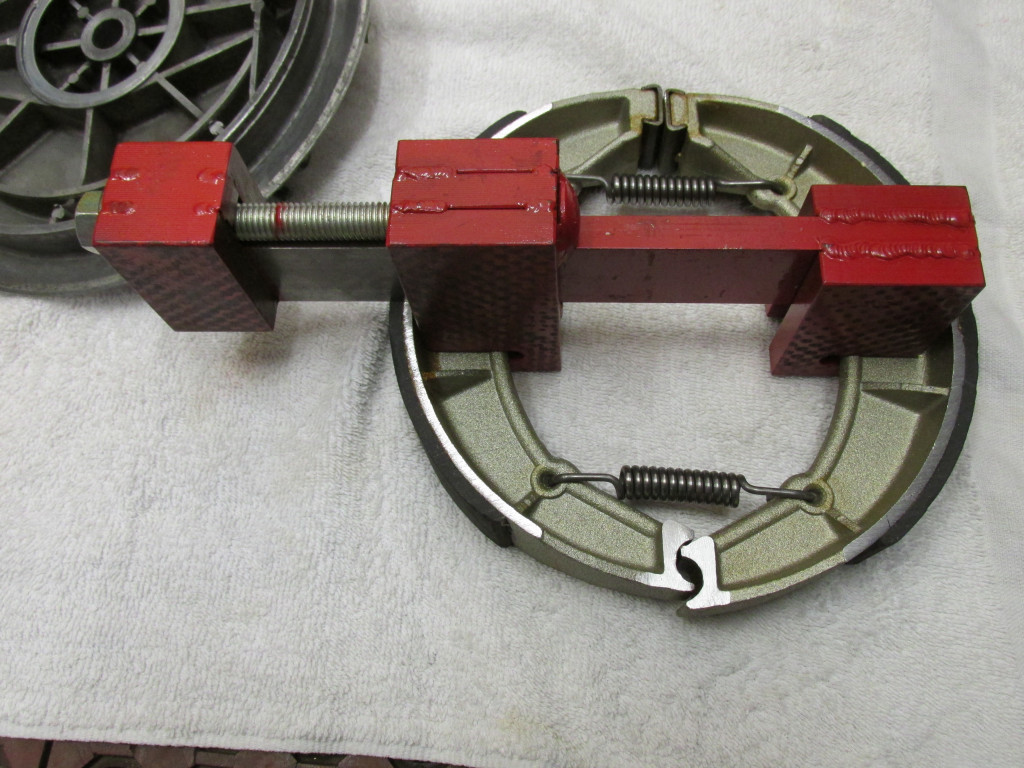
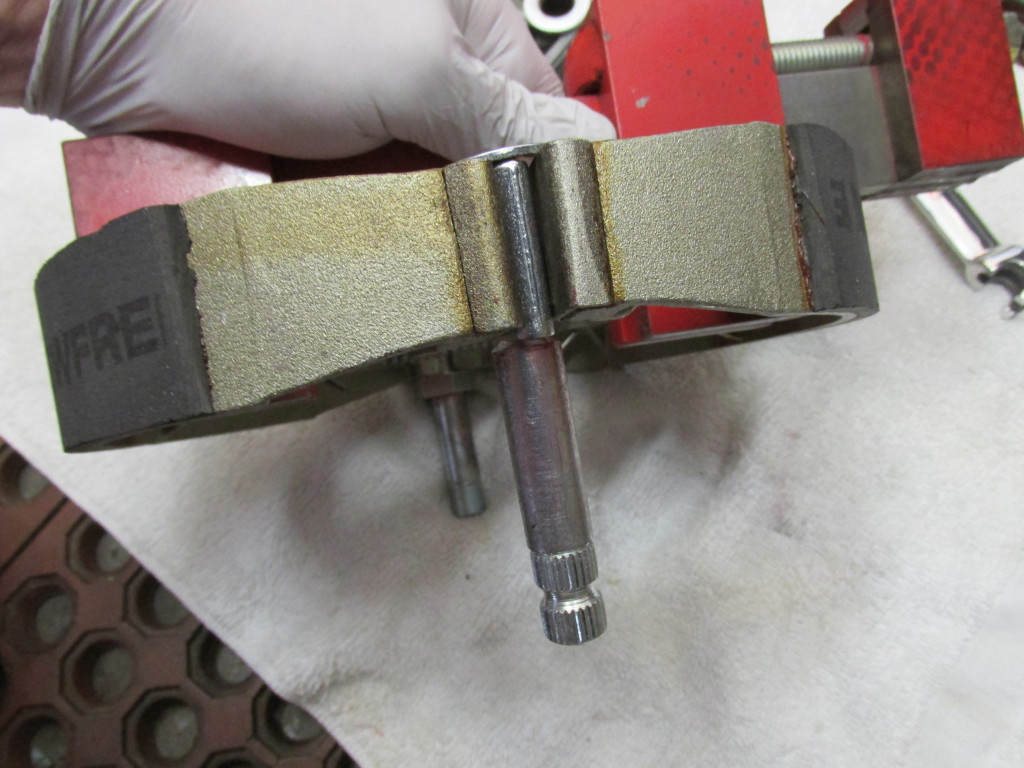
The pivots are shown in the brake plate. I test fit them to make sure they fit properly. Then I remove the pivots from the brake plate to install them in conjunction with the brake shoes and springs - as a complete assembly. While it is possible to spread the shoes wide enough to clear the larger diameter top of the pivots, I find this stretches the springs more than I'd like. It is easier to assemble the pivots and shoes as a complete assembly.
Photo courtesy of Gregory Bender.
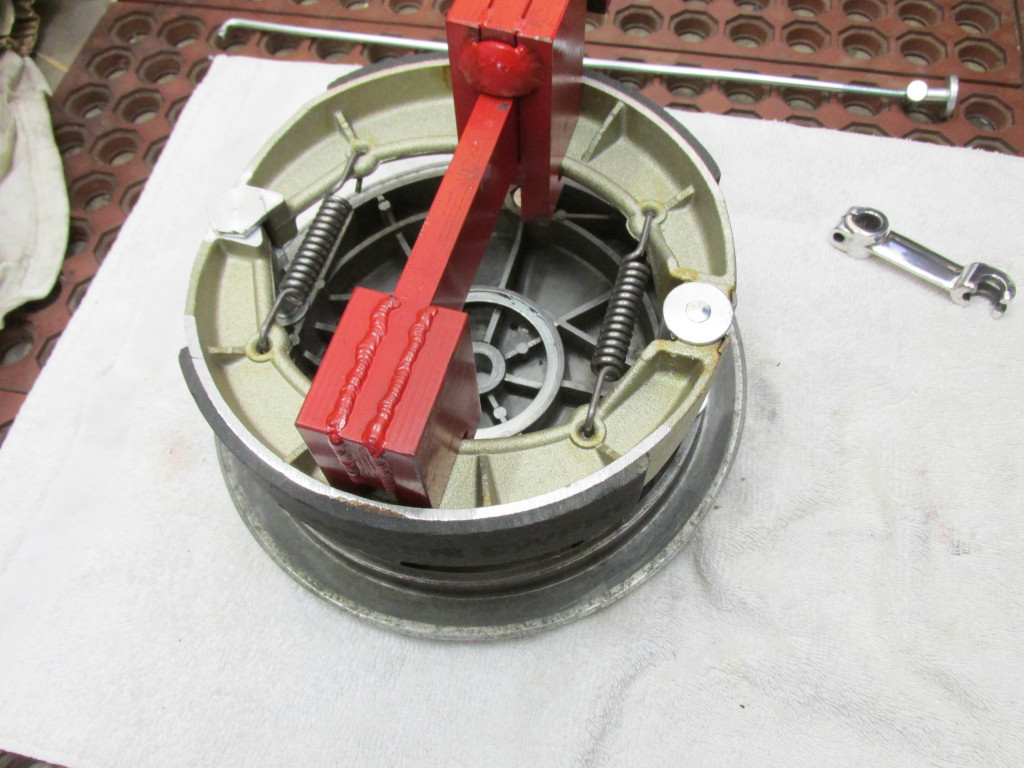
Here is Stephen Brenton's excellent brake shoe spreader tool in place. Please note the orientation of the springs. The open ends of the springs facing down/away from the wheel hub to avoid any risk of them spreading wide and coming into contact with the rotating wheel.
Photo courtesy of Gregory Bender.
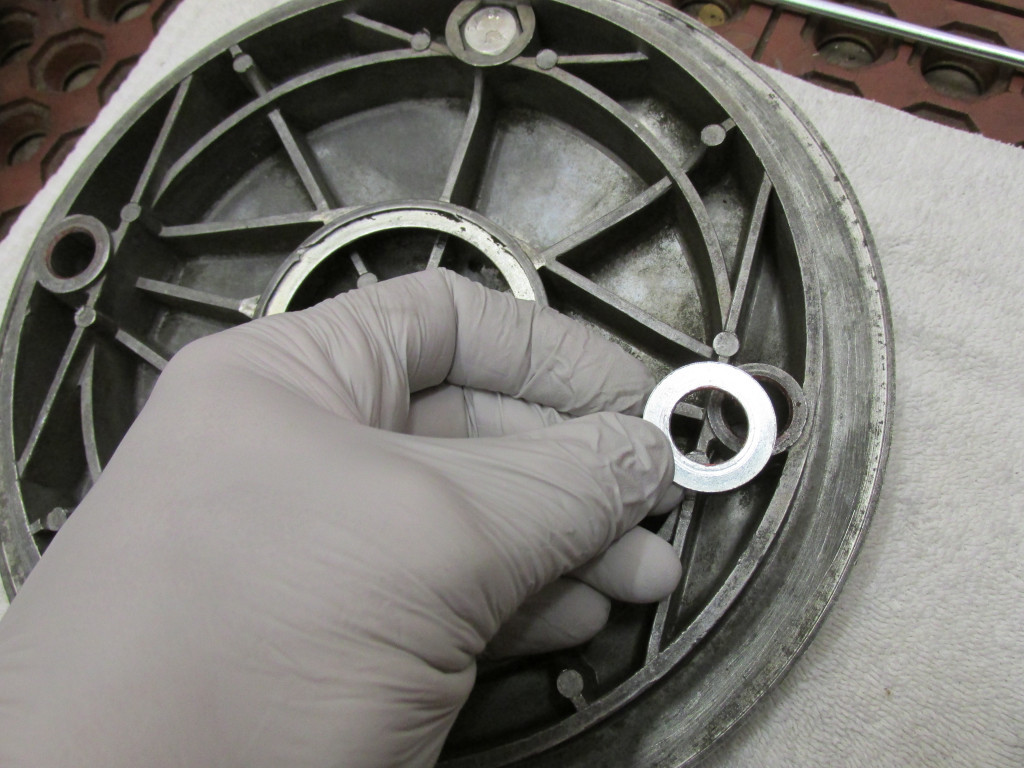
Make sure to place the flat washer in place on the pivot that rotates within the brake plate.
Photo courtesy of Gregory Bender.
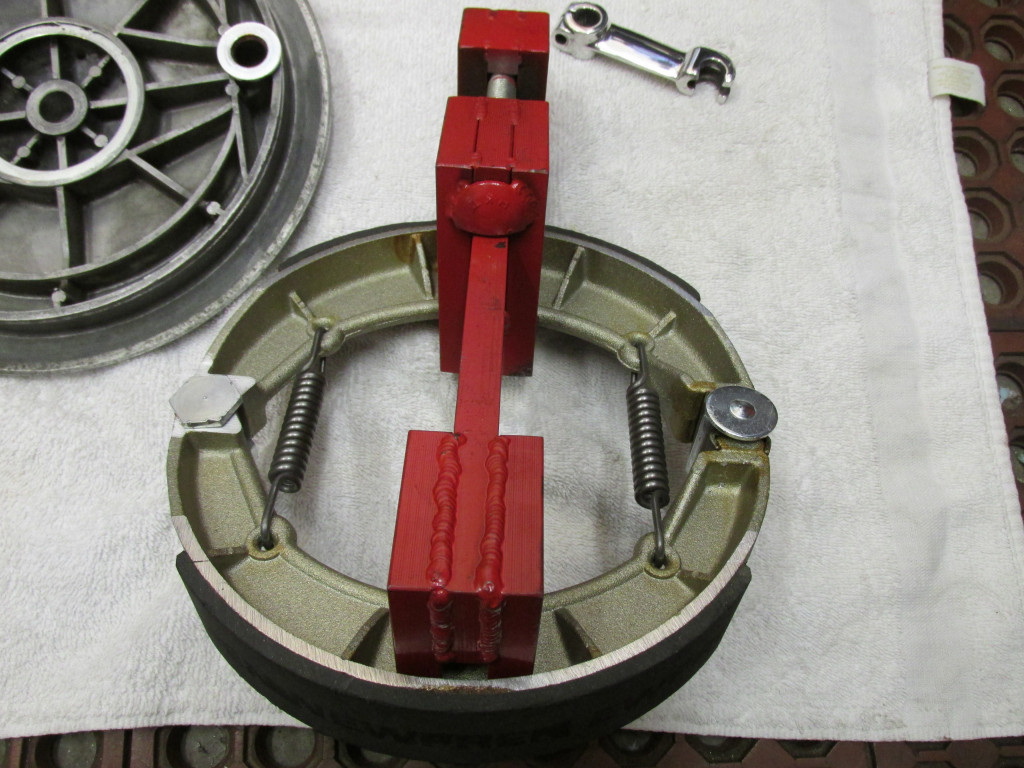
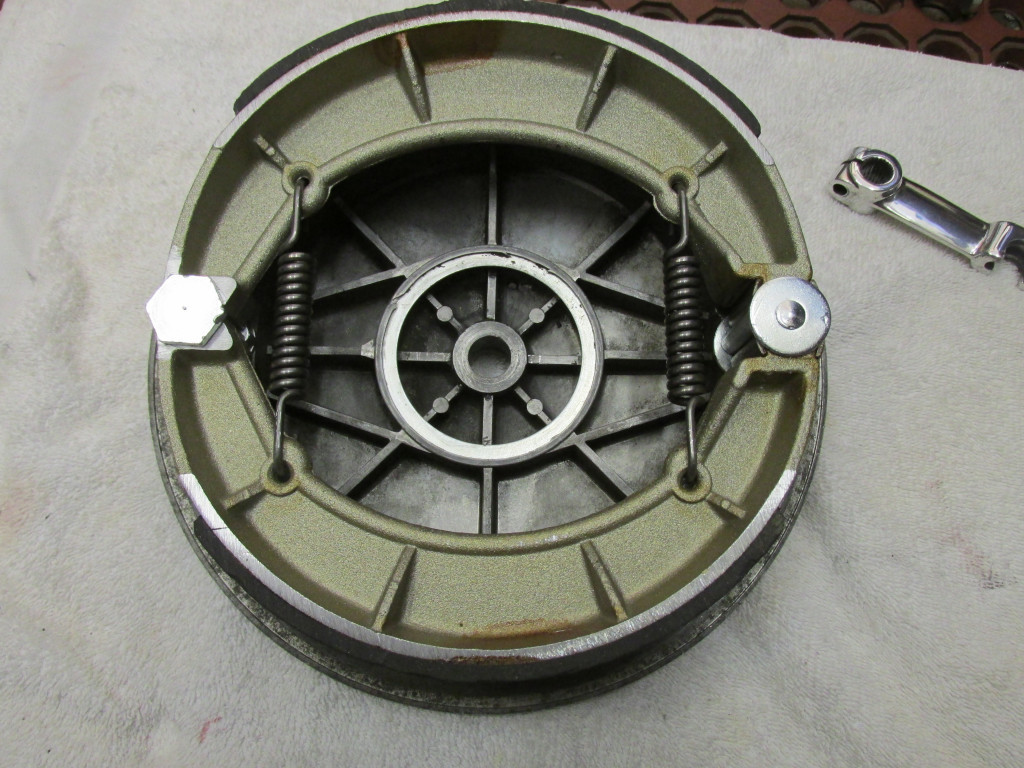
With the brake shoes spread just enough, I've fit the pivots in place.
Photo courtesy of Gregory Bender.
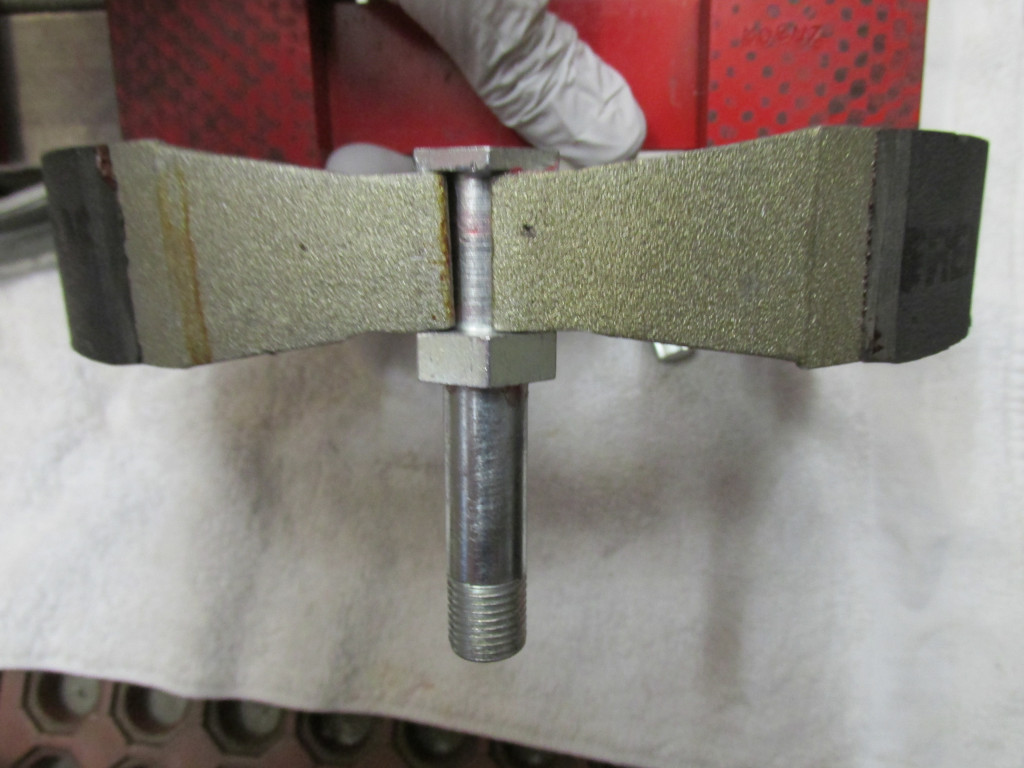
This is the front pivot. It does not rotate within the brake plate. Instead, the brake shoes rotate around it. Apply a light coating of grease both to the portion that fits between the brake shoes AND the shaft that fits through the rear brake plate.
Photo courtesy of Gregory Bender.
This is the rear pivot. It rotates within the brake plate. Apply a light coating of grease both to the portion that fits between the brake shoes AND the shaft that rotates within the rear brake plate.
Photo courtesy of Gregory Bender.
Slide the complete assembly through the holes in the brake plate. Pay attention to the orientation. The splined pivot/shaft must be the rear shaft when fit to the motorcycle.