Clutch adjustment
Moto Guzzi V700, V7 Special, Ambassador, 850 GT, 850 GT California, Eldorado, and 850 California Police models
Properly ajdusting the clutch involves three separate operations as described below. Before adjusting anything, it is a very good idea to completely remove the cable from the motorcycle, inspect it for wear and lubricate. Damaged cables with unraveling sheathing or frayed wires should be tossed in the trash; a satisfactory clutch adjustment cannot be achieved with a poor cable.
With the cable installed, begin the adjustment by making sure that the adjuster at the handlebar is fully screwed in AND that the cable adjuster at the side of the transmission is adjusted fully screwed in. That is, the adjuster at the handlebar lever and the cable adjuster at the side of the transmission should be in their loosest
setting. With the cable fully loose, proceed as follows:
- Begin by adjusting the pivoting lever at the rear of the transmission (this is the lever to which the cable barrel is fit). This lever has a built in adjustment screw and lock nut. Adjust this lever such that it is pivoted as far away from the back of the transmission as possible. It should not be rubbing against anything else, but get it positioned as far back as you can. This is the most difficult adjustment to make, yet it is the most critical. Take your time to get it right. Sometimes this is most easily accomplished with the motorcycle on the center stand, other times the side stand will give you better access. I toss an old blanket on the floor, grab a good light, and get after it. Note: Some early 4 speed transmissions lacked an adjustable screw altogether. Skip to step two if yours is so equipped.

Clutch pivoting lever adjustment at the rear of a transmission on a Moto Guzzi Eldorado. Photo courtesy of Moto Guzzi.
- Next, use the cable adjuster at the side of the transmission (the adjuster built into the cable itself) to take the majority of the free play out of the cable.
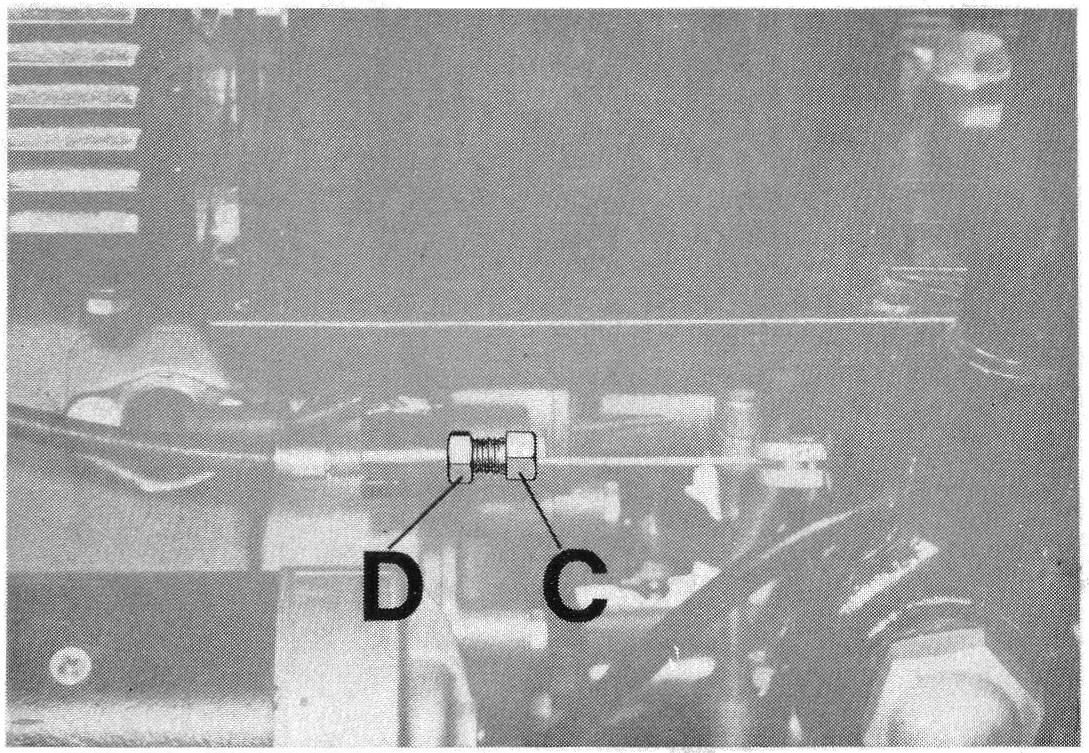
Cable adjustment on a Moto Guzzi V700. Photo courtesy of Moto Guzzi.
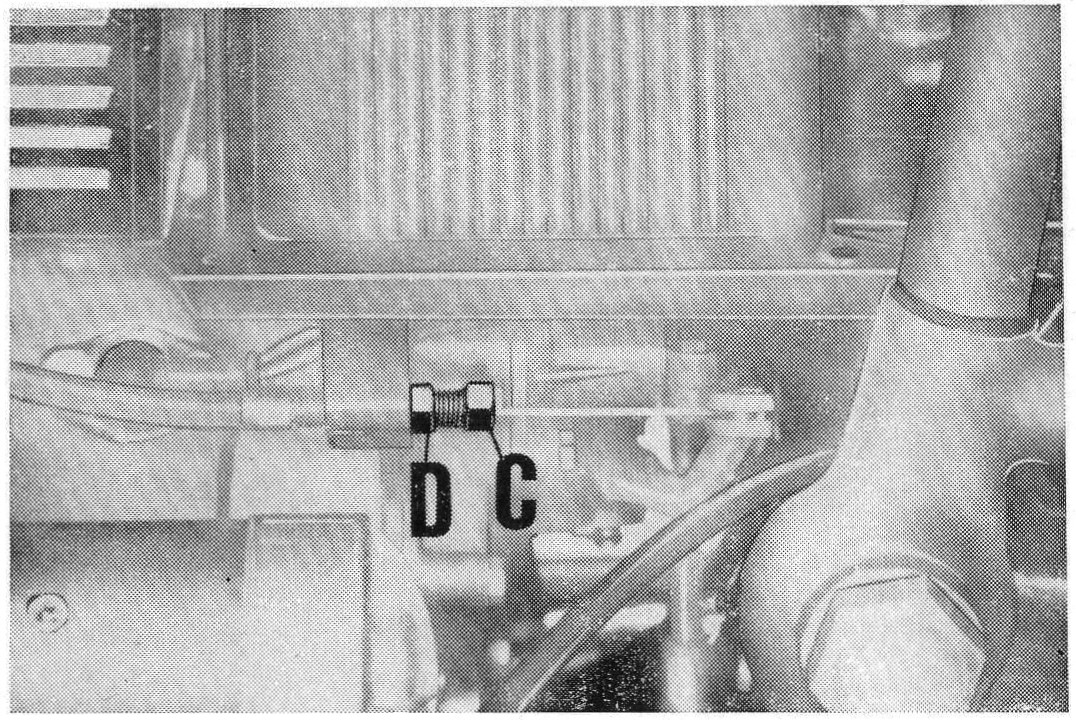
Cable adjustment on a Moto Guzzi Ambassador. Photo courtesy of Moto Guzzi.
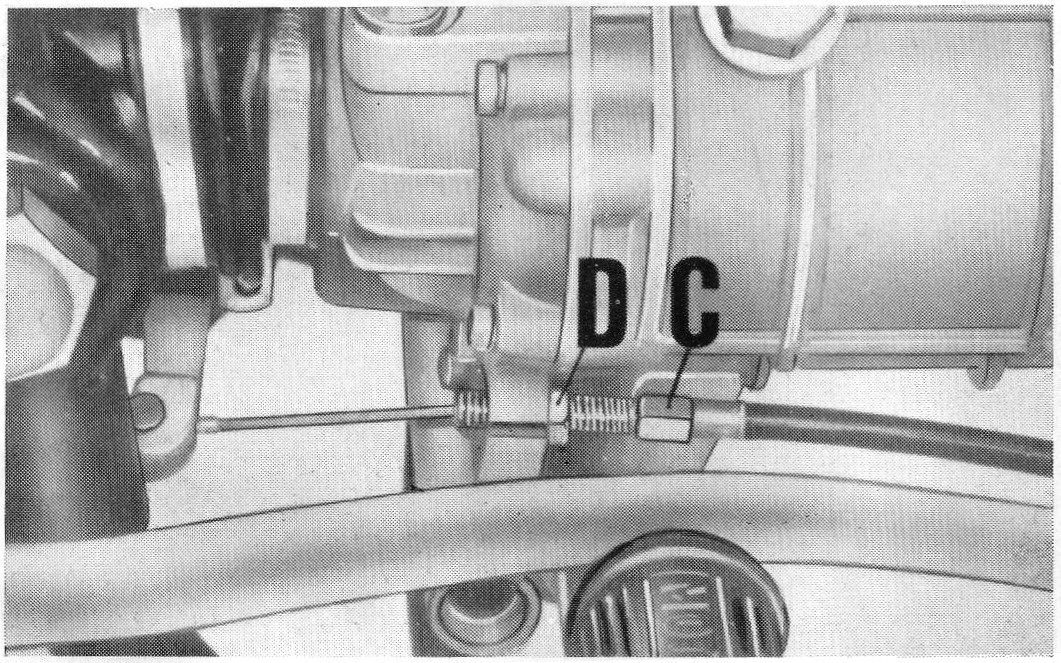
Cable adjustment on a Moto Guzzi Eldorado. Photo courtesy of Moto Guzzi.
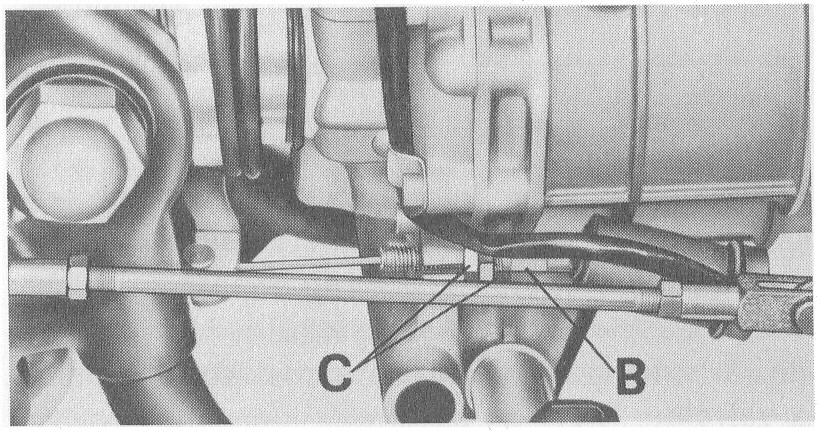
Cable adjustment on a Moto Guzzi 850 GT. Photo courtesy of Moto Guzzi.
- Finally, use the adjuster at the handlebar lever to fine-tune the last little bit of adjustment. When the handlebar lever pivots, there should be 4 mm (~1⁄8 inch) of cable free play (measured as shown below) before the cable begins disengaging the clutch. It is very important to ensure that there is 4 mm (~1⁄8 inch) of cable free play. Without the free play, the cable will keep the throw out bearing in constant motion and, the throw out bearing is not designed to handle constant movement...only occassional movement when the gears are being changed in the transmission.
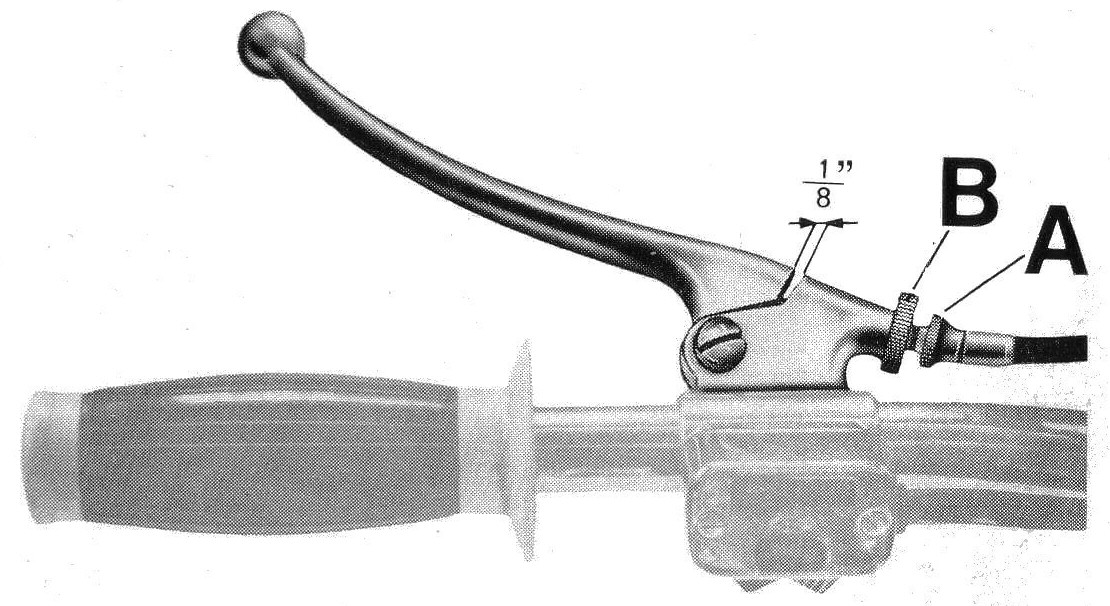
Handlebar lever adjustment and free play on a Moto Guzzi V700. Photo courtesy of Moto Guzzi.
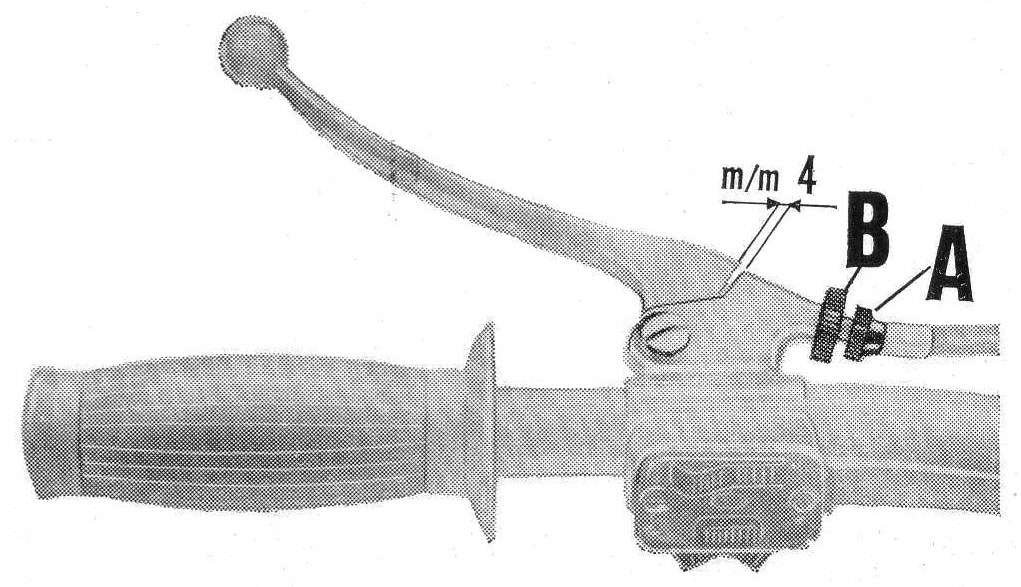
Handlebar lever adjustment and free play on a Moto Guzzi Ambassador. Photo courtesy of Moto Guzzi.
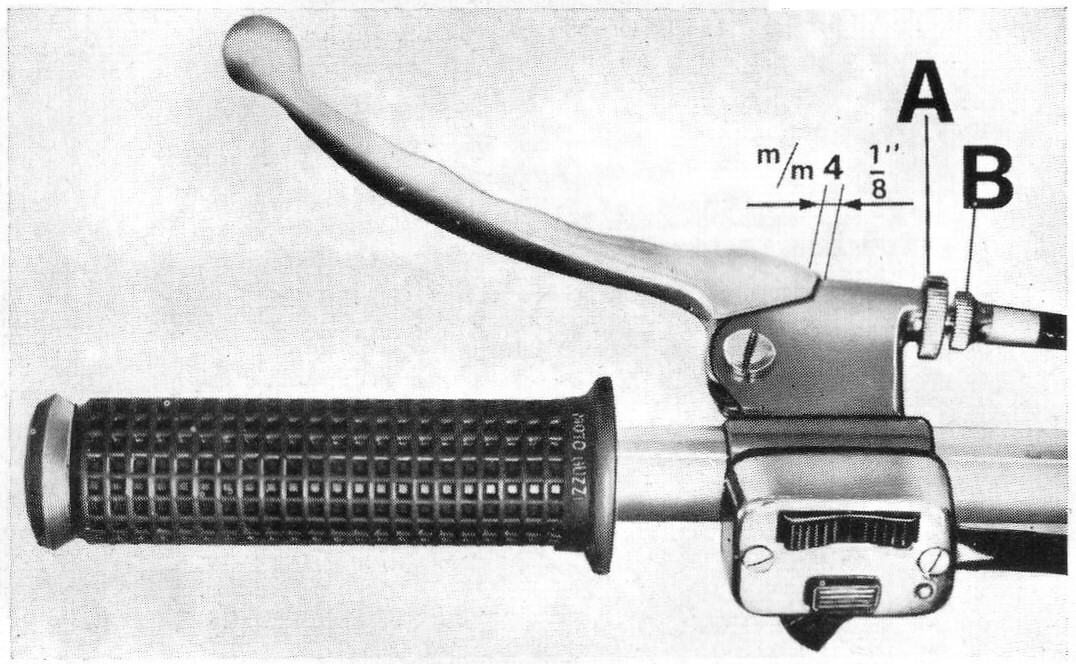
Handlebar lever adjustment and free play on a Moto Guzzi Eldorado. Photo courtesy of Moto Guzzi.
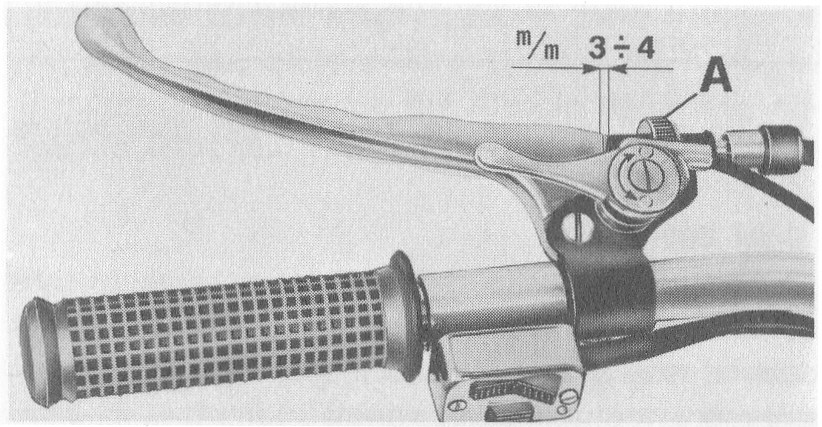
Handlebar lever adjustment and free play on a Moto Guzzi 850 GT. Photo courtesy of Moto Guzzi.