Moto Guzzi V700, V7 Special, Ambassador, 850 GT, 850 GT California, Eldorado, and 850 California Police models
Created:
Updated:
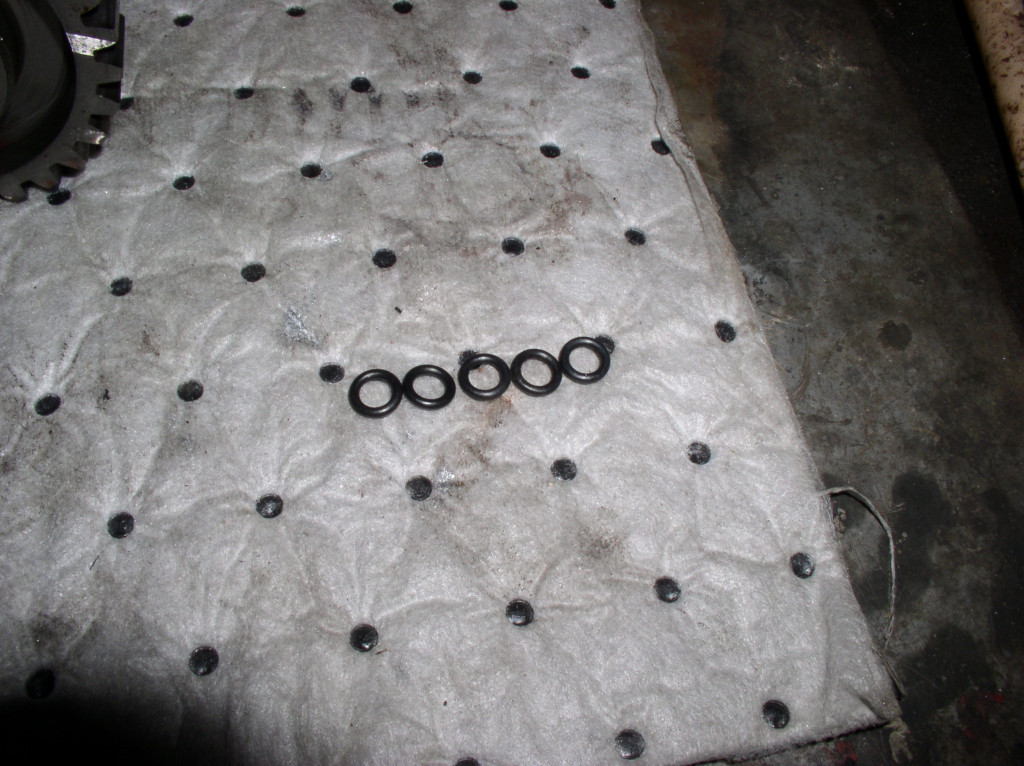
Moto International [now out of business] used to sell an O-ring kit that replaces the original conically shaped seals (O-ring specifications). I prefer the use of O-rings to the conically shaped seals and I choose to install them on all of my transmissions. While Moto International included written instructions with their O-ring kit, I've included my abbreviated instructions here, too:
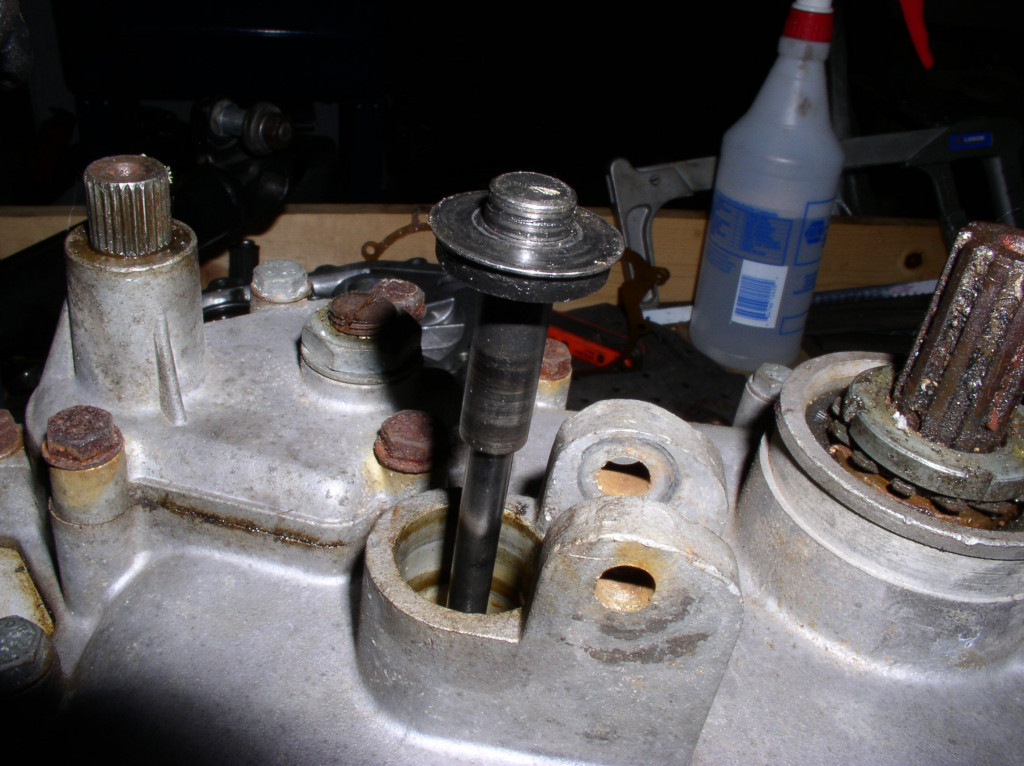
With the transmission out of the bike, insert a #1 Phillips screwdriver into the clutch push rod tunnel at the front of the transmission and then set the transmission upright on its bellhousing end. This pushes the clutch push rod out the back a bit and keeps it from moving during O-ring installation (the inner body, outer body, and throw out bearing will also be pushed out when you do this, so be ready to catch them). This step is not necessary, but makes life easier. The O-rings may be installed with the transmission installed in the motorcycle (with greater difficulty).
Lube all O-rings with grease.
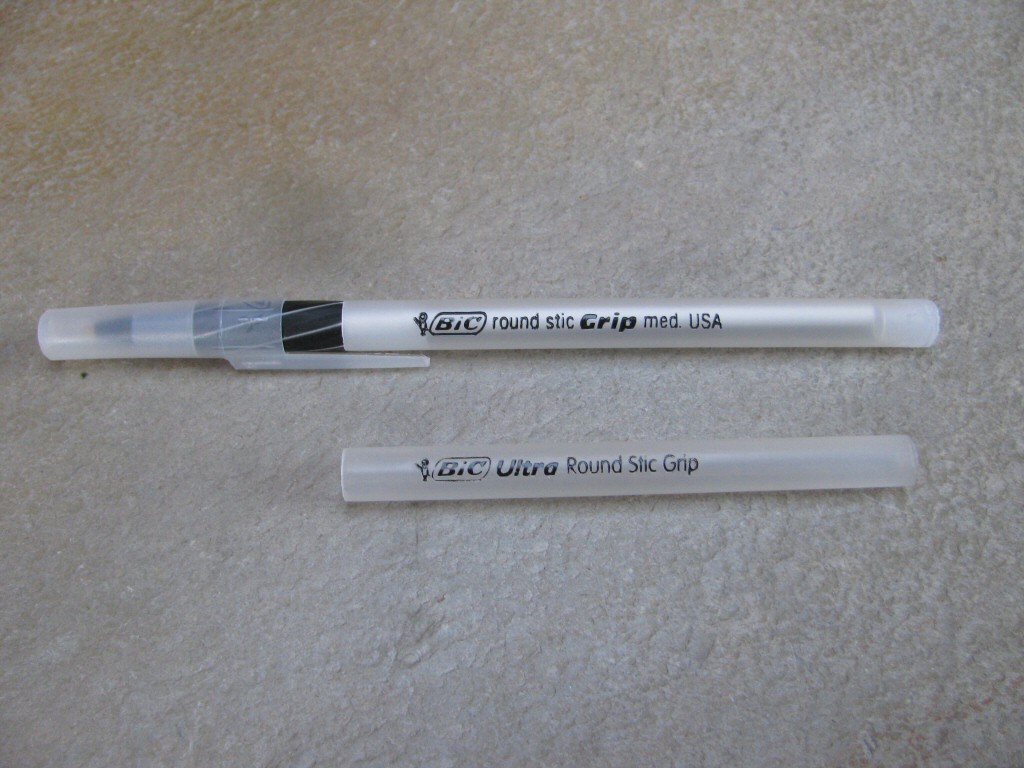
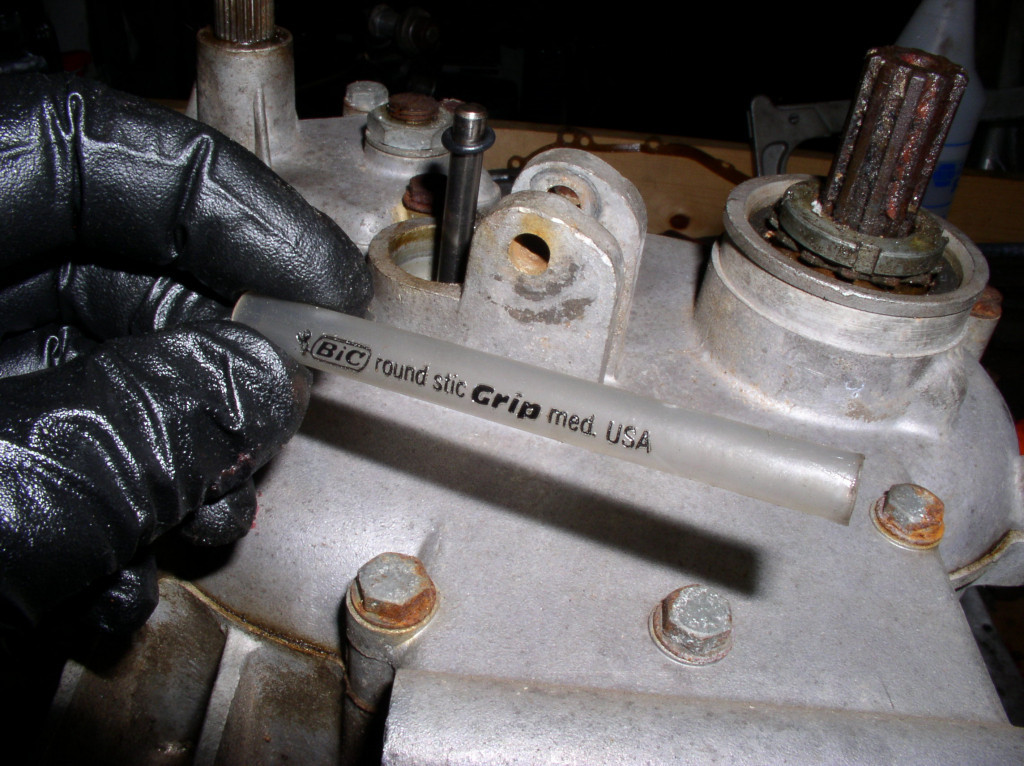
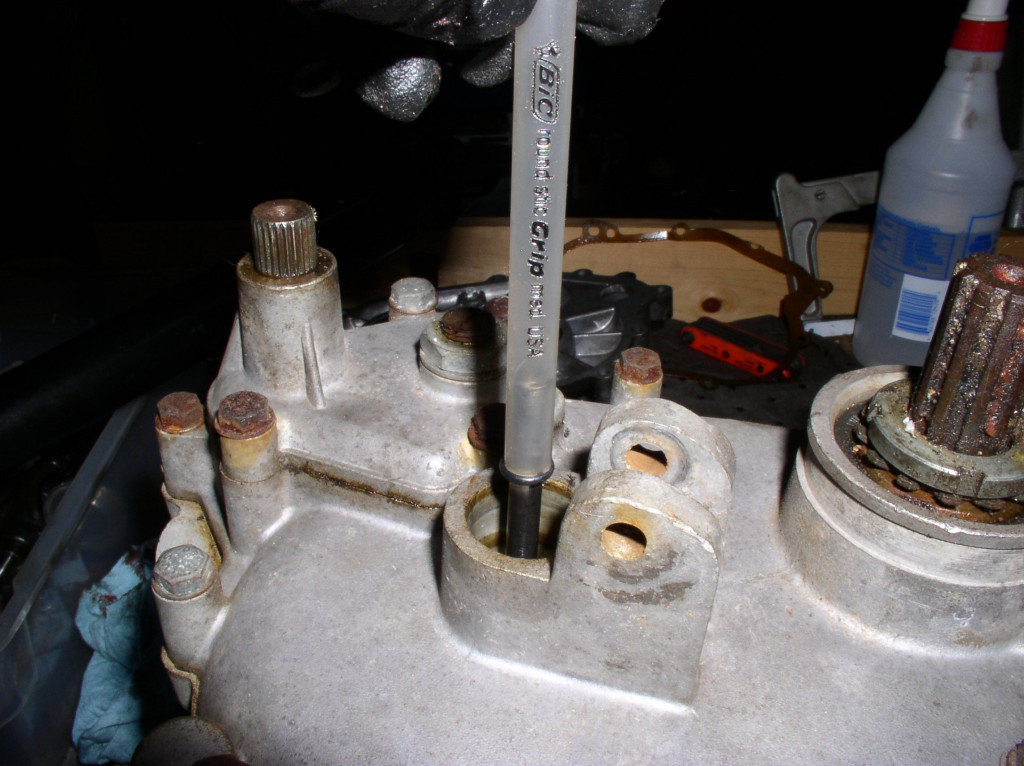
Install each O-ring individually. Place it on the clutch push rod and slide it down. Use the shaft from a Bic Round Stic Grip writing pen to push the O-ring into place. Remove the Bic Round Stic Grip special tool, place another O-ring on the clutch push rod and repeat. Do this for four to six O-rings, depending on how many will fit with your particular transmission.
Note: Once complete, removal of the clutch push rod will necessitate that you pluck out the O-rings and install them again (so don't do that).
Bic Round Stic Grip special tool.
Photo courtesy of Gregory Bender.
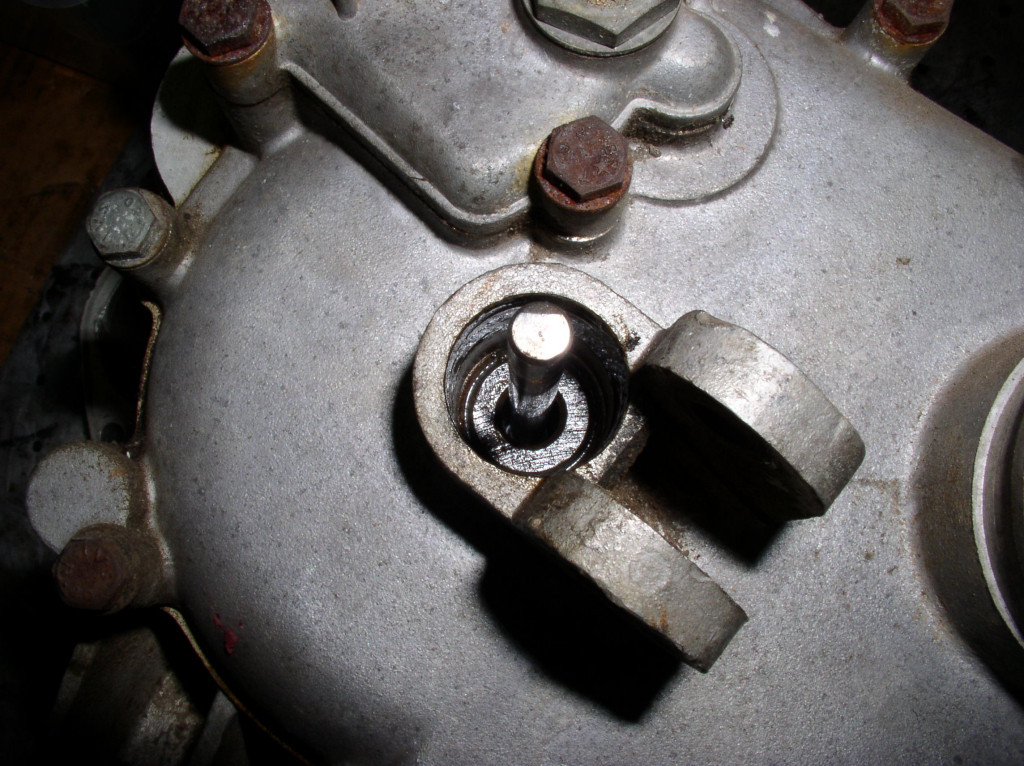
Thanks to Charlie Mullendore of Antietam Classic Cycle for providing this additional information and photos. In Charlie's own words:
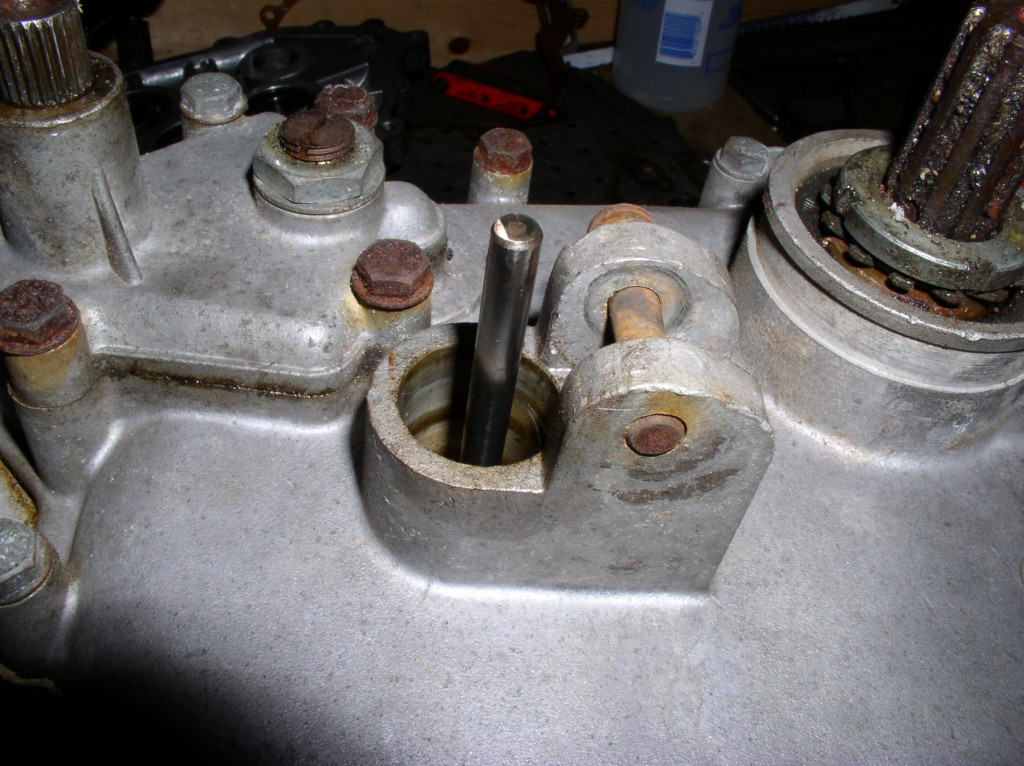
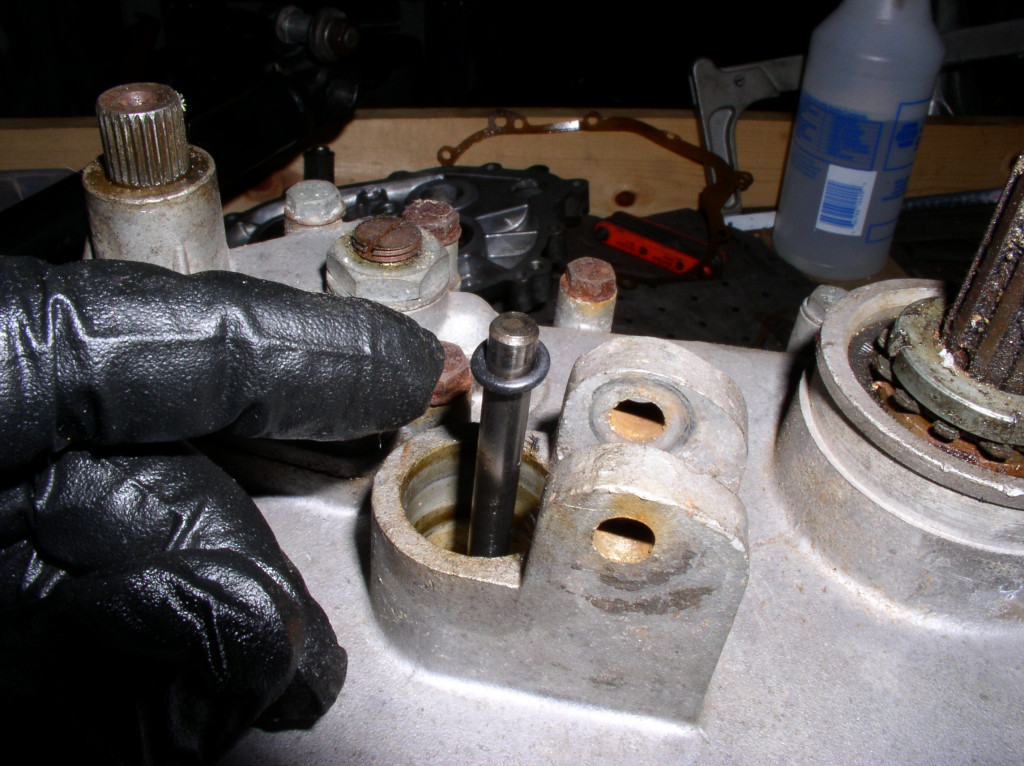
Insert an 6 mm × 50 mm (or so) bolt into the front of the transmission.