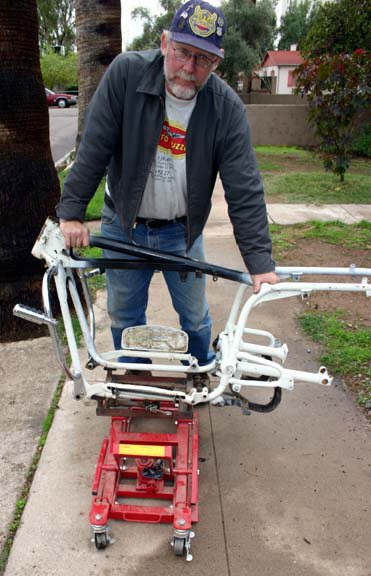
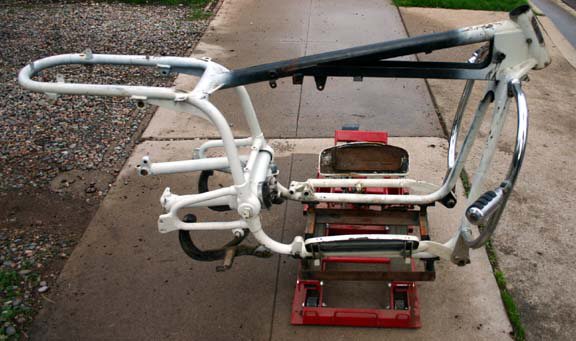
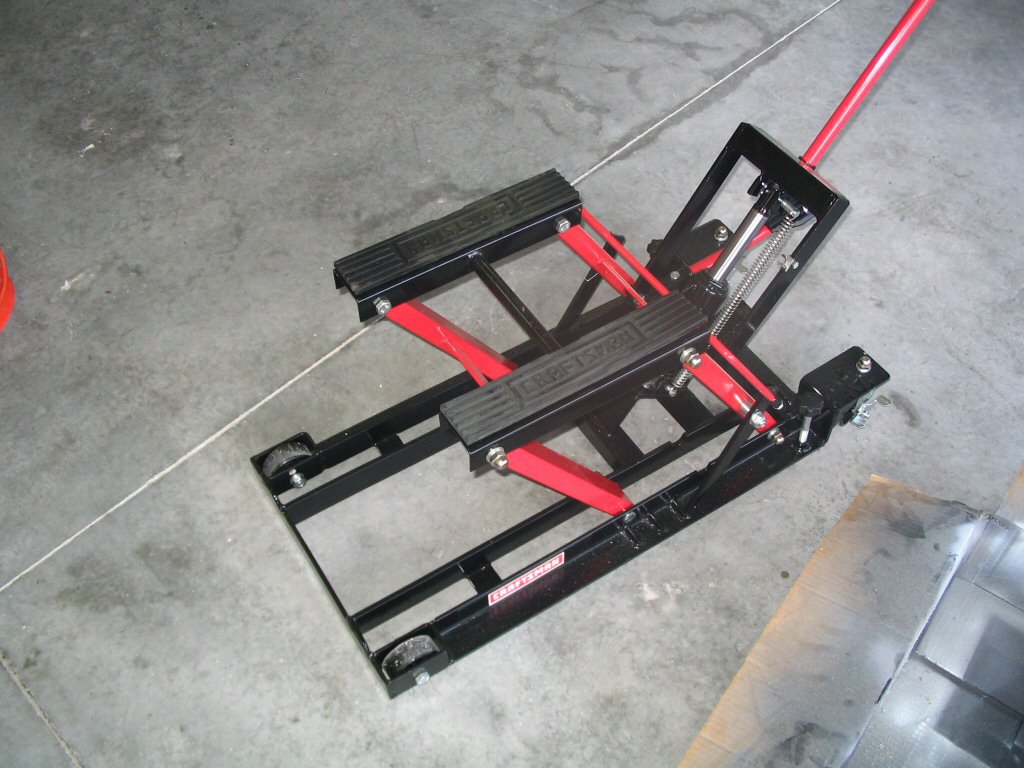
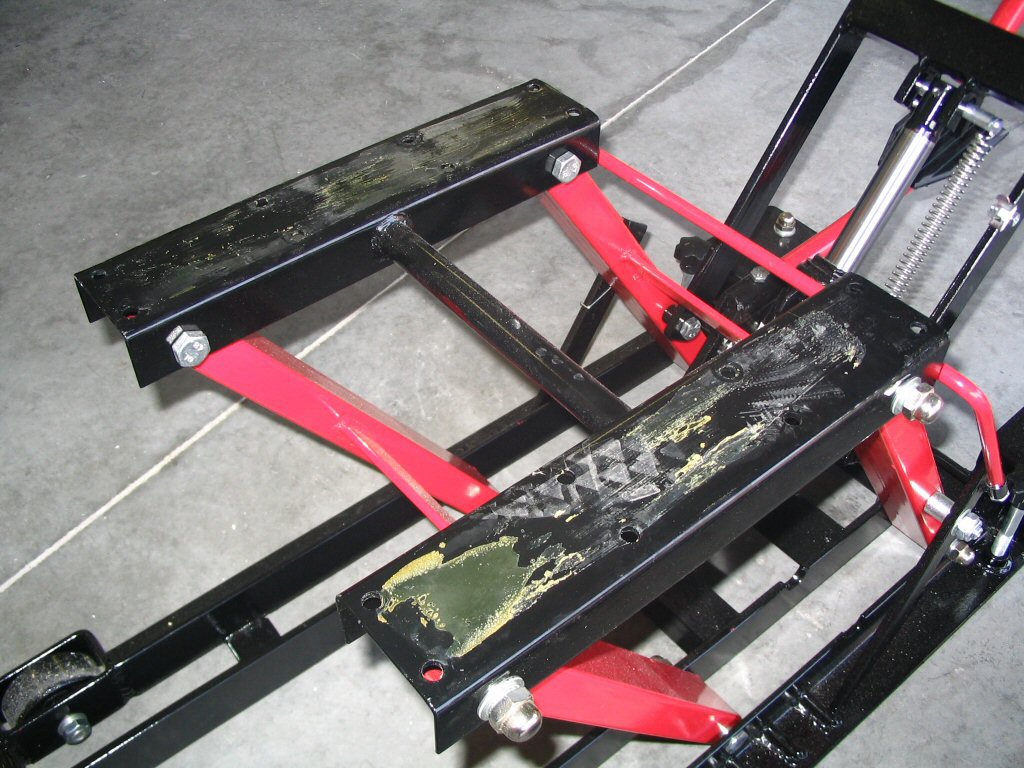
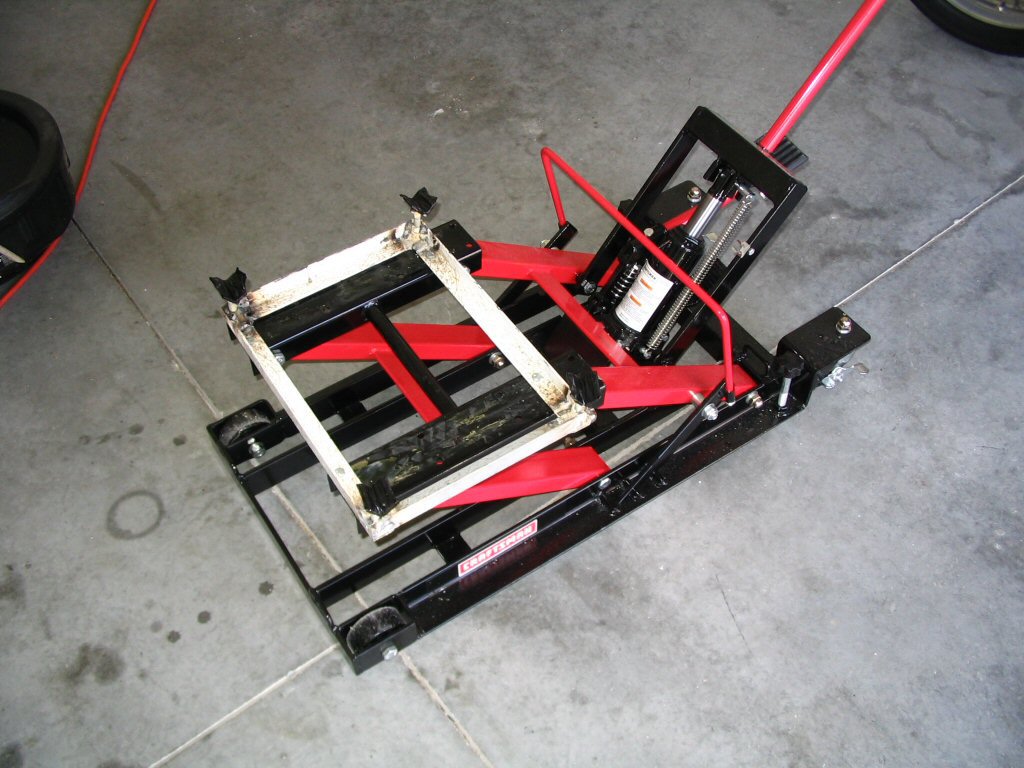
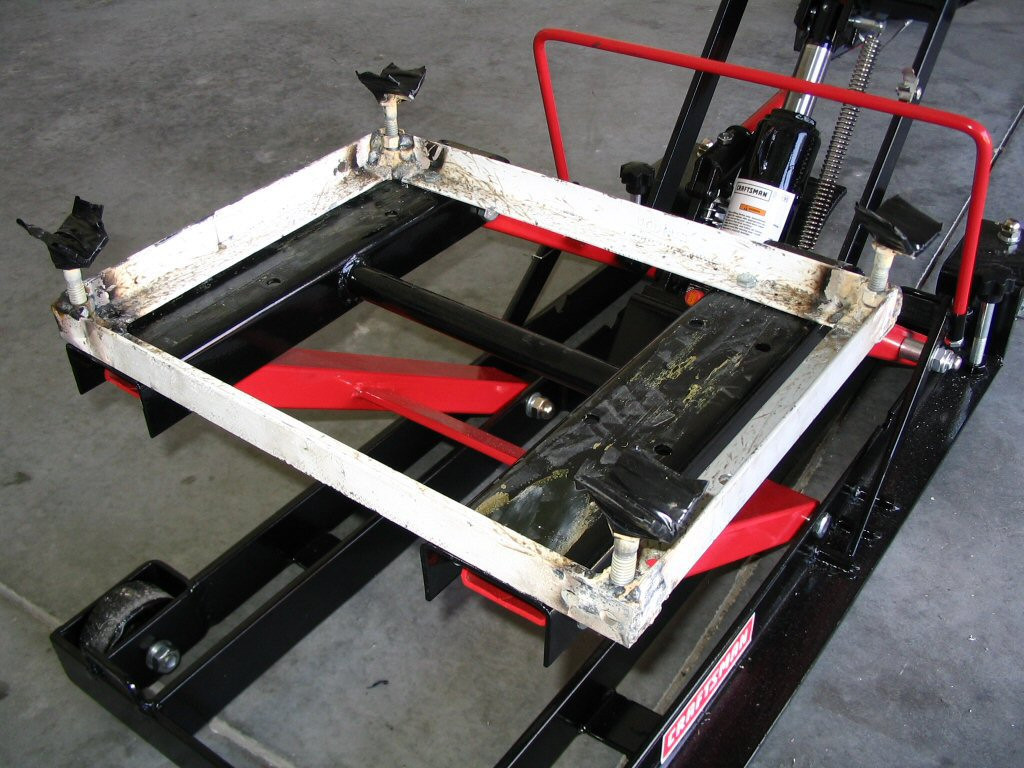
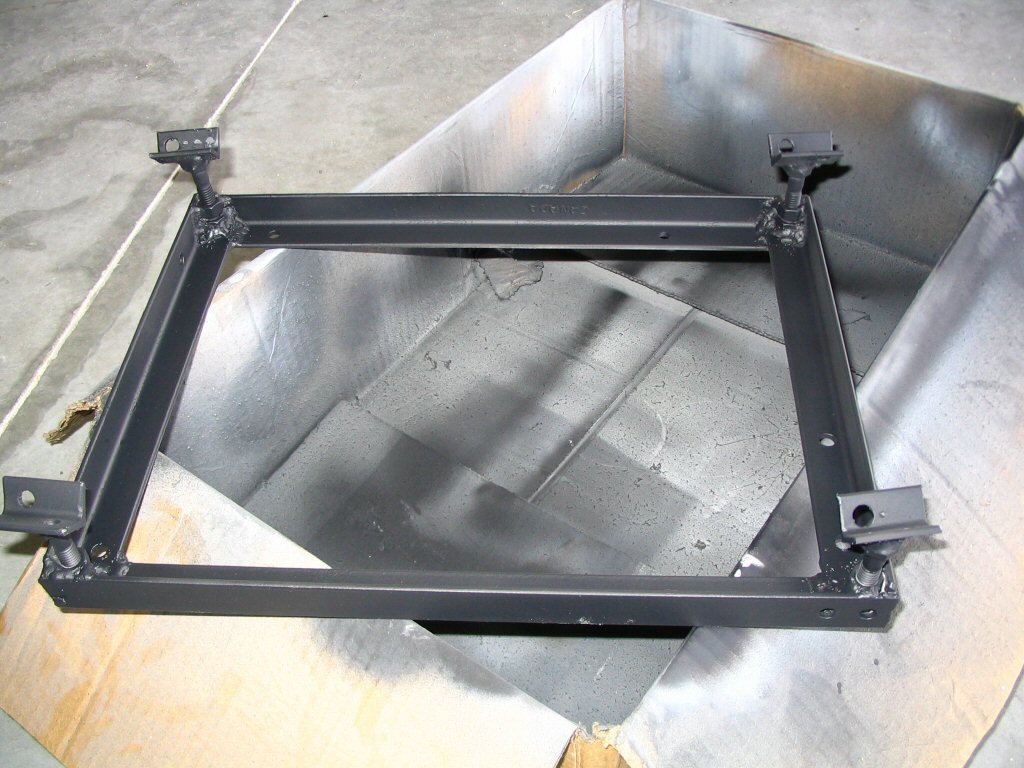
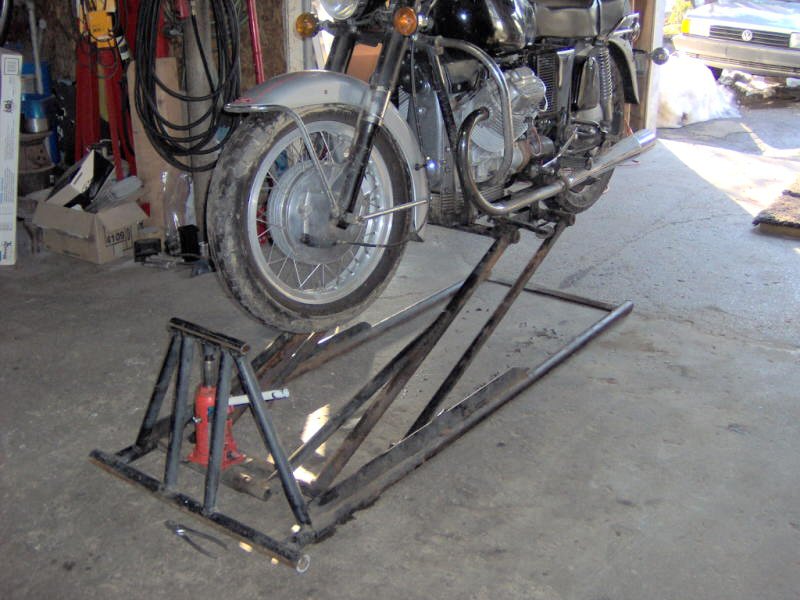
Having purchased a Craftsman motorcycle jack (Sears Craftsman item #00950190000 - purchased on sale for USD $69.99), I created my own version of the Looplifter. I used scrap iron I had leftover from another *failed* project. Specifically, I used 1 inch angle iron for the rectangular frame and 3⁄4 inch angle iron for the support that comes into contact with the bottom rail of the motorcycle frame. I chose to make each support adjustable by welding two 5⁄16 inch nuts at each corner. I also drilled a hole through the bottom of each corner so that the 5⁄16 inch bolt could screw through the bottom of the rack. As you can tell, I'm not a professional welder, but it is strong.
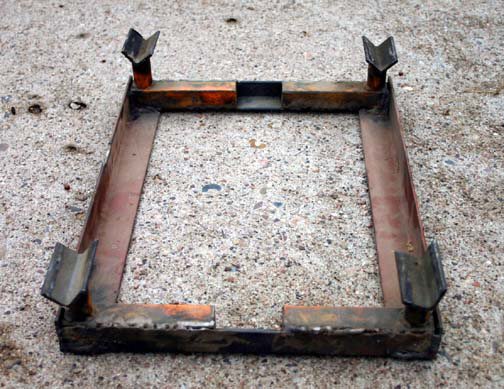
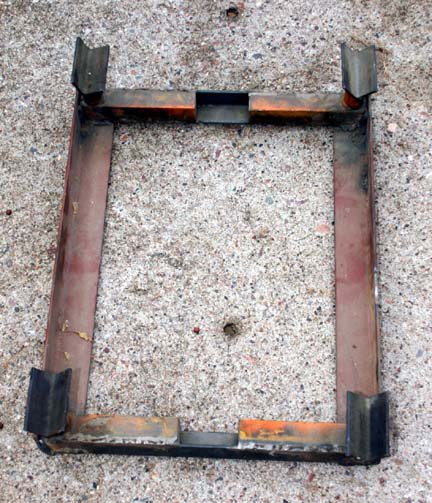
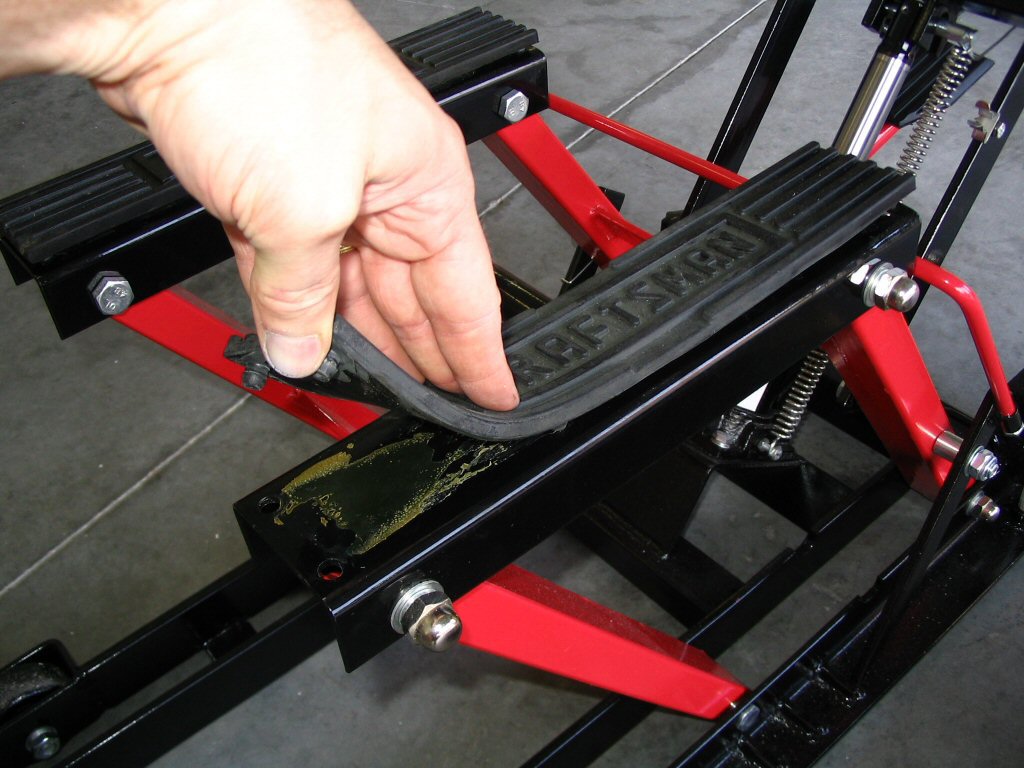
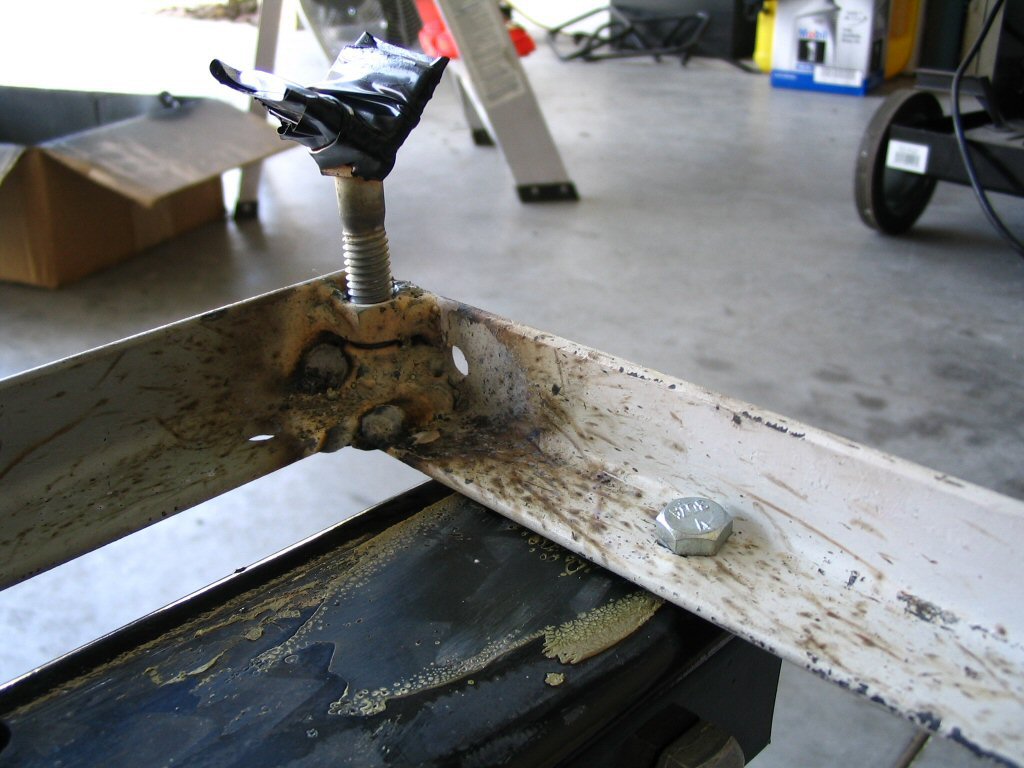
Close up of adjustable support, electrical tape used to protect frame. The electrical tape didn't work very well, I quickly switched to using pieces of old rubber inner tube.
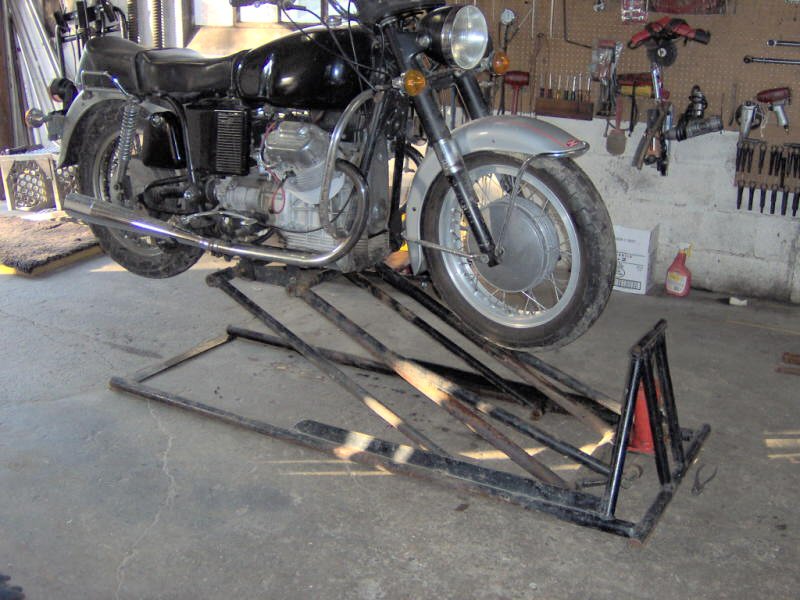
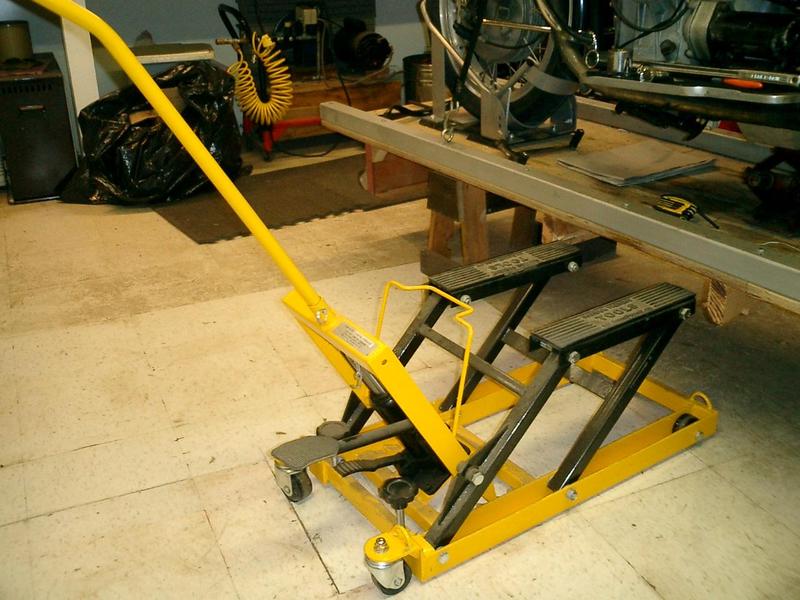
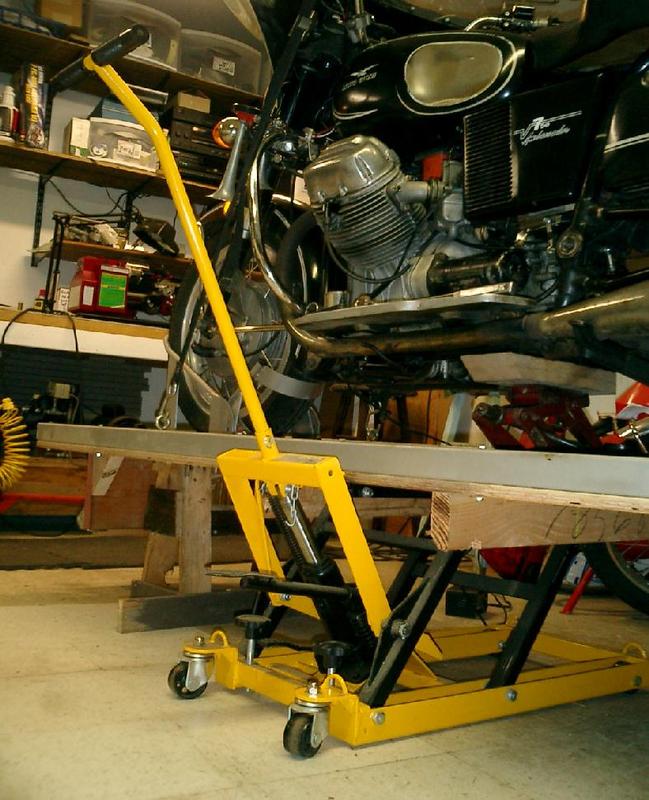
Charlie Mullendore of Antietam Classic Cycle provided these pictures of the Looplifter that he was given by Pat Galbraith. The Looplifter is of unknown origin.
Thanks to Bill Dudley who posted this information on the old Yahoo! Loopframe_Guzzi news group (which has now moved to Groups.io). In Bill's own words:
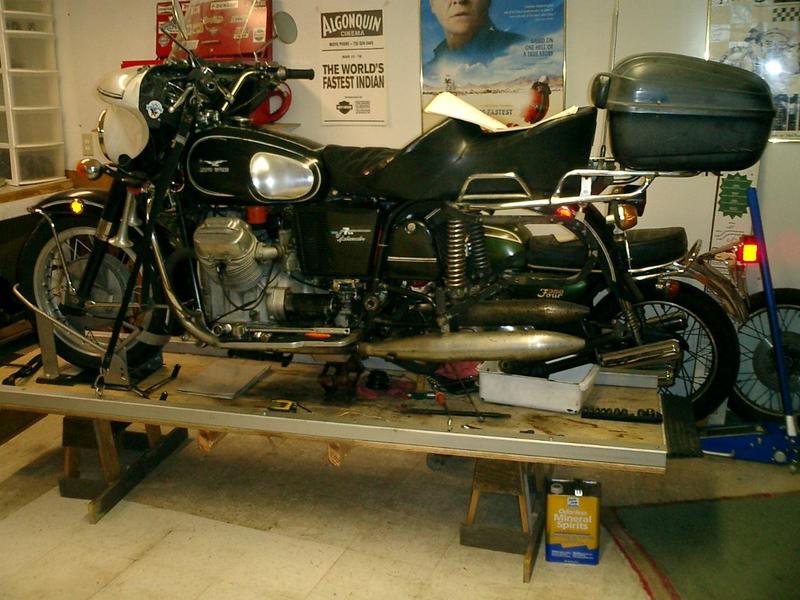
I wanted a bike lift that didn't monopolize the shop, especially if it wasn't in use. I decided that a left over 2 ft × 8 ft piece of 3⁄4 inch plywood flooring would work, providing it was strengthened. I sourced two 8 ft pieces of 2 inch × 2 inch square steel tubing from the local metals shop. I determined they would be strong enough by standing on one of them and noting the deflection with my 190lb on it - not much, like 1⁄2 inch.
I bolted the steel tubing to the sides of the plywood, using eyebolts in four locations so I'd have someplace to attach tie-downs. At one end of the platform, I put a scrap of 2 inch × 10 inch, so that when the platform is sitting on the floor, it forms a ramp, where the middle of the ramp is just high enough to fit the Harbor Freight bike jack. A couple of furniture dolly wheels on the 2 inch × 10 inch allow the thing to be wheeled about (when empty) if needed.
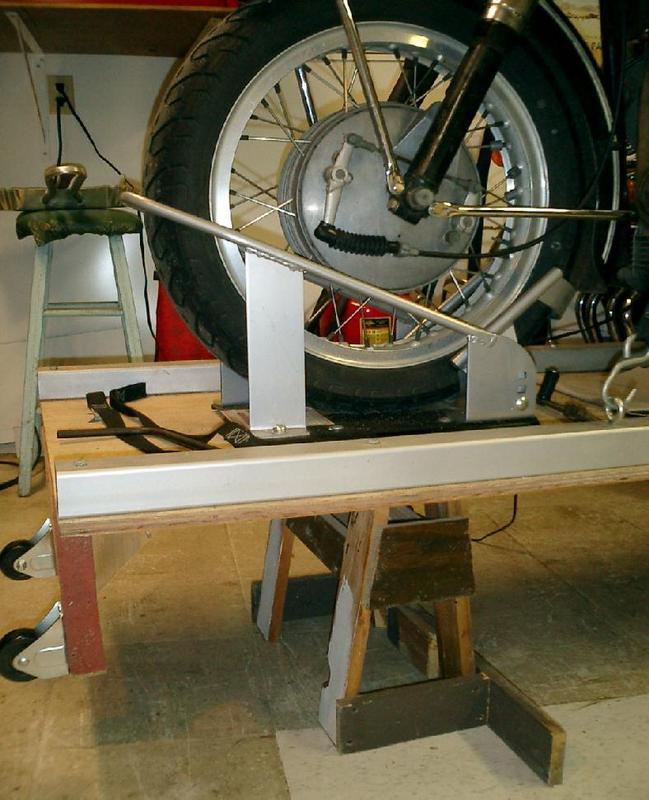
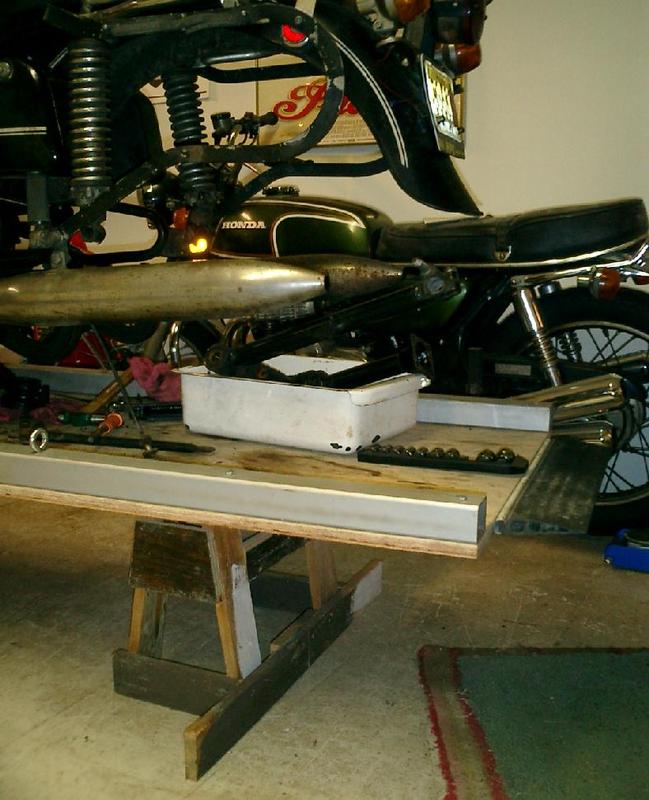
Since the Harbor Freight bike jack only goes about 17 inch high, I cut down two saw horses to just under that (16 3⁄4 inch or so). To make loading easier, I added a little wedge of rubber to the low end of the lift to avoid the 3⁄4 inch step.
To put a bike on the lift:
Assuming platform is on the ground, put the HF bike jack under the center.
Roll the bike onto the platform and into the wheel chock.
Tie the bike down to the eyebolts on the platform.
Raise the platform using the HF bike jack.
Shove the little saw horses under the platform, approximately under the wheels of the bike.
Lower the HF bike jack and remove and store it.
The platform can be stored on its side when in use so it takes almost no floor space.