Valve timing
Moto Guzzi V700, V7 Special, Ambassador, 850 GT, 850 GT California, Eldorado, and 850 California Police models
Created:
Updated:
First off, let me state that it is very possible to time the valves with the engine still in the frame (regardless of what the Guzzi or Chilton manuals state). Here is how I did it:
Checking the valve timing
- The engine must be stone cold.
- Remove the left valve cover.
- Set the tappet clearance for the exhaust valve to 0.5 mm (0.0195 inch). Important! Please see the section on checking clearances below.
- Remove the generator belt cover.
- Place the number 2 cylinder (left cylinder) on top dead center on the compression stroke. You can do this using one of two methods:
- Aligning the arrow on the timing chest cover with the left most timing mark on the pulley. If you have any doubts that your pulley is properly aligned with the crankshaft, use the next method.
- Using the piston stop method (see special tools and methods below).
- Remove the outer half of the pulley and the belt.
- Attach the degree wheel (see special tools and methods below) so that 0° is in-line with the crankshaft keyway and the left most mark on the pulley.
- Note: The number 2 cylinder should still be on top dead center on the compression stroke. Accuracy is critical here, so take your time.
- Attach a stiff piece of wire (see special tools and methods below) to one of the bolts on the timing chest and bend the wire so that it is accurately aligned with 0° on the degree wheel.
- Now, using a 26 mm socket on the nut at the end of the crankshaft, rotate the engine 122° in the direction of engine rotation (clockwise as you face the front of the engine; counterclockwise as you sit properly astride the motorcycle). At 122° the exhaust valve on the number 2 cylinder should just come into contact with the rocker arm. That is, the 0.5 mm free play should just be taken up as the valve just begins to open.
- If you've been accurate and this is the value that you get, then your valves are properly timed according to Moto Guzzi specifications.
- Be sure to reset the tappet clearance for the exhaust valve.
Setting the valve timing
- The engine must be stone cold.
- Drain the engine oil.
- Remove the exhaust header pipes (not totally necessary, but makes life somewhat easier for the short time required to remove them).
- Remove both valve covers.
- Set the tappet clearance for the exhaust valve on the number 2 cylinder (left cylinder) to 0.5 mm (0.0195 inch). Important! Please see the section on checking clearances below.
- Remove the rocker arms for both intake valves and the exhaust valve on the number 1 cylinder (right cylinder).
- Remove the generator belt cover.
- Remove the nut on the end of the crankshaft.
- Remove both halves of the pulley and the belt.
- Remove the keyed plate to which the pulley bolts.
- Support the front of the engine and remove the front engine mounting bolt.
- Remove the timing chest cover.
- Replace the keyed plate to which the pulley bolts.
- Replace the nut on the end of the crankshaft and tighten securely (I use a pry bar wedged into one of the teeth on the ring gear - with the starter removed).
- Remove the camshaft timing gear and the associated dowel.
- Attach the degree wheel (see special tools and methods below) so that 0° is in-line with the crankshaft keyway.
- Attach a stiff piece of wire (see special tools and methods below) to one of the bolts on the timing chest and bend the wire so that it is accurately aligned with 0° on the degree wheel.
- Place the number 2 cylinder (left cylinder) on top dead center using the piston stop method (see special tools and methods below).
- Once I have the piston at top dead center, I like to readjust my pointer wire so that it points directly at 0°. This isn't mandatory, but makes life easier and it reduces the possibility of mathematical errors.
- Note: The number 2 cylinder should still be on top dead center on the compression stroke. Accuracy is critical here, so take your time.
- Now, using a 26 mm socket on the nut at the end of the crankshaft, rotate the engine 122° in the direction of engine rotation (clockwise as you face the front of the engine; counterclockwise as you sit properly astride the motorcycle).
- Do not rotate the crankshaft any more until after you have the camshaft timing gear properly installed.
- Rotate the camshaft counterclockwise (as you face the engine) until the lobe contacts the push rod and takes up the tappet clearance slack for the exhaust valve on cylinder 2. You should be able to rotate the camshaft by hand.
- Now fit the camshaft timing gear back onto the camshaft in such a manner so that you don't have to rotate the crankshaft or the camshaft and the dowel can be inserted smoothly. This will take trial and error as you try the various dowel pin holes.
- With the camshaft timing gear properly fitted, you may want to refit your intake rocker arm on cylinder 2 (with tappets adjusted to 0.5 mm) and observe both of your valves opening and closing at the proper positions on the degree wheel (see the workshop manual for specific positions).
- Once you are certain that you have everything correct, mark the gear teeth and dowel pin hole with paint for future reference.
- Button everything back up and you should be good to go.
Checking clearance
In Guzziology (version 5.2, pages 5-29 and 5-30, The difficulty of comparing cam specifications
), Dave Richardson does an excellent job explaining the problem of Moto Guzzi checking clearance specification (the tappet clearance used when checking and setting the valve timing). Without repeating Dave's entire explanation, suffice to say the Moto Guzzi specifications for checking clearances are most likely incorrect. What is the solution? Dave describes it perfectly:
I say that it doesn't matter what the checking clearance is called for, use 1 mm and assume the spec used something else. Then, instead of looking for the same opening and closing points, look for an equal variation between your readings and the specs. In other words, if for example you find a valve opening 15° earlier and closing 5° later than spec, I would assume you used a tighter checking clearance than the spec and that your cam is advanced relative to the crankshaft by 10°.
Special tools and methods you will need
- Degree wheel
- A degree wheel is needed to determine precisely where the piston is located within it's 360° rotation.
- There are numerous free degree wheels available via an internet search. Find one you like, then simply print out, paste to a piece of cardboard, cut out, and attach to the keyed plate to which you normally bolt both pulley halves on the crankshaft. Be sure to attach the degree wheel with at least one bolt as it must be in sync with the crankshaft. I believe in overkill, so I attached mine with all three bolts!
Here is a degree wheel that I've used in the past.

Degree wheel. Photo courtesy of Gregory Bender.
David Gregoire also sent me this degree wheel that originated with Eurospares.
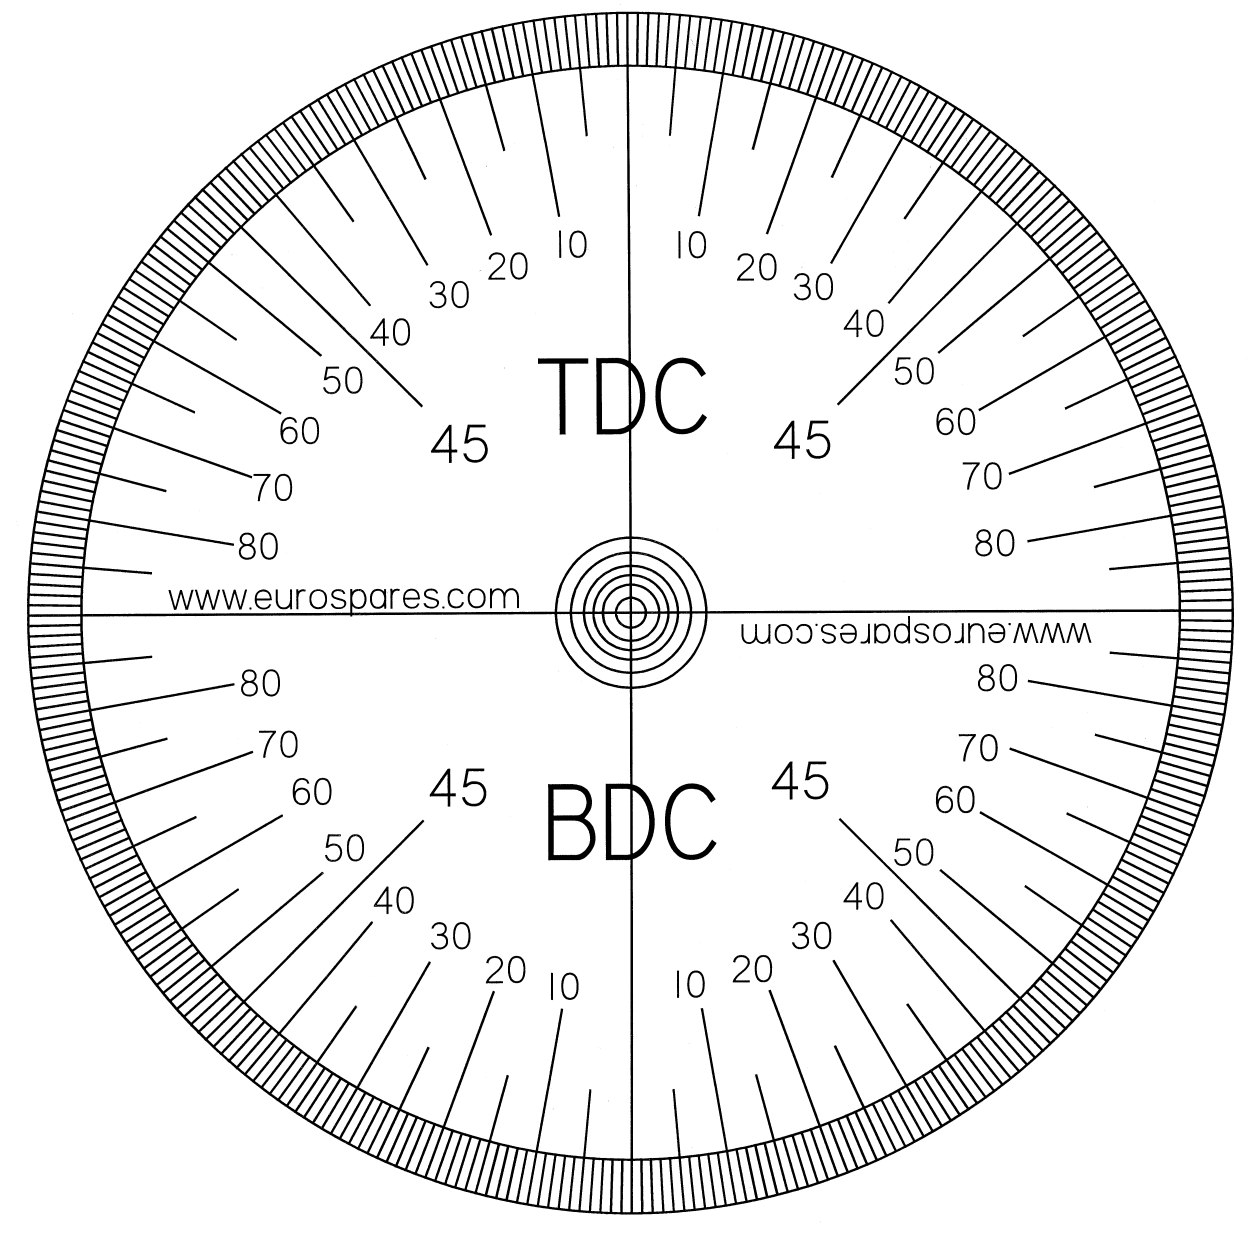
Degree wheel. Photo courtesy of Eurospares.
- Furthermore, I was careful to drill one of my bolt holes in line with the 0° - 180° marks on the wheel (I just used the bolt holes on a pulley half as a template). When attaching the degree wheel to the keyed plate, I made sure that this bolt hole was lined up with the key in the keyed plate. By doing this, the 0° mark on the degree wheel will be approximately in-line with the standard pulley timing mark for top dead center. This step is not necessary, but I found that it help me keep my sanity.
- Stiff length of wire
- A stiff length of wire (like from a clothes hanger) is needed to create a
pointer
for the degree wheel. You will attach one end of the wire to a bolt on the engine case, the other end will be bent to point accurately at the degree wheel.
- A stiff length of wire (like from a clothes hanger) is needed to create a
- Piston stop
- A piston stop is any device that prevents the piston from going all the way to top dead center.
- Although ready made piston stop tools are available, I made due with a spark plug that had very long threads (a Champion RE14PLP5). But, any 14 mm bolt with a 1.25 mm thread pitch will work. Here's how it works: with the piston NOT at top dead center (just feel with a screwdriver), screw the piston stop (spark plug, in my case) into the spark plug hole and tighten. Next, rotate the crankshaft clockwise VERY SLOWLY AND CAREFULLY until the piston comes into contact with the piston stop. Write down the value that is shown on the degree wheel. Then, repeat the procedure by rotating the crankshaft counterclockwise. Again, write down the value that is shown on the degree wheel. Top dead center is the mid point between these two values.