Moto Guzzi V700, V7 Special, Ambassador, 850 GT, 850 GT California, Eldorado, and 850 California Police models
Created:
Updated:
Information from Joe Tokarz
Thanks to Joe Tokarz for sending me this information in a private email. In Joe's own words:
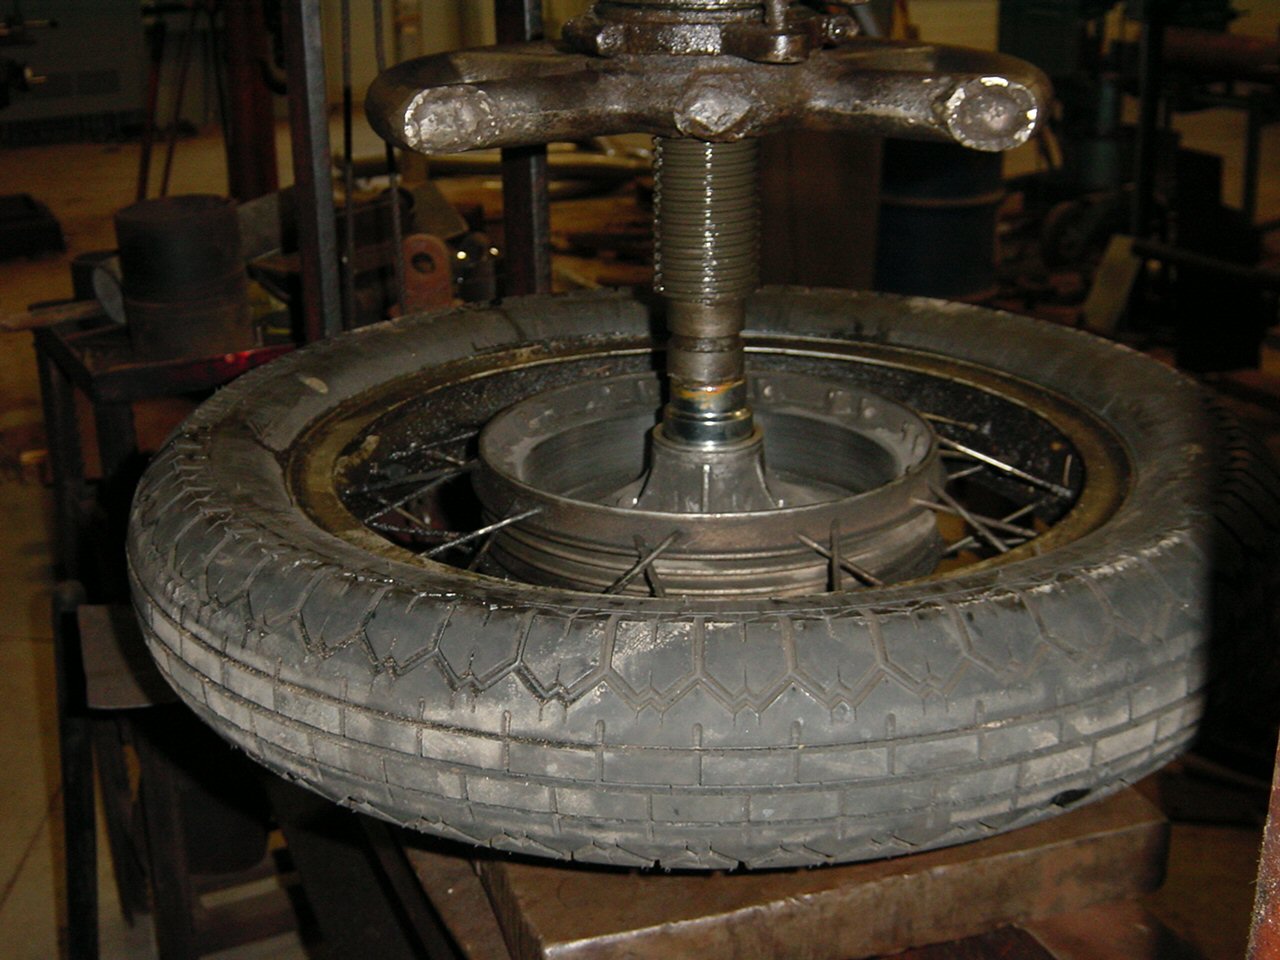
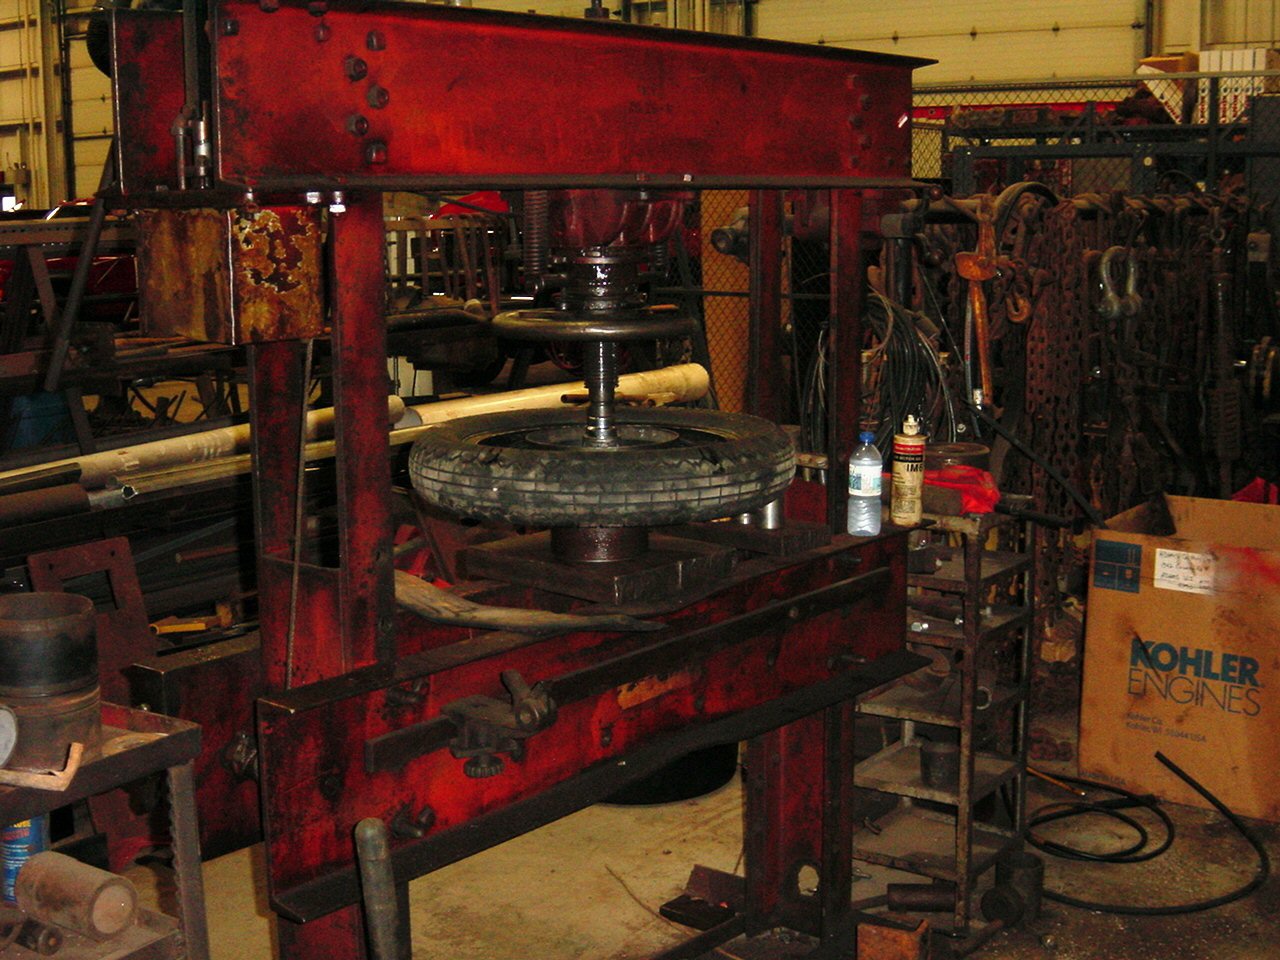
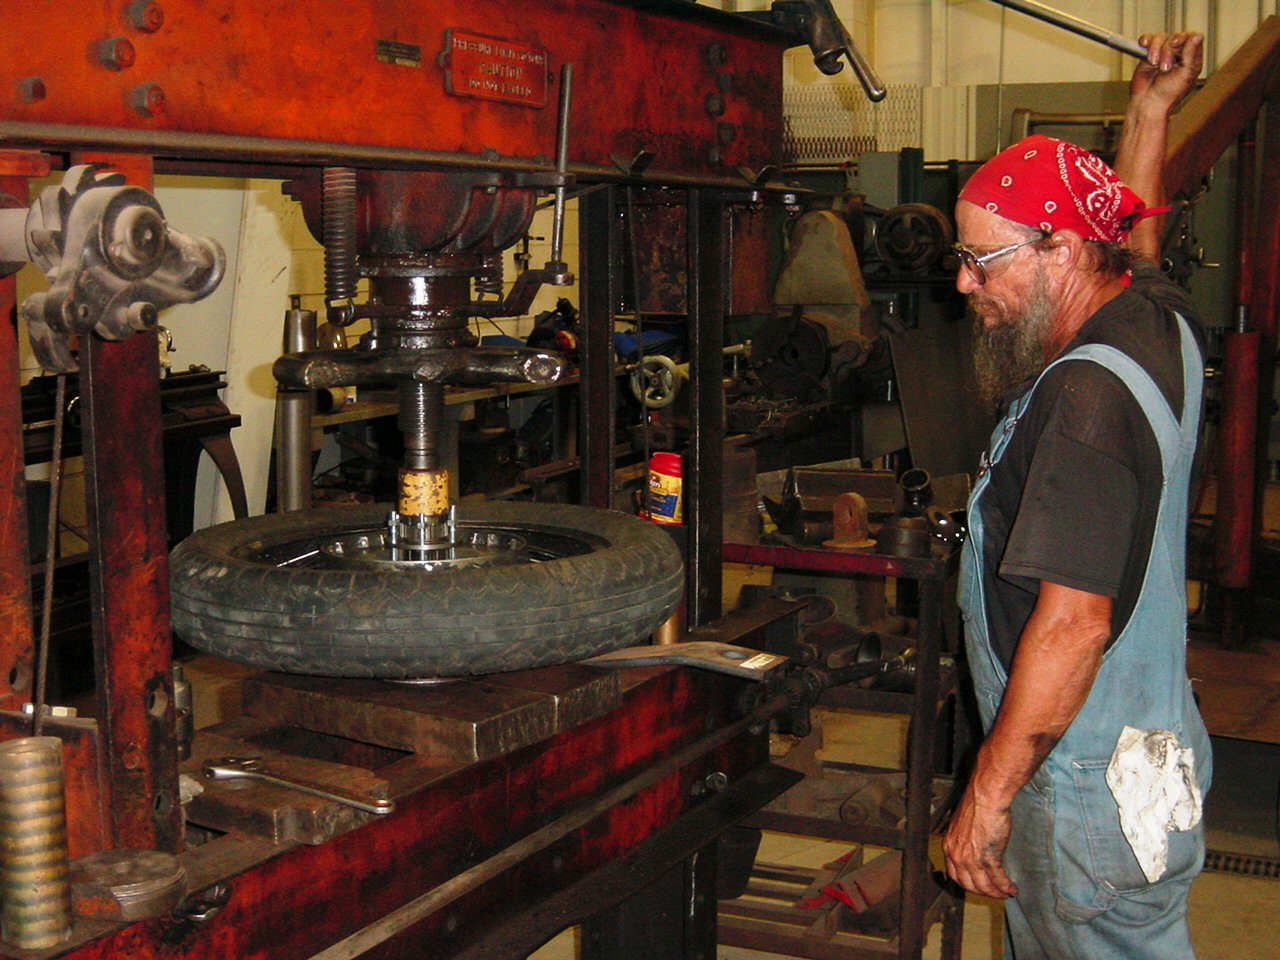
A while back I paid to have a new (expensive) central hub installed in the Eldo-PD wheel hub. I convinced myself that the task was beyond my shop and skills especially looking at the pictures of the gigantic press located in this topic. So the wheel hub and new central hub took a trip west for replacement. It was pricey when shipping was added but the work was done well and no complaints.
Now the '67 high millage V-700 needed the same repair. The good news is that I scored a cracked and welded rear wheel hub with a good looking central hub for free. That meant removing 2 central hubs and then pressing the better hub into the good wheel. I needed a confidence builder and it was provided by Greg Bender and in his own words to me via email:
Hi Joe,
A few weeks ago I had a hub disassembled from my wheel (for just this purpose). I heated the hub in a 300 degree oven and then pressed it out very easily using my 12 ton press from Harbor Freight. I froze the new splined hub, heated the aluminum hub again, and then was ready to press it back in, using bolts to align everything. To my amazement, the temperature differential allowed me to slide everything together by hand.
When pressing out the old splined piece:
To the best of my knowledge, you really should use a pipe with an ID that is very close to the OD of the steel piece (somewhere around 4 inch, IIRC - but check). The center of the aluminum hub is thin and you do not want to distort it.
In short, I think you will need a press of some kind to do this work.
I hope this helps!
Regards,
Gregory Bender
It did and what follows is an attempt to build some confidence to those who DIY and proving a gigantic press is not needed.
Tools
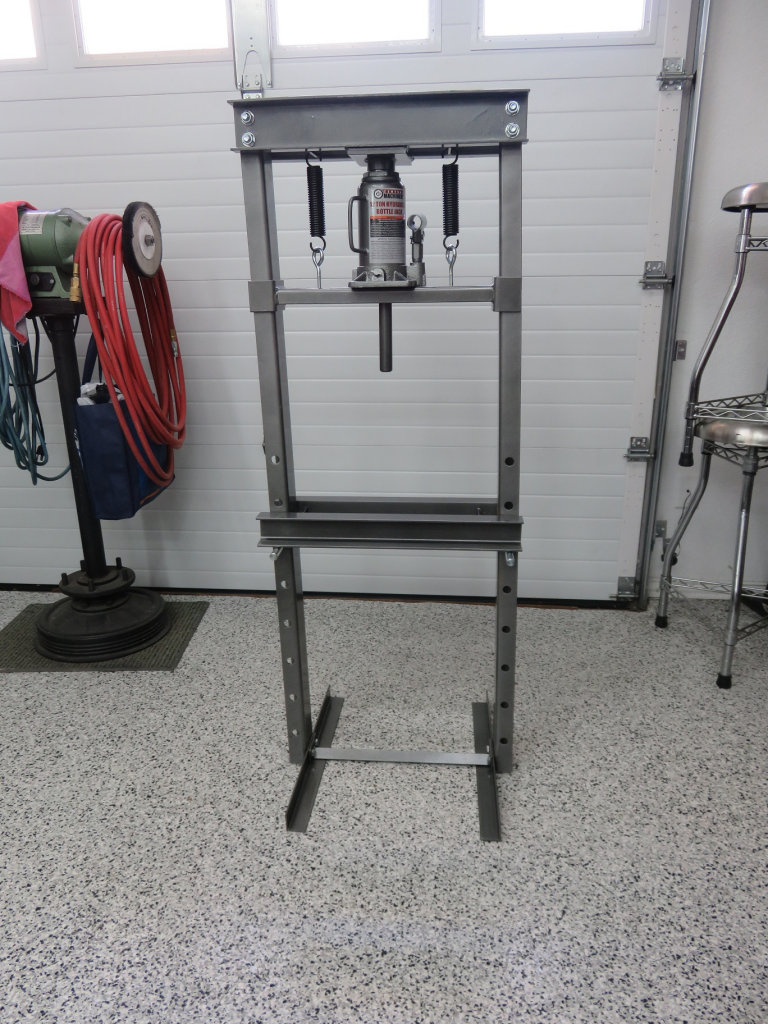
12 ton Harbor Freight press - regularly on sale, it has enough working width for a wheel hub
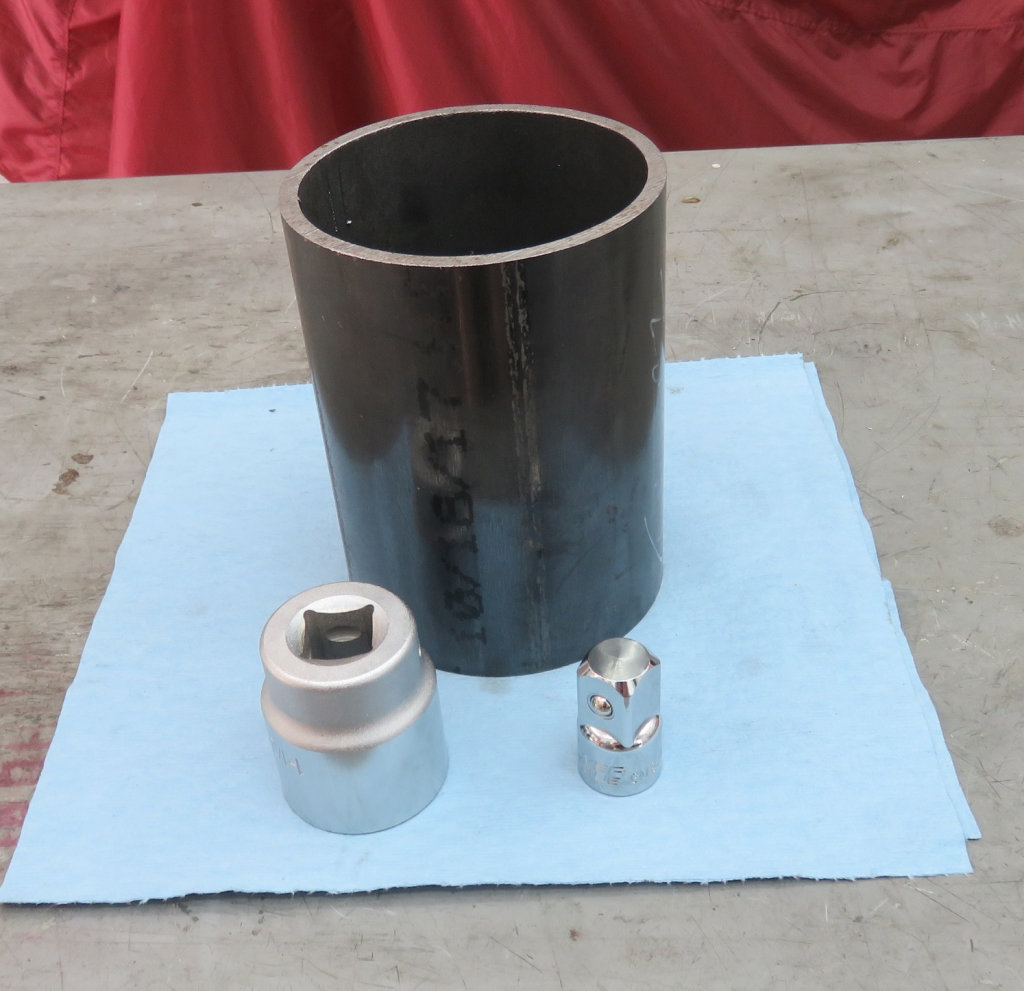
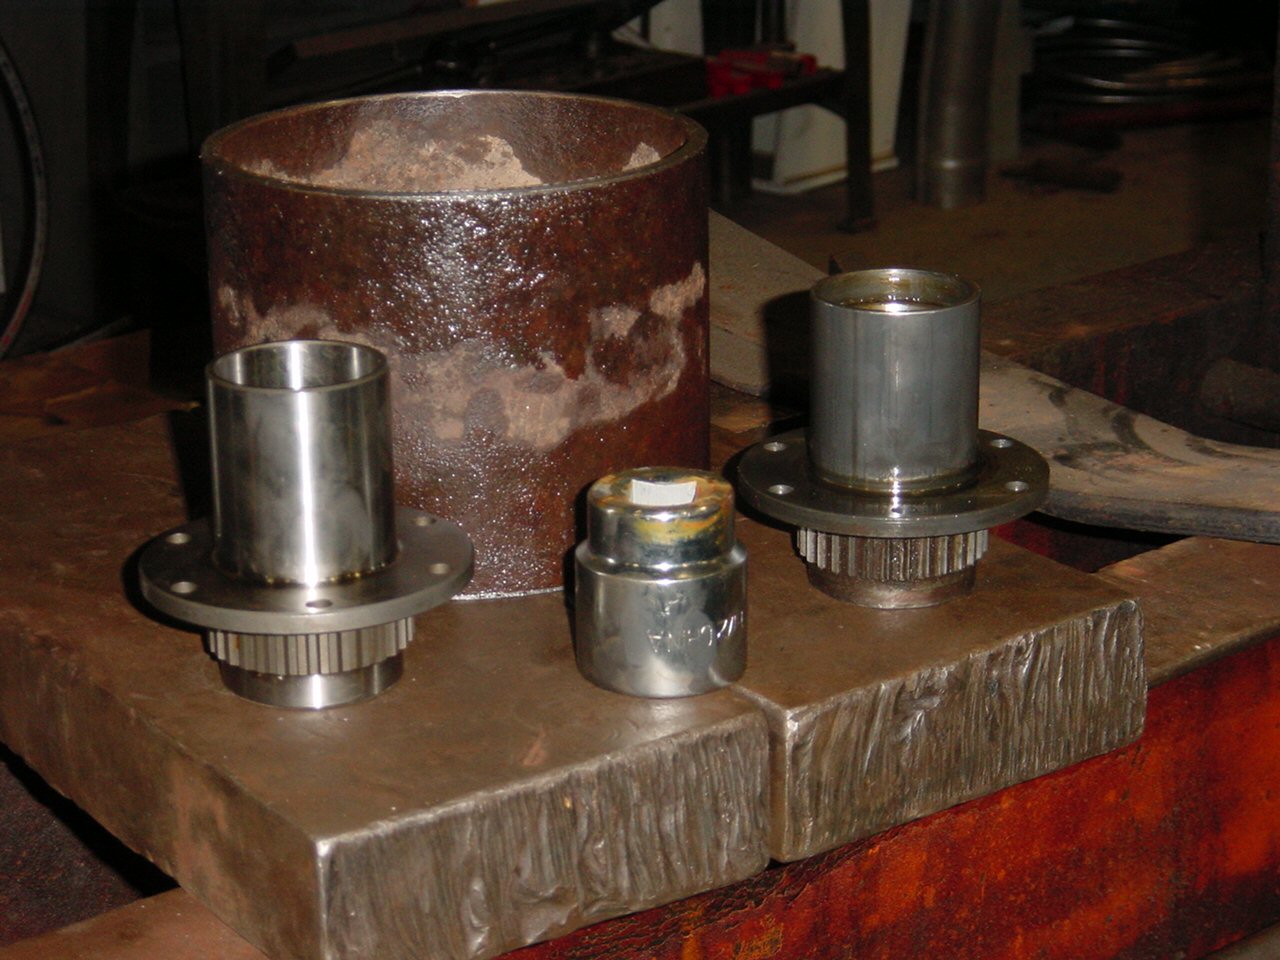
4 inch ID pipe 6 inch long - this is a must - get it at either a brick & mortar metal store or internet. About USD $20.00
1 1⁄2 inch (3⁄4 inch drive) socket - outside diameter just fits on the central hub with clearance - about USD $10.00 at AutoZone
3⁄4 inch to 1⁄2 inch socket adapter - closes the 3⁄4 inch drive hole
Six 8 mm × 1.25 mm bolts about 150 mm long with nuts
Six 8 mm × 1.25 mm × 40 mm bolts with nuts and lock washers
Heavy welding gloves - anything else is too thin to handle the hot wheel hub
Harbor Freight infrared gun thermometer - measures hot wheel temperature and frozen hub
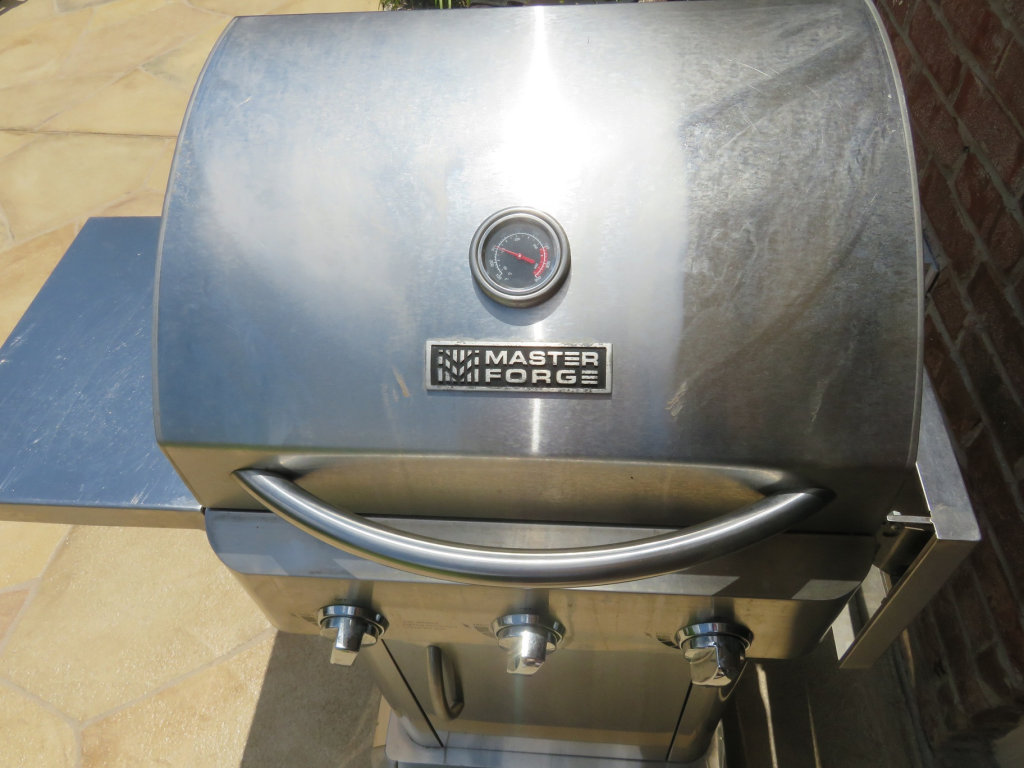
BBQ grill - Don't use the kitchen oven
Removing the central hub bolts was interesting. The good hub was mounted with 6 mm bolts because the flange holes ID were about 7 mm. Those where drilled out for 8 mm bolt clearance. The worn central hub had proper size holes but the bolt shanks were slightly larger than 8 mm so getting them out was a chore.
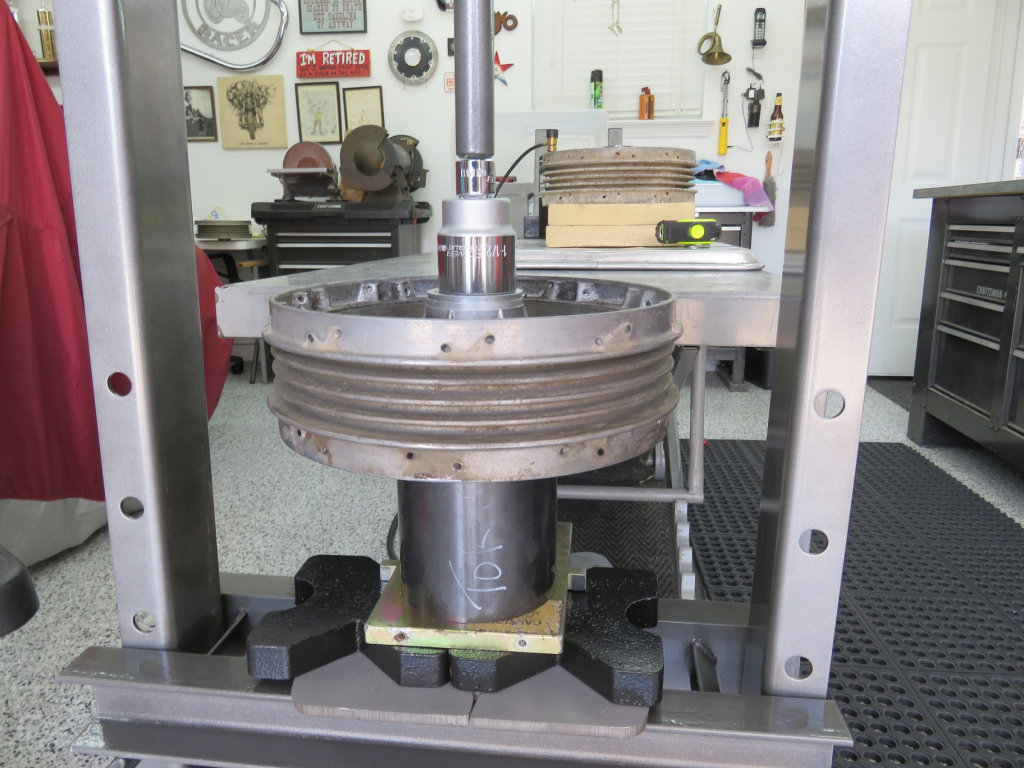
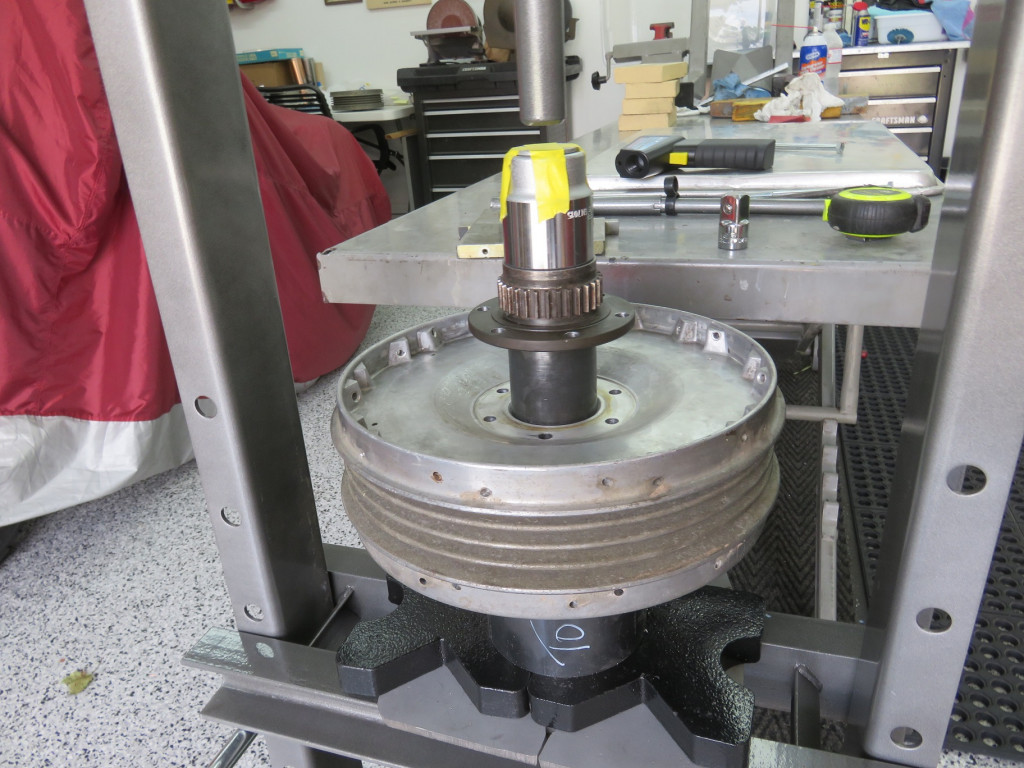
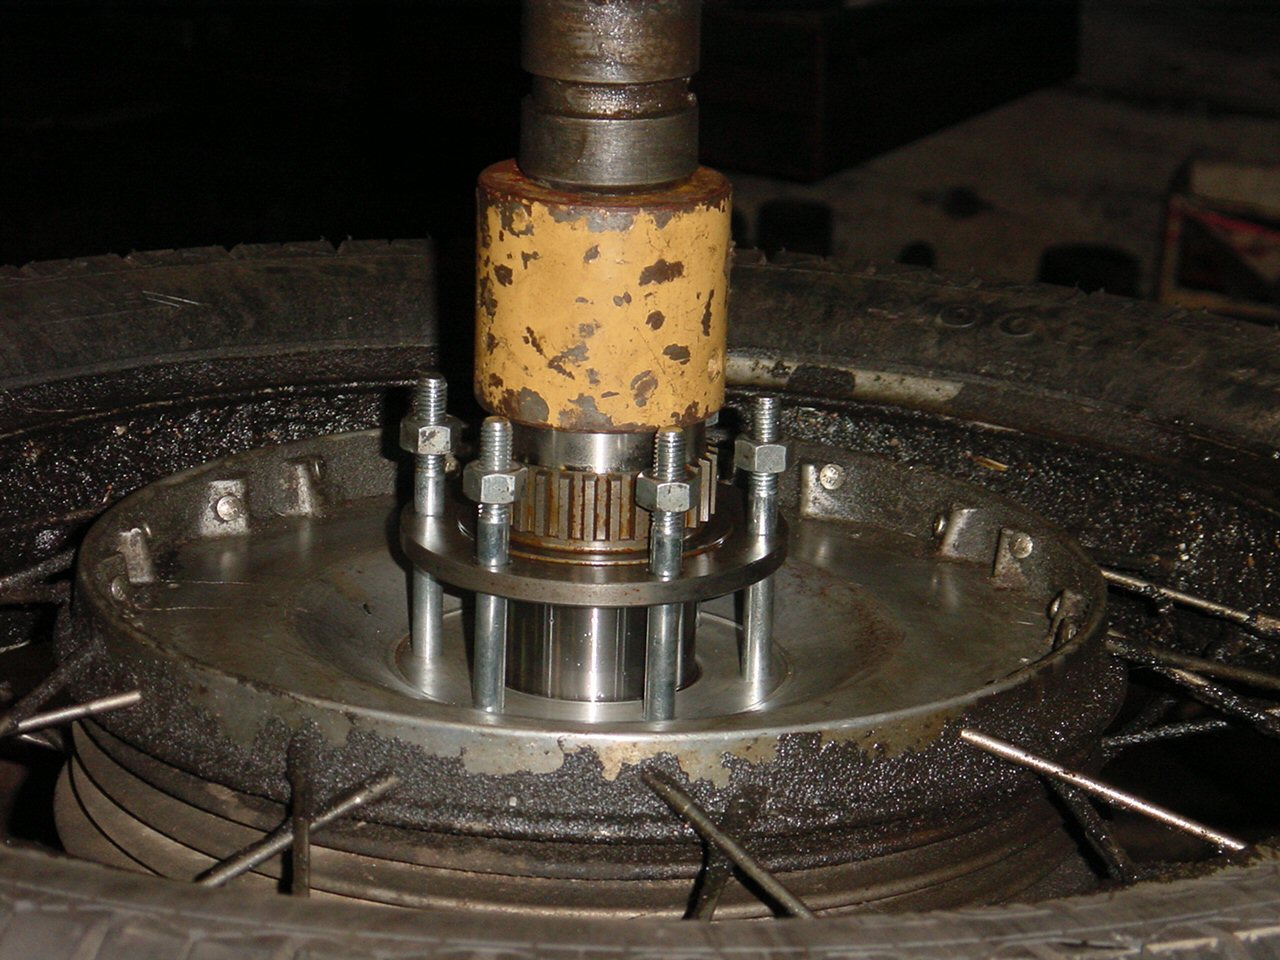
The plan was to work fast with everything ready so as the pictures show I tested for ram alignment and sufficient travel before any heating and cooling.
For the press-out and press-in, I followed Greg's advice to heat the cracked wheel hub to about 300° F on the BBQ grill checking the wheel temperature with the heat gun. The press-out of the good central hub was easy with very little resistance.
For the press-in the good wheel hub was heated. The back of the refrigerator freezer had the lowest temperature of about 5° F so the central hub soaked there for about 45 minutes. Both temperatures were measured with the infrared gun to make sure they were ready to join. To ease pressing in, I lightly coated the hub with wheel bearing grease before placing in the freezer.
I don't have a picture of the 6 long 8 mm bolts aligning the central hub to the wheel hub but I used them and the process works as pictured in the big press photos.
This was a first time for me and with the guidance from Greg the whole press-in / press-out process moved pretty fast. The delays were assembling the press, cleaning the wheel hubs thoroughly, removing stubborn bolts, setting up and testing the press process.
Now that I have a 12 ton press I'm looking for some stuff to squeeze.
12 ton press.
Photo courtesy of Joe Tokarz.
4 inch ID pipe 6 inch long, and sockets.
Photo courtesy of Joe Tokarz.
Grill warming up.
Photo courtesy of Joe Tokarz.
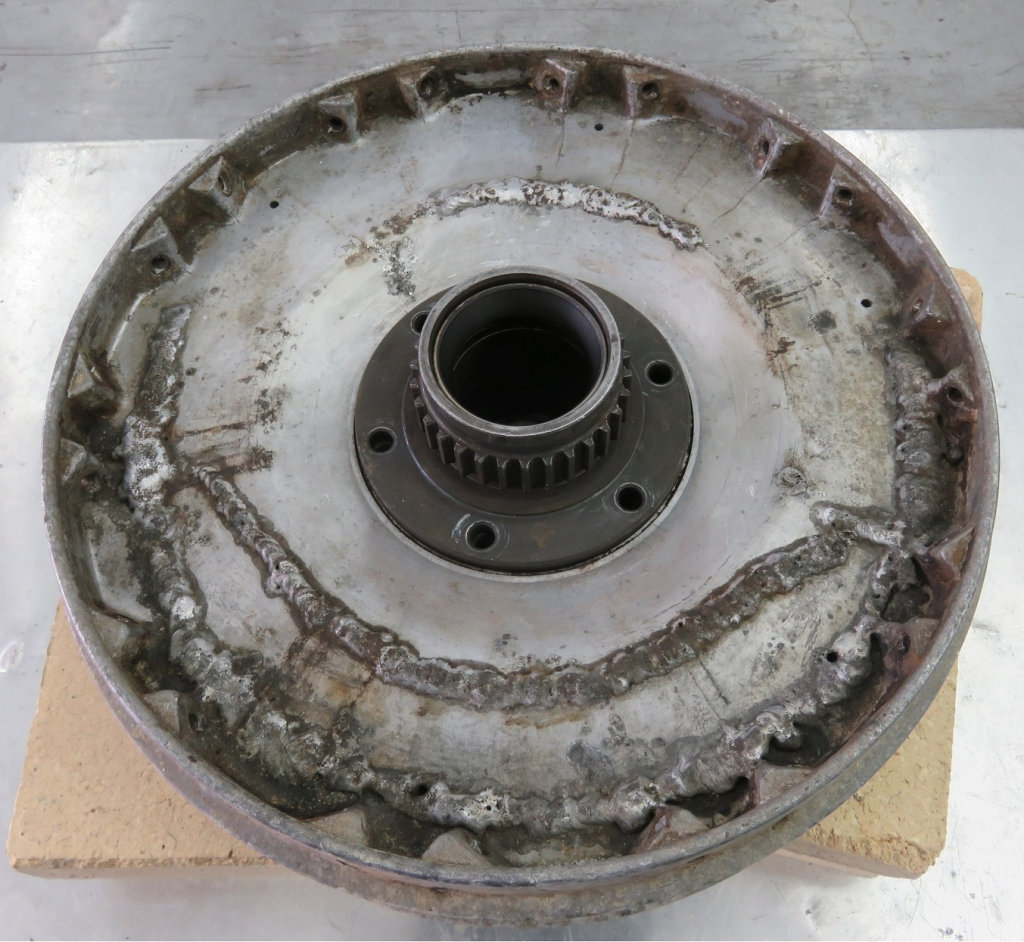
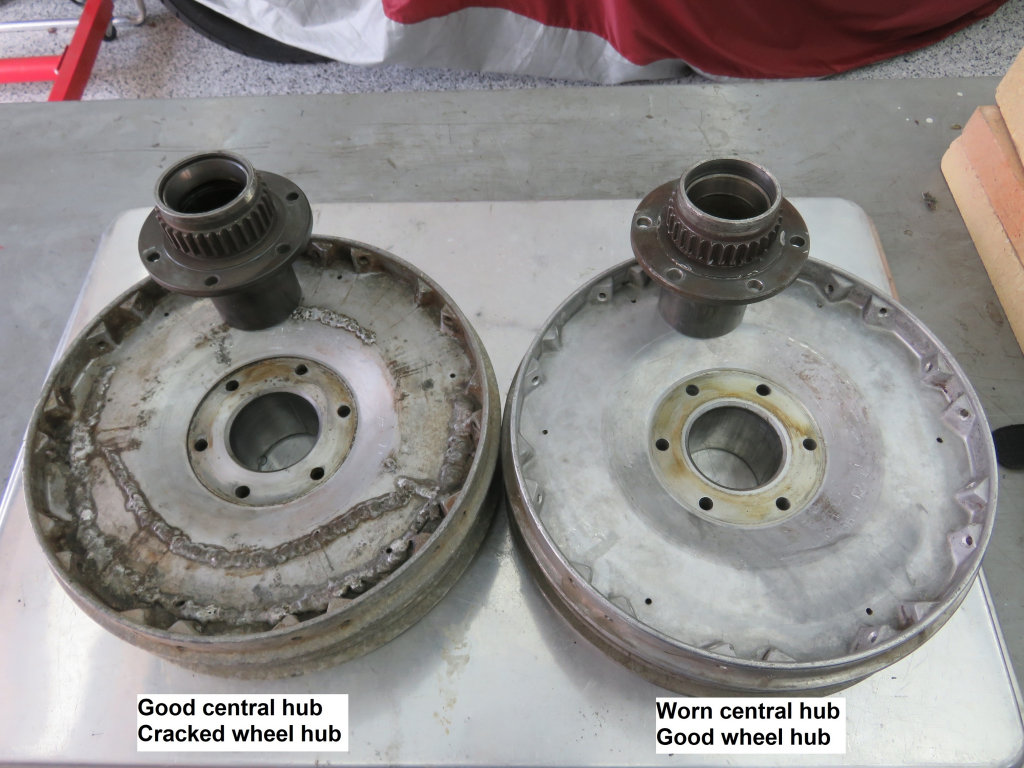
Good central hub in cracked wheel.
Photo courtesy of Joe Tokarz.
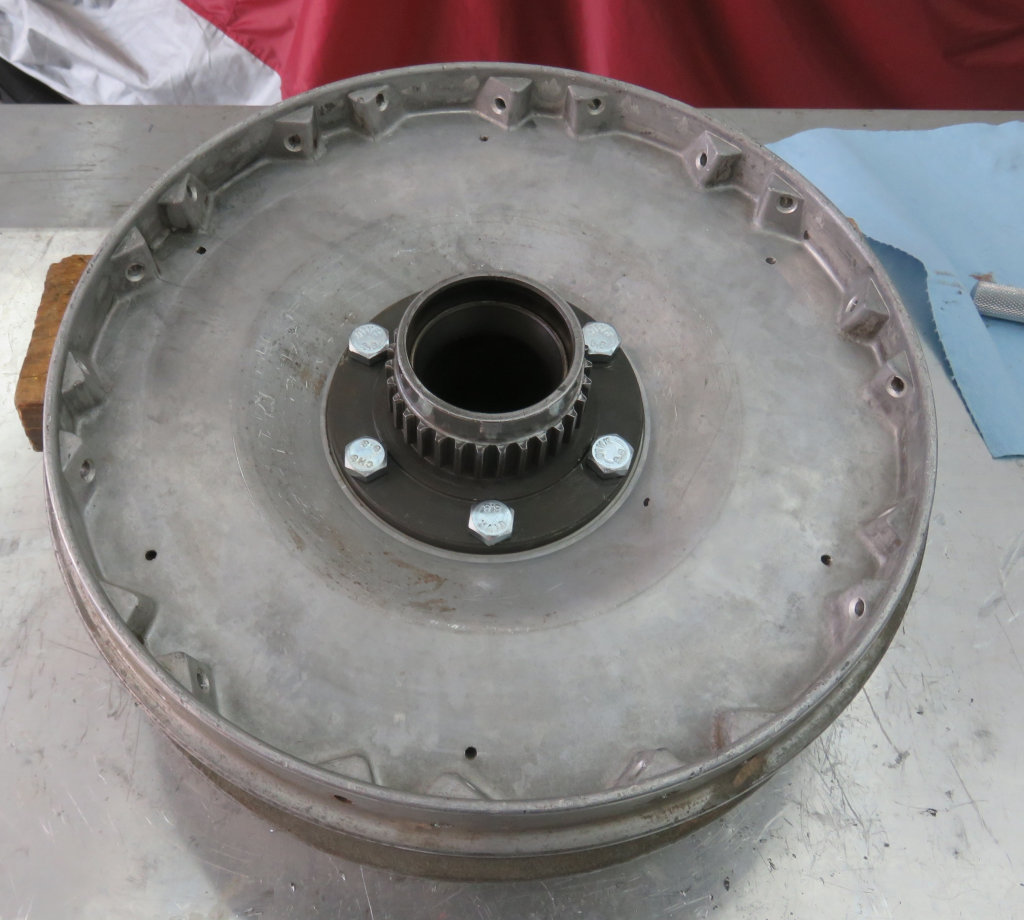
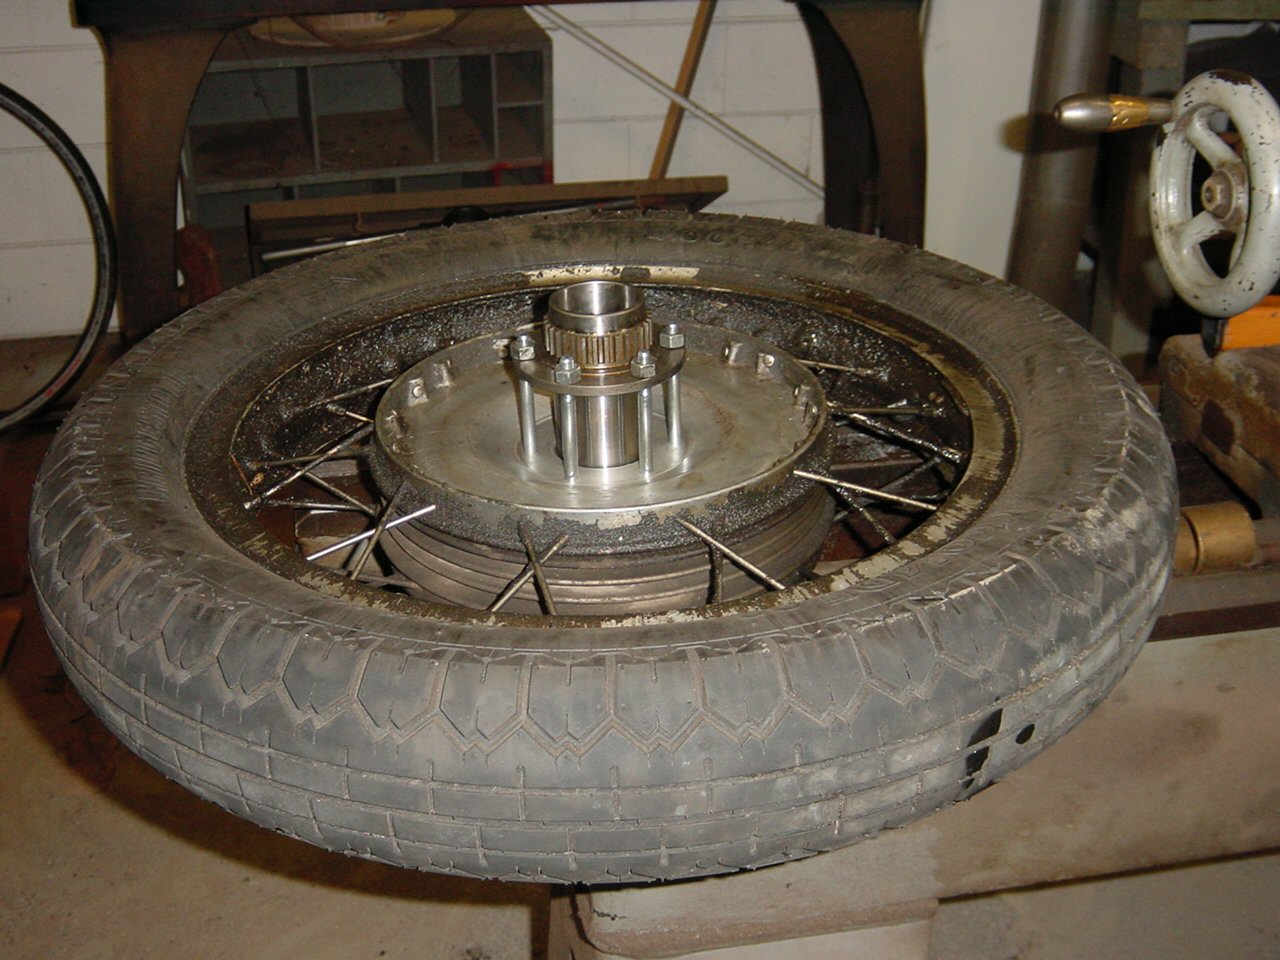
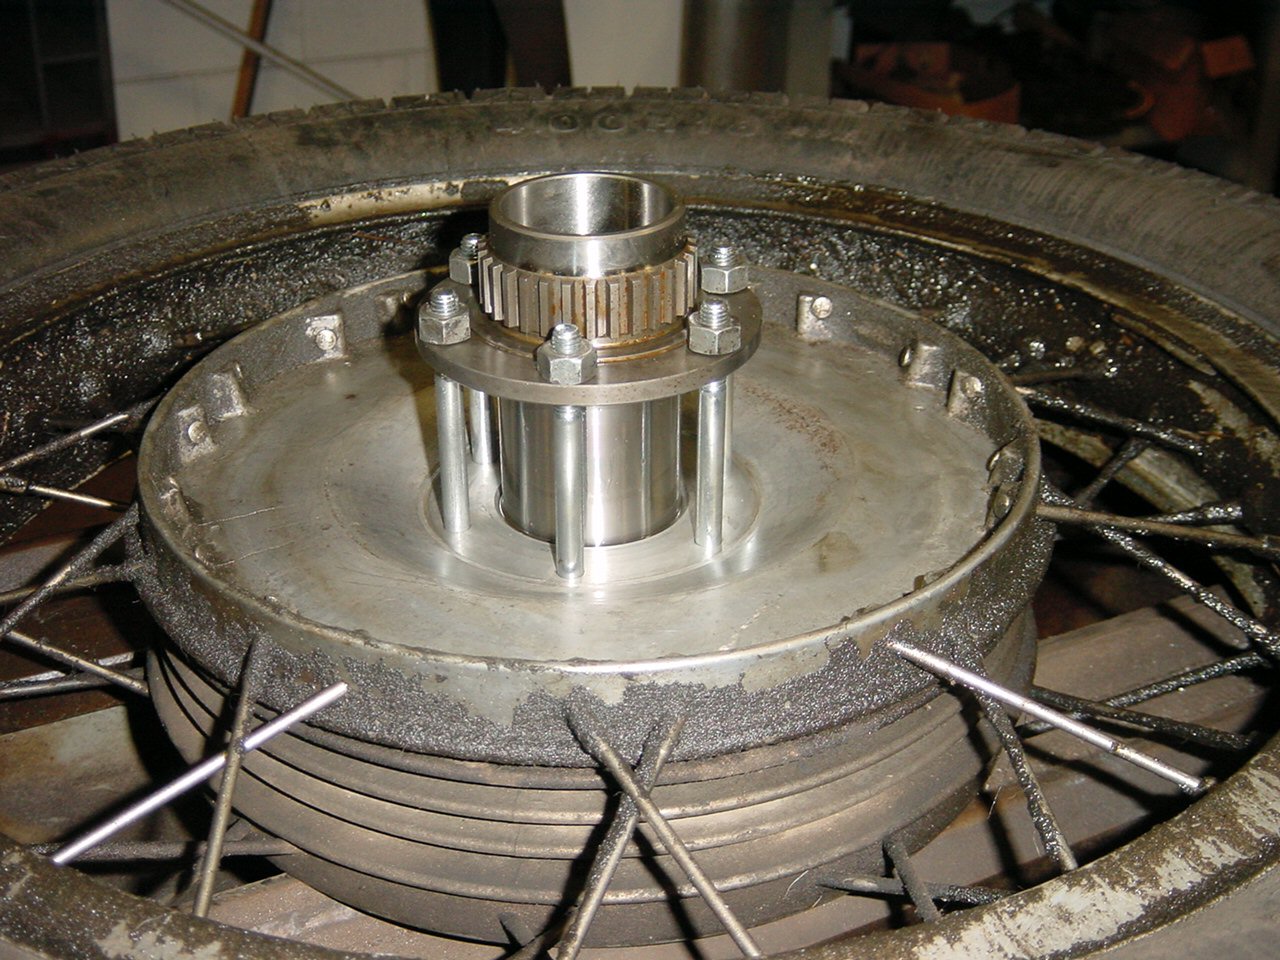
Worn central hub in good wheel.
Photo courtesy of Joe Tokarz.
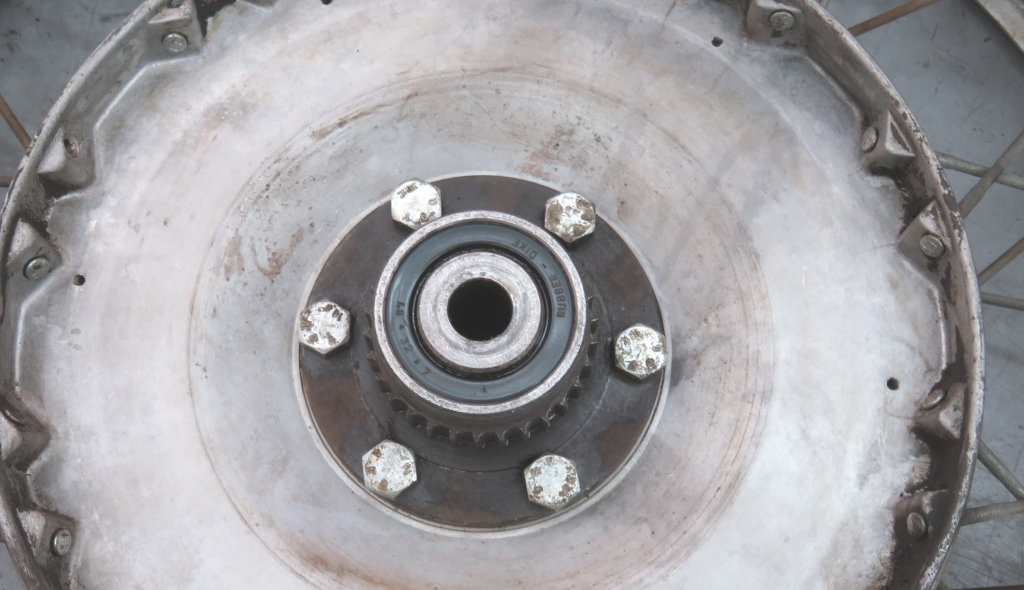
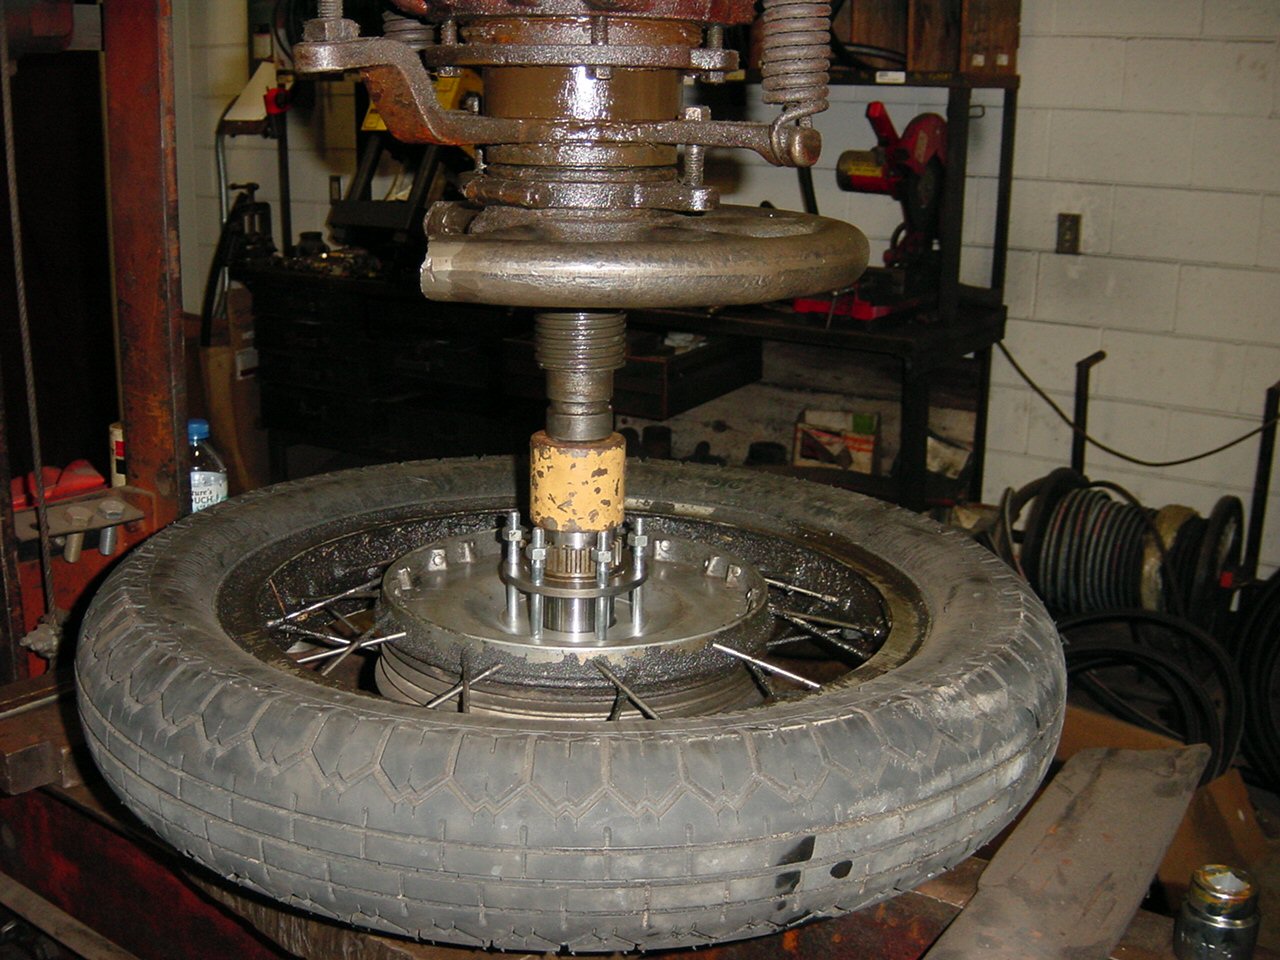
Press-out test set up before heating.
Photo courtesy of Joe Tokarz.
Good and worn central hubs pressed out.
Photo courtesy of Joe Tokarz.
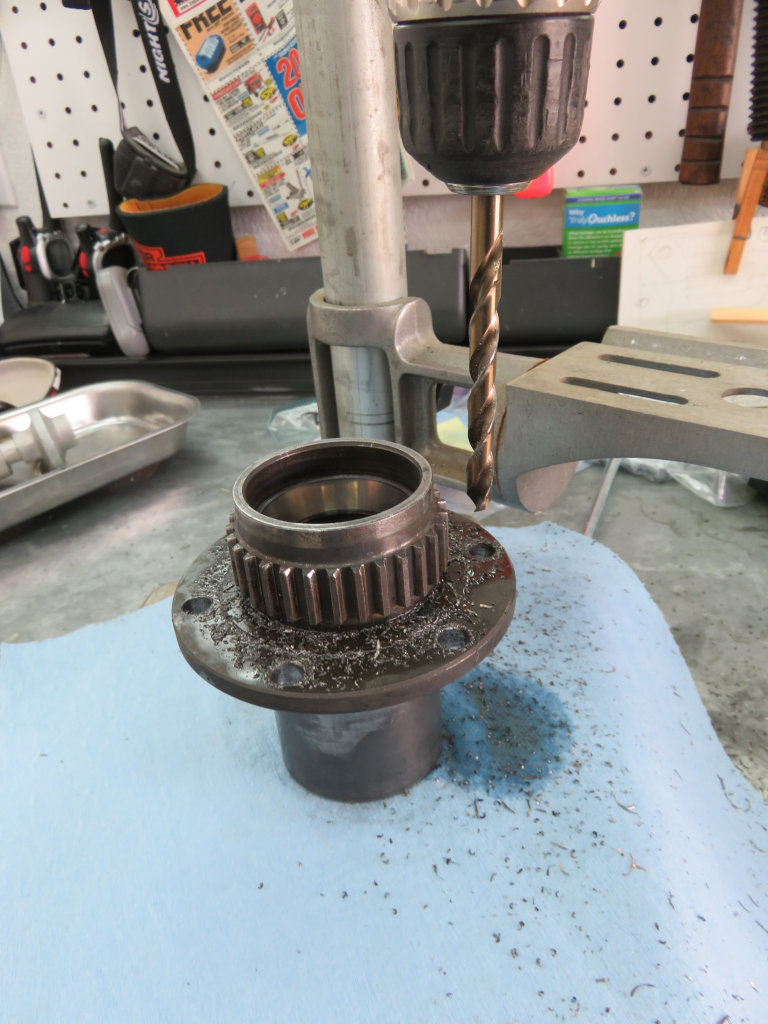
Good central hub sizing holes for 8 mm bolts.
Photo courtesy of Joe Tokarz.
Good hub cleaned.
Photo courtesy of Joe Tokarz.
Press-in test setup before heat and freeze.
Photo courtesy of Joe Tokarz.
Good central hub in good wheel.
Photo courtesy of Joe Tokarz.
Information from Scott Carlsen
Thanks to Scott Carlsen for sending me this information in a private email.