Cruise Control
Moto Guzzi Quota 1000 and Quota 1100 ES models
Updated:
I installed an electronic cruise control on my Quota. It works well, holds the chosen speed for an entire tank of gas, and makes interstate travel much more pleasurable. Here is what I did.
First, I did a little bit of Google research and found some existing information:
I started by purchasing a Audiovox CCS100 Universal Vacuum Cruise Control from Amazon (least expensive place I could find it).
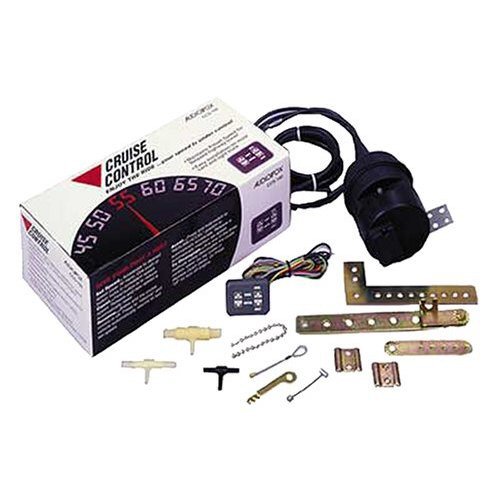
Photo courtesy of Audiovox.
Next, I began the task of fitting it to my Quota.
Mounting the control unit
I made a small bracket out of aluminum. The bracket is secured to the handlebar using the existing mirror mount. I cut a hole in the back through which the wires run.
I find the placement convenient. The unit, however, is not waterproof. I need to do some weatherproofing as it will stop working in the rain.
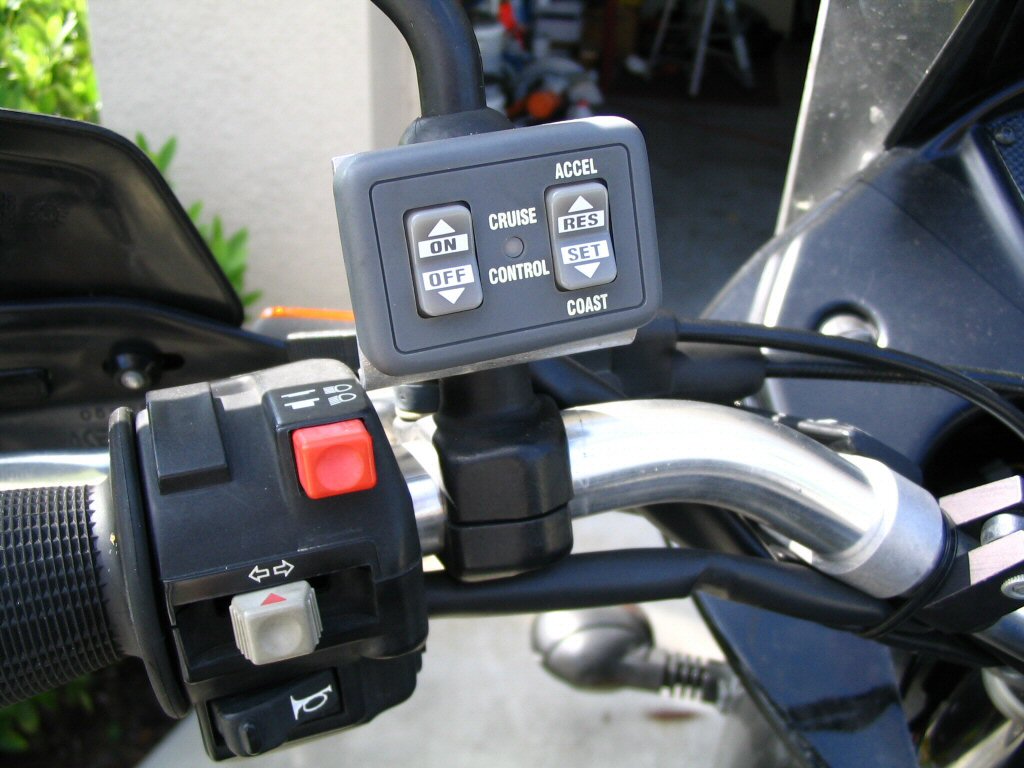
Photo courtesy of Gregory Bender.
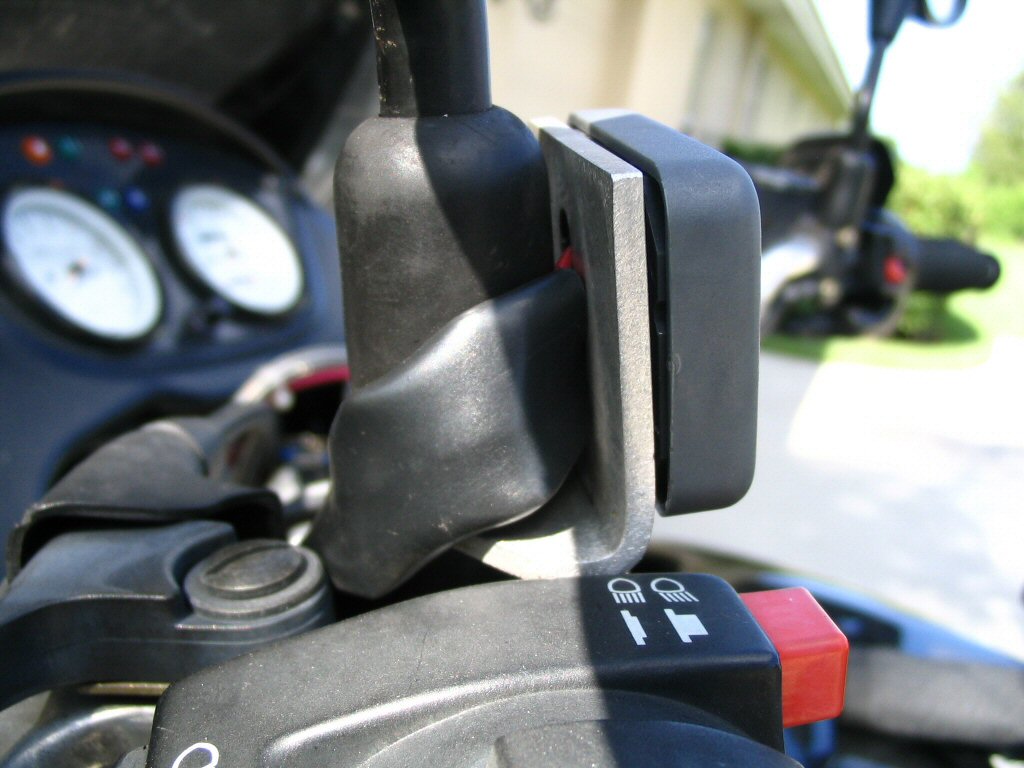
Photo courtesy of Gregory Bender.
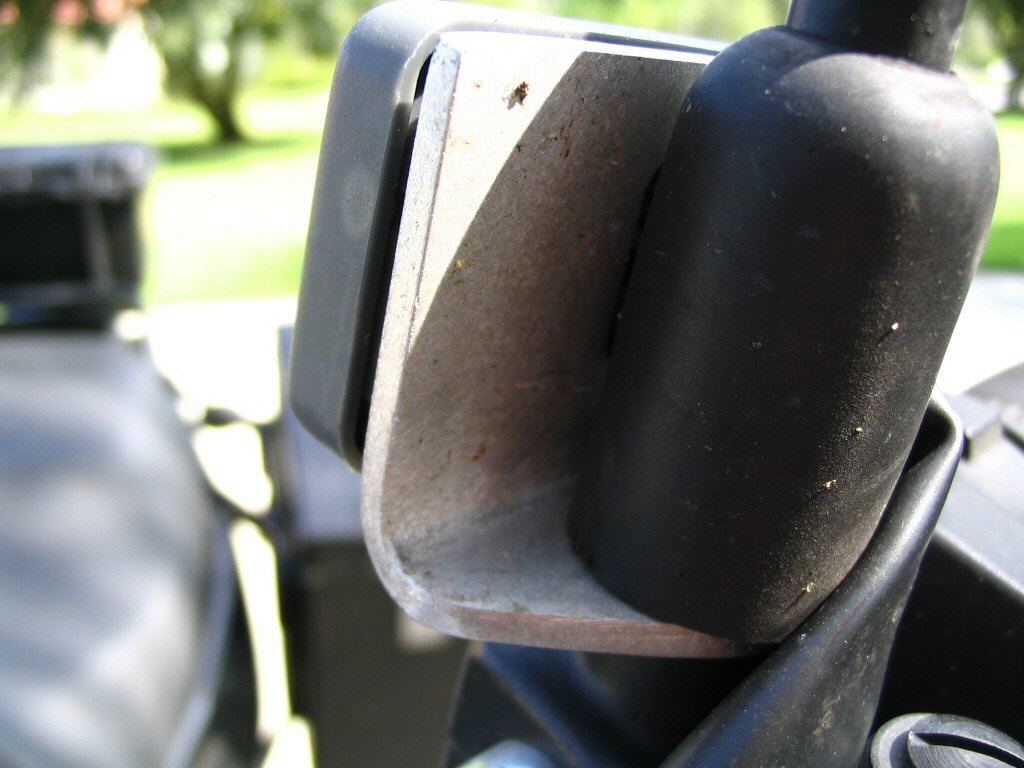
Photo courtesy of Gregory Bender.
Connecting the cable to the throttle body
Using one of the brackets that came with the kit, I secured the cable housing to one of the bell housing bolts. Then, using the ball chain from the kit and one of the adapters, I connected the cable to the part on the throttle body that rotates with the existing throttle cable. I secured the end of the adapter to the throttle through an existing hole using a small (5 mm, I think) bolt. If memory serves, I did not have to alter the part on the throttle body at all.
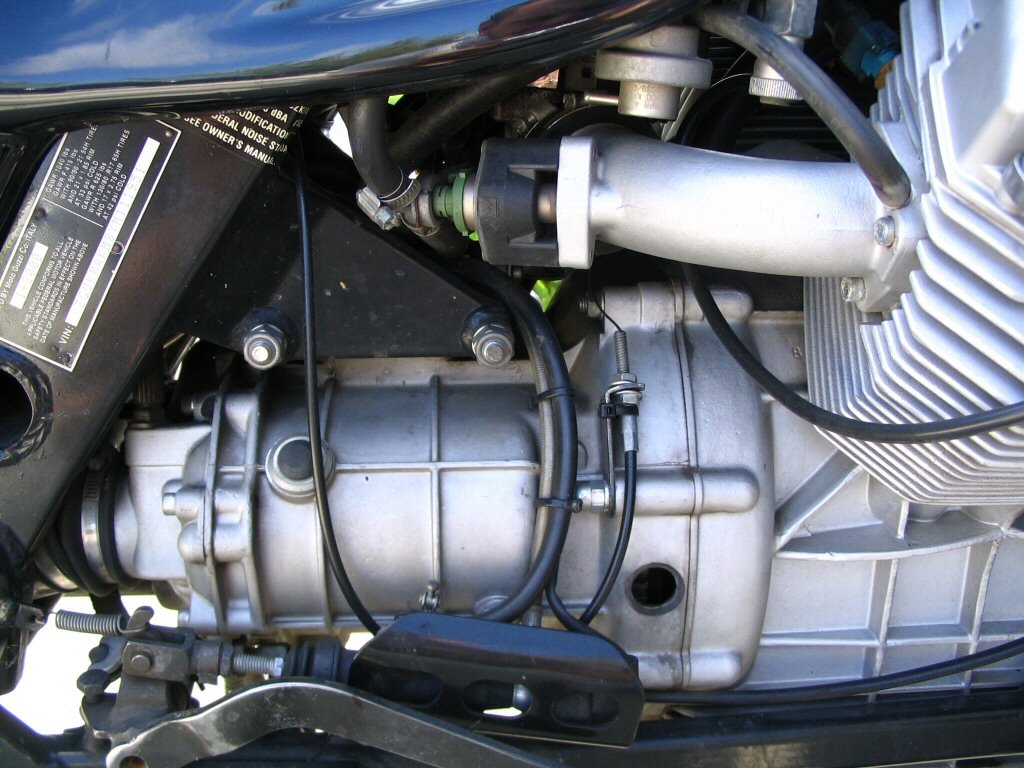
Photo courtesy of Gregory Bender.

Photo courtesy of Gregory Bender.
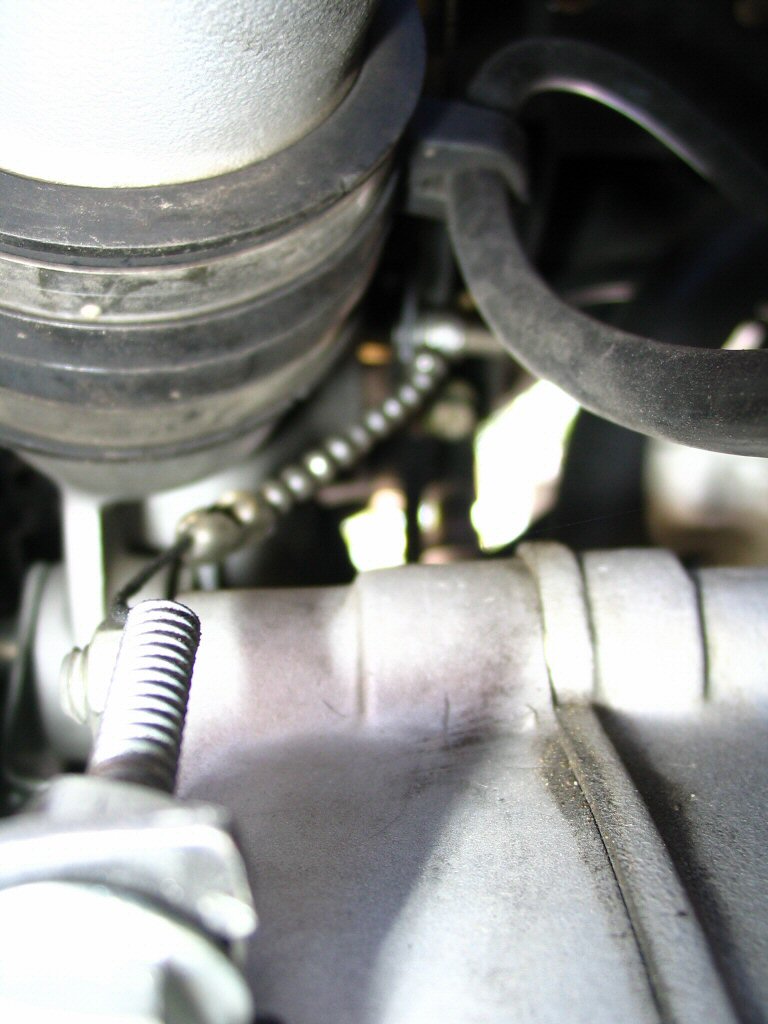
Photo courtesy of Gregory Bender.
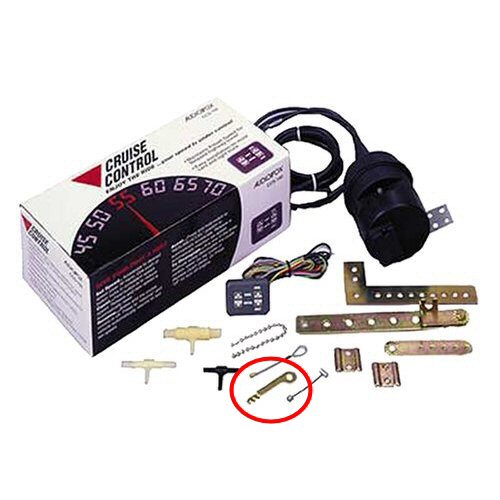
Photo courtesy of Gregory Bender.
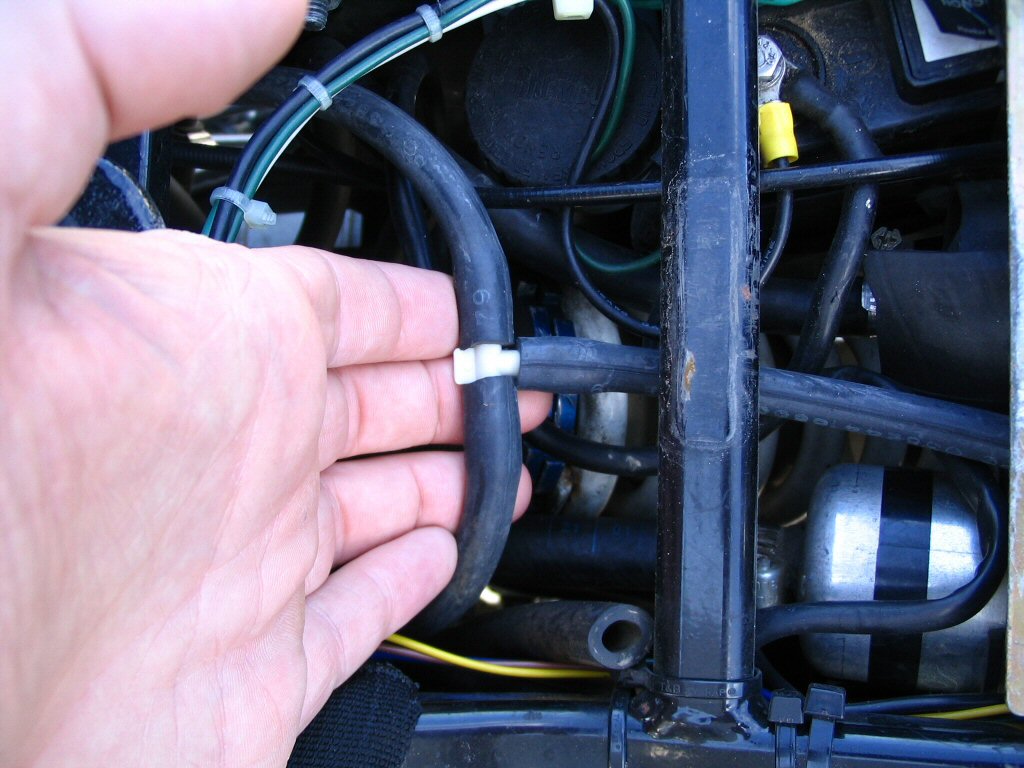
Connecting the vacuum hoses
The vacuum hoses are connected to each intake port. Then, they are joined together under the saddle with a T
connection. From there, I have installed a one-way valve (simple, Positive Crankcase Ventilation or PCV device). The hose then runs to a fitting on my homemade vacuum tank. Finally, a hose connects my homemade vacuum tank to the vacuum operated cable actuator that came with the kit.
At the intake ports, I used a pair of hose adapters from my existing stash of parts.
For the T
connection, I used one of the T
connectors that came with the kit.
For the PCV valve, I picked up something cheap and small off the shelf from my local auto parts store.
For the vacuum tank, I simply purchased a short length of 2 inch plastic pipe and two end caps. After drilling and tapping the holes in the end cap for my brass, 1⁄8 inch NPT, barbed vacuum hose connections, I screwed in the brass vacuum hose connections (using teflon tape on the threads) and glued the end caps onto the pipe. I used the largest diameter pipe in the longest length that would fit in the same I had. The goal here is to have the largest vacuum tank possible.
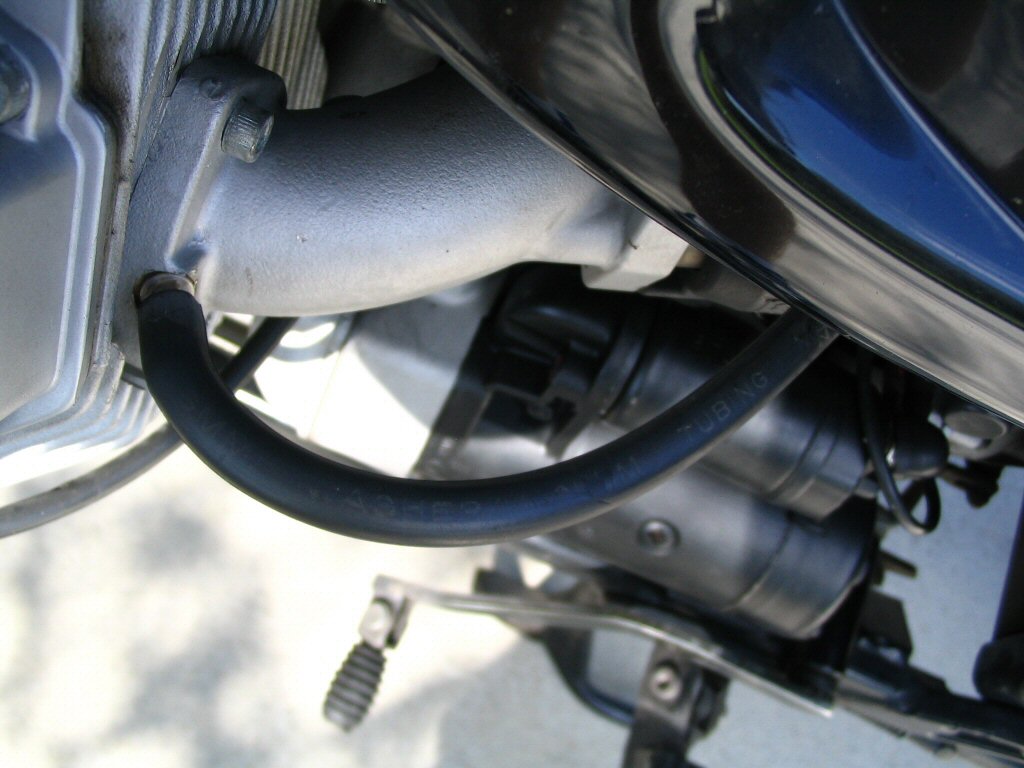
Photo courtesy of Gregory Bender.
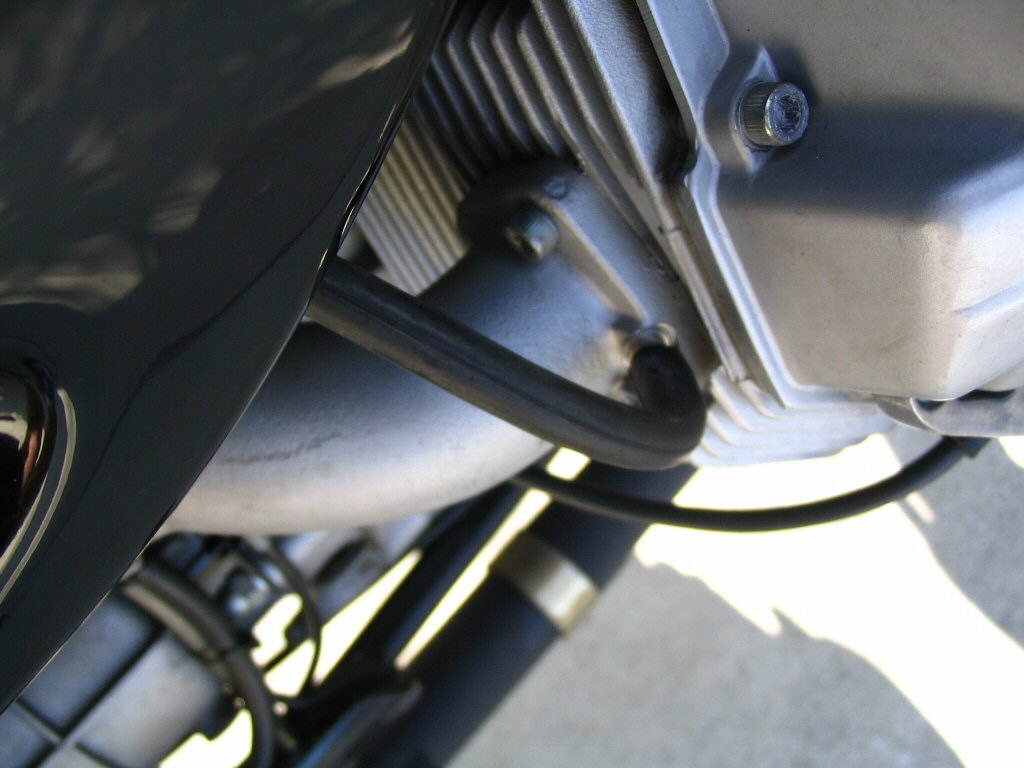
Photo courtesy of Gregory Bender.
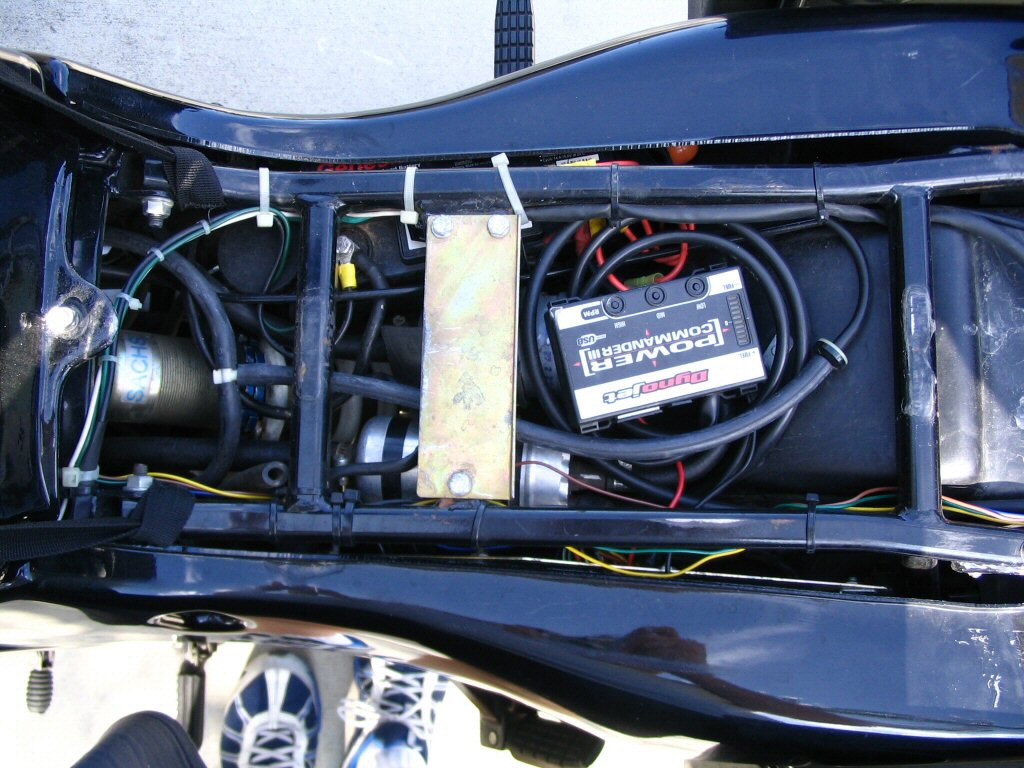
Photo courtesy of Gregory Bender.
Tconnection. Installing a cruise control on a Moto Guzzi Quota 1100 ES.
Photo courtesy of Gregory Bender.
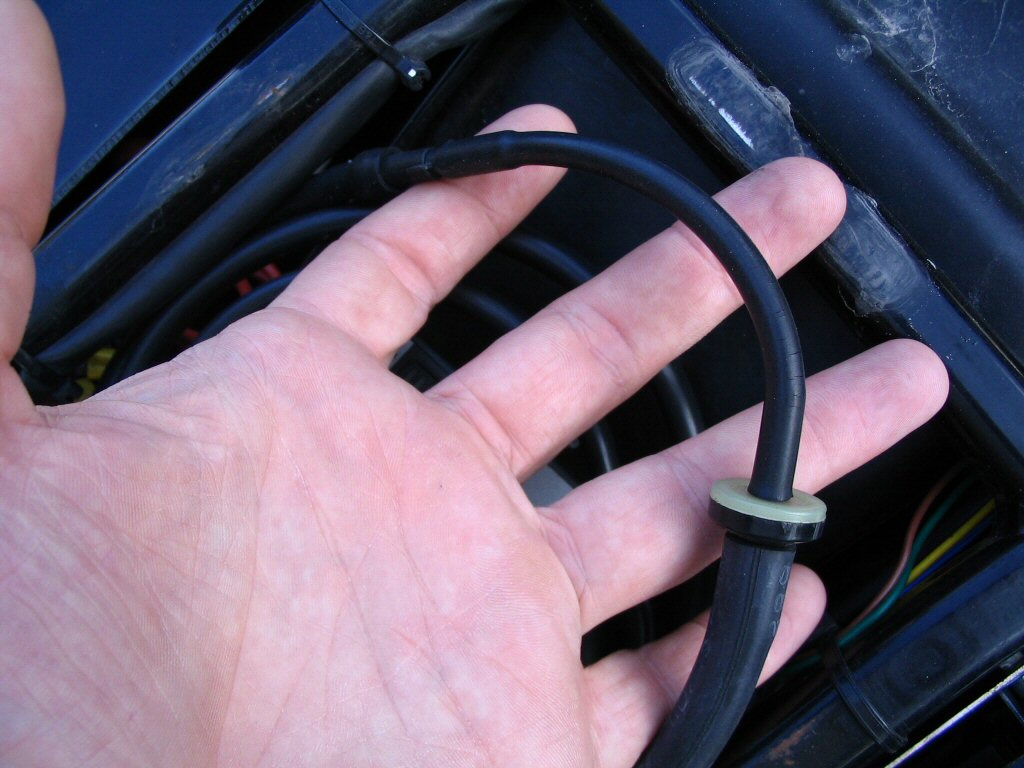
Photo courtesy of Gregory Bender.
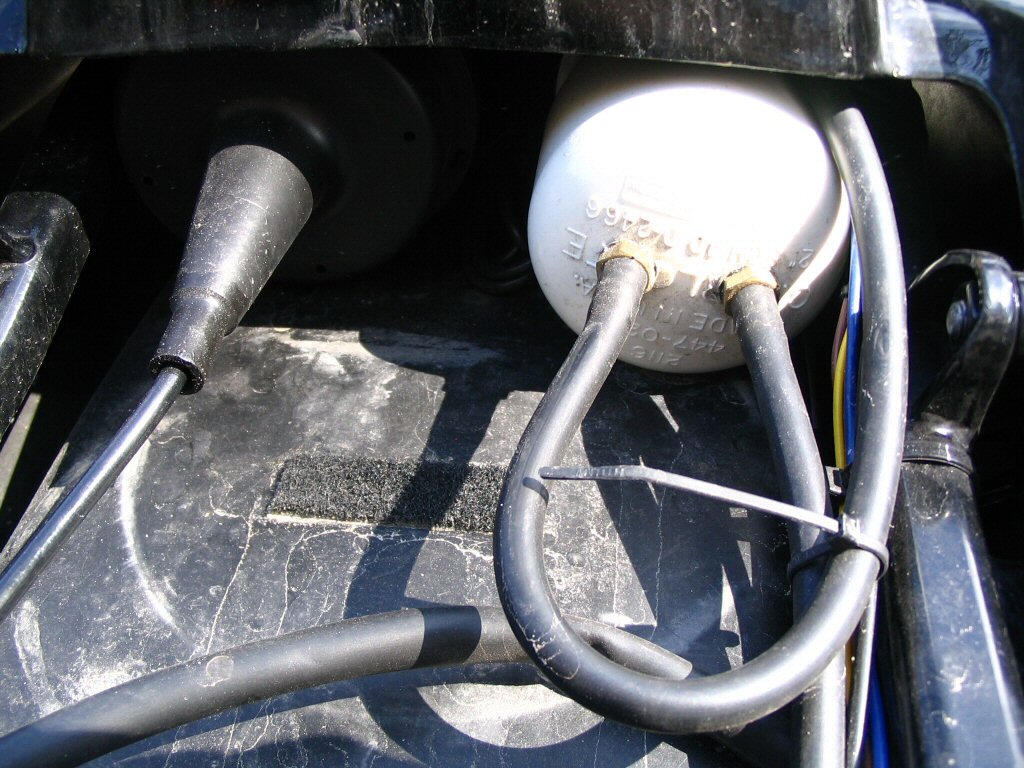
Photo courtesy of Gregory Bender.
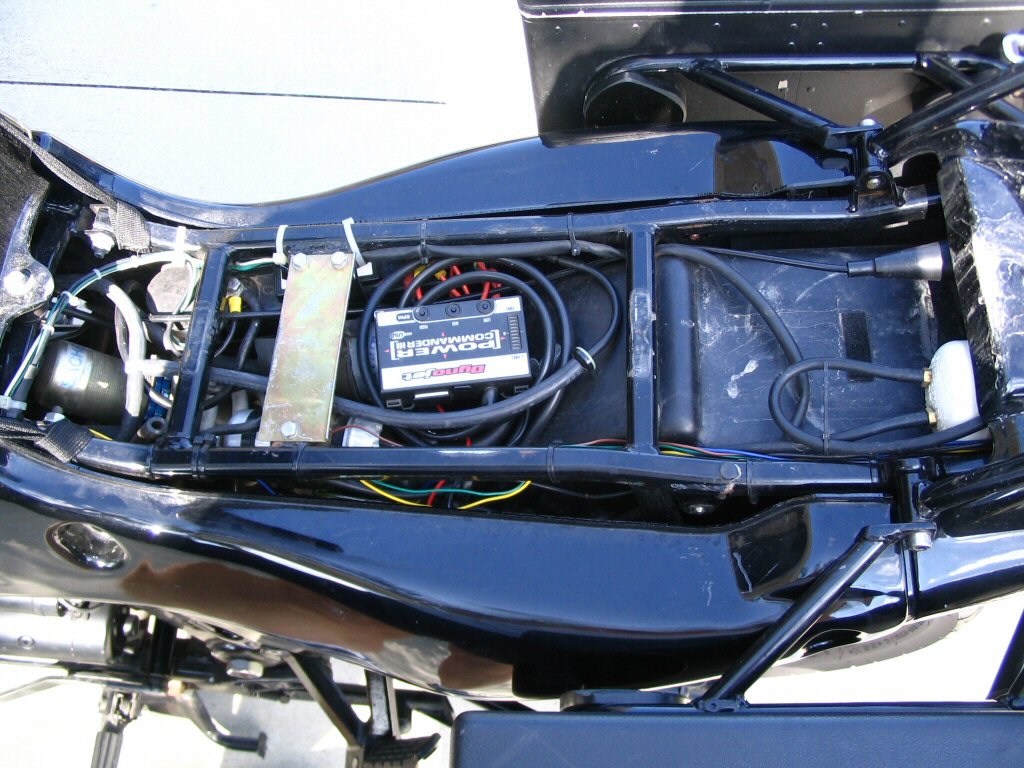
Photo courtesy of Gregory Bender.
Mounting the magnetic speed sensor
The manual that comes with the kit is not all that great and is a bit confusing on a number of issues. The only way I could get the cruise control to work was to hook up the magnetic speed sensor to the rear wheel. I simply could not make it work using a pick-up from the coil.
I made a small bracket out of steel and mounted it to the swing arm. I chose steel - instead of aluminum - because I did not want a stress related failure that might cause parts to become lodged in the rear wheel or brake.
I epoxied two magnets onto the brake rotor (180° apart). For magnets, I used cheap but strong, circular magnets from Walmart. For epoxy, I used Duco brand cement (also available at Walmart).
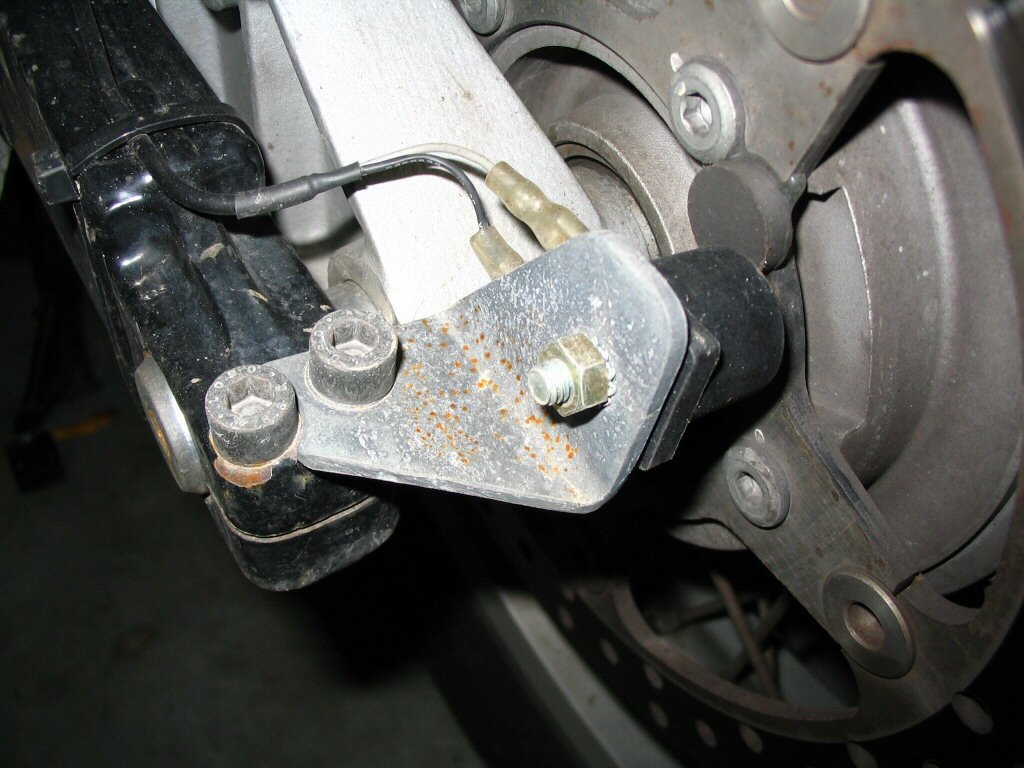
Photo courtesy of Gregory Bender.
Photo courtesy of Devcon.
Gregory Bender's thoughts:
The cruise control worked perfectly for several years, then one day stopped working. It was an interesting experiment and very useful for interstate travel, but I've not bothered to repair it.