Disc brake installation on a non-disc brake loop
Moto Guzzi V700, V7 Special, Ambassador, 850 GT, 850 GT California, Eldorado, and 850 California Police models
This information originated from posts made by Greg Field on the old Topica Loopframe_Guzzi news group (which has now moved to Groups.io) and also from a small comment sent to me by email from Marty Ray.
Putting a T3 front end on a loop frame
There are three approaches to putting a T3 front on your Eldo, but none is easy. Here are the options:
- Adapt the T3 triple trees to the Eldo. This is easiest, but you then lose the heavy look of the Eldo front end (no fork shrouds). You'll almost certainly have to use the T3 fender. The T3 axle will work.
- Adapt the T3 forks to your Eldo triple trees. This allows you to keep the fork shrouds and Eldo fender. There are at least two ways to do this:
- Have tapered
adapter caps
made that bolt to the top of the T3 forks. These match the taper on the inside of the top triple tree. Bob Nolan has made these. I can ask if he'll make more. This limits you to the non-FAC dampers. See below for caliper and fender considerations. - Get new disc-Eldo tubes made by Forking by Frank to use with the T3 sliders. Have him make the tubes with the ID threads at the top like the ID threads on the drum-Eldo tubes (different location for the O-ring, from what I remember). This leaves you to find a way to adapt damper rods to the top of your forks. You're unlikely to find the stock set-up for a disc Eldo, so here's how I'd do it: Center-drill your drum top caps for an 8 mm stud to affix the T3 damper rods to your top caps. This is a basic set-up that I have never actually done. Better would be to get FAC dampers and have the hex cap at the top turned down (or filed down) to fit inside the tubes. Then, remove the air stem from the top of the FACs, and screw it onto the stud you have added to your top caps. I have done this. See below for caliper and fender considerations.
- Have tapered
- Have custom top triple tree made to clamp non-tapered tubes of the T3. This would likely be very expensive but may be easier in the end than option 2. See below for caliper and fender considerations.
Caliper and Fender Considerations
If you do not have a disc front fender, you can use the drum-type, if you do the following:
- Swap fork sliders, left to right, which puts the calipers behind the sliders. This leaves room so that you can use the stock fender braces (or at least I was able to on the one I did).
- Then, cut off the strap on each side of the fender that used to mount to the fork sliders. Best would be to weld them back on in a position that can then mount to the T3 sliders. Likely, though, no problems would ensue from leaving them off.
- Insert the axle from the right (nut on the left).
Other Considerations
- I cannot remember what I used for axle and spacers. I think I had some metal turned off of the shoulder of the drum-brake axle.
- You'll have some daylight between the end of the fork shroud and the top of the slider, especially if you fit the longer G5-length springs and dampers. No harm in this; it just looks a bit odd. The reason for the daylight is because the fork shrouds are longer for the disc brake forks than for the drum brake forks. Drum brake fork shrouds are easy to find...disc brake fork shrouds are not nearly as common.
- There's probably other stuff, but I just can't remember it right now.
Using drum brake parts and V1000 I-Convert parts to build a dual disc front end
Thanks to Charlie Mullendore of Antietam Classic Cycle for sending me this description.
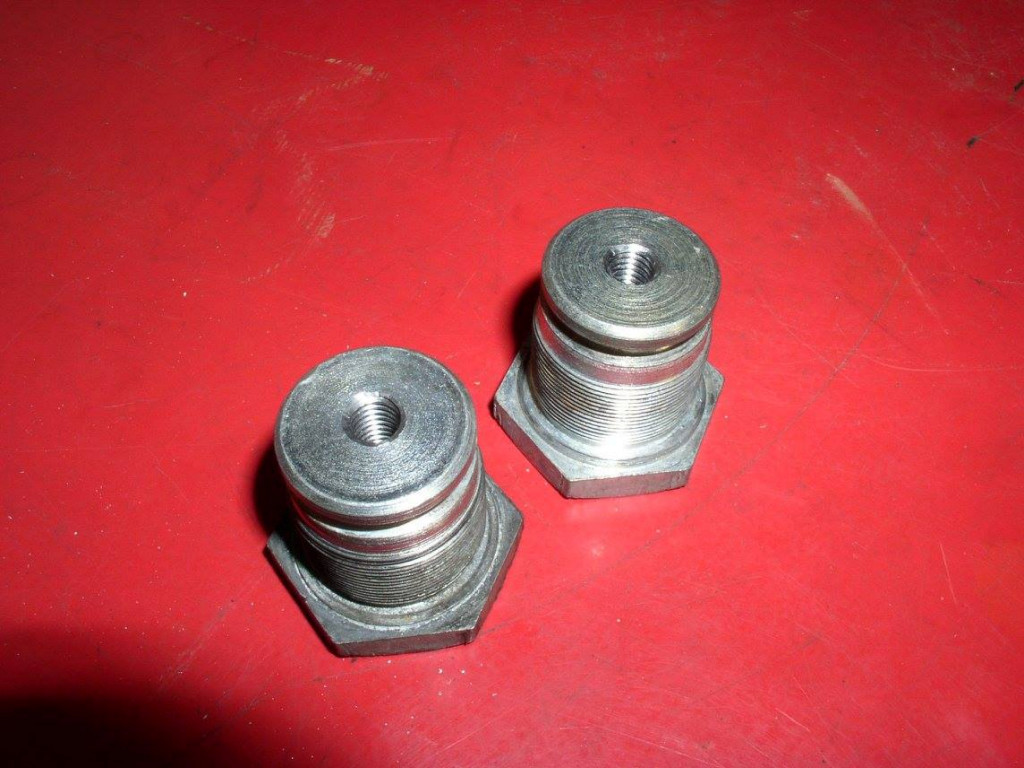
Photo courtesy of Charlie Mullendore of Antietam Classic Cycle.
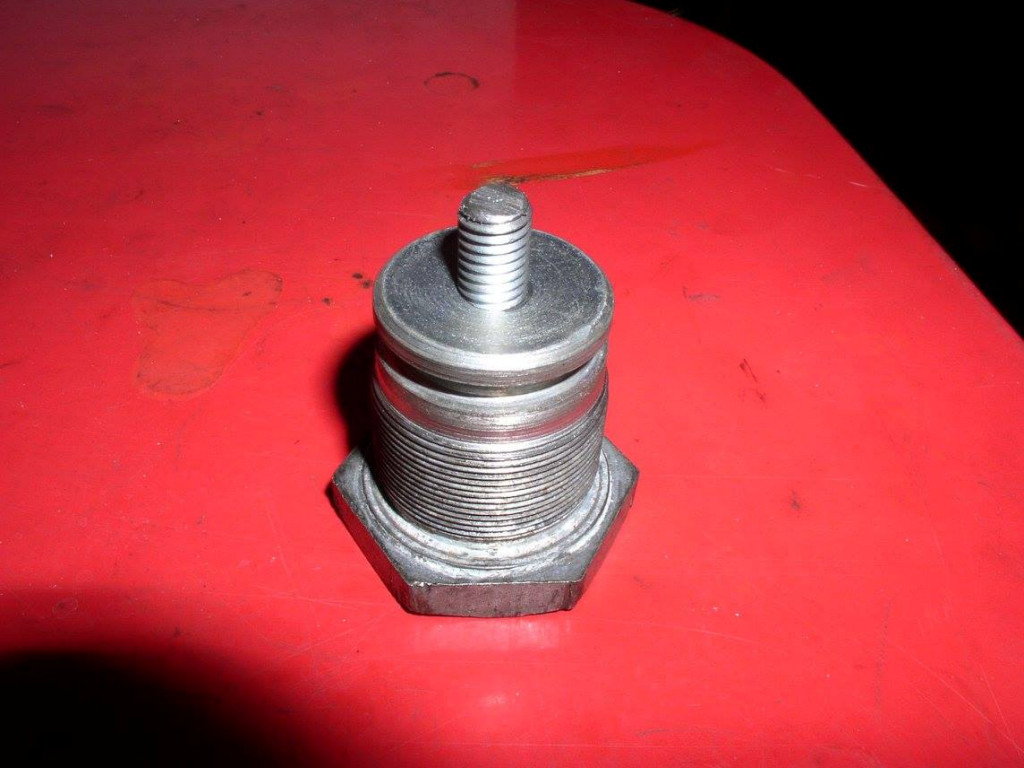
Photo courtesy of Charlie Mullendore of Antietam Classic Cycle.
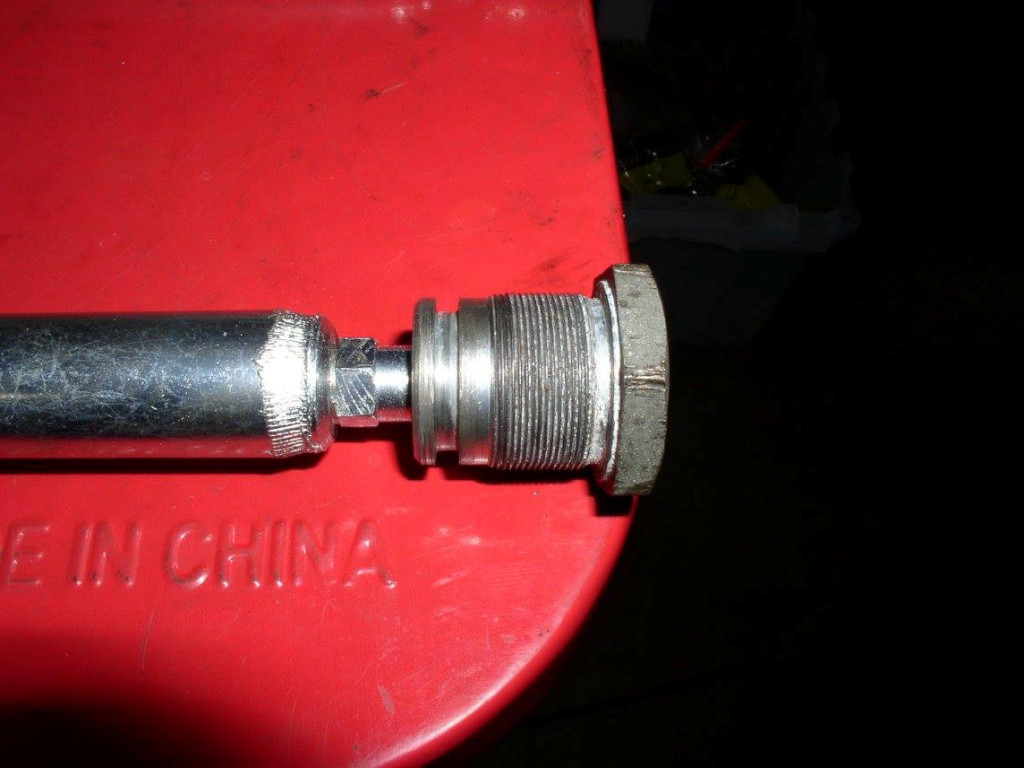
Photo courtesy of Charlie Mullendore of Antietam Classic Cycle.
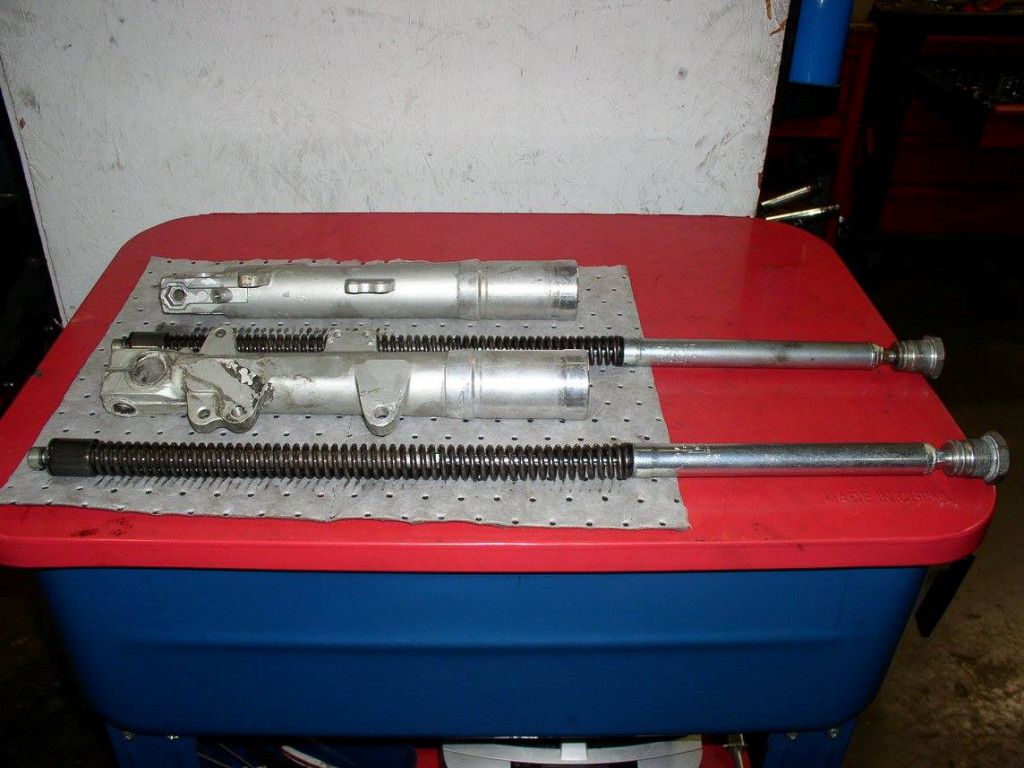
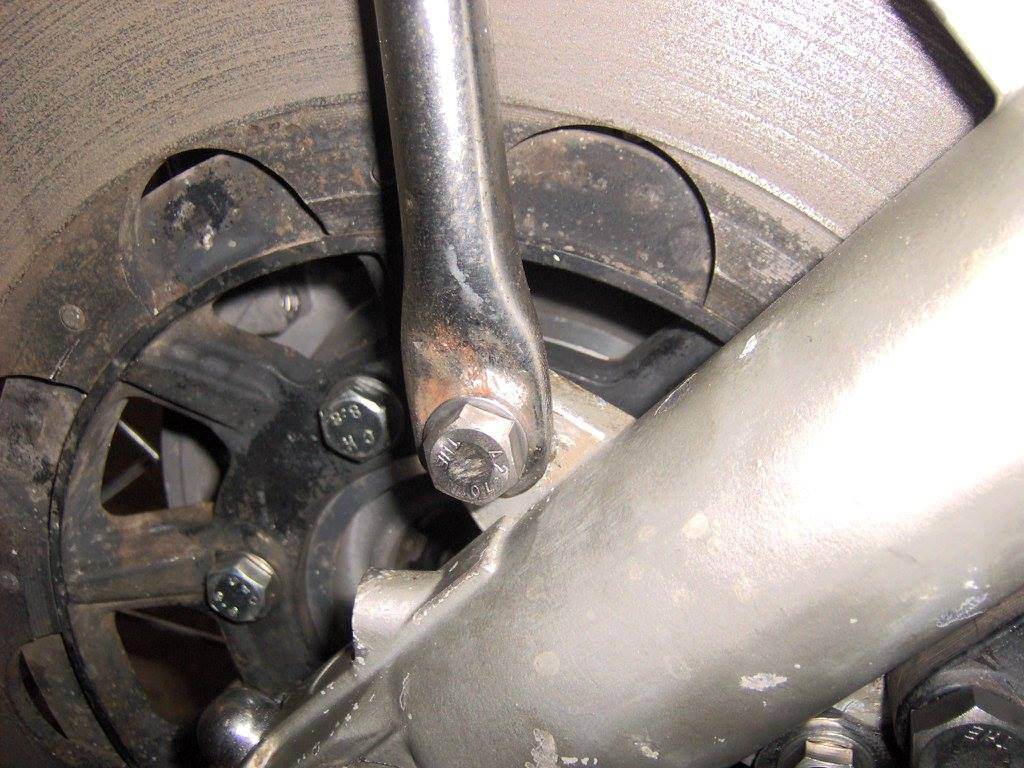
Photo courtesy of Charlie Mullendore of Antietam Classic Cycle.
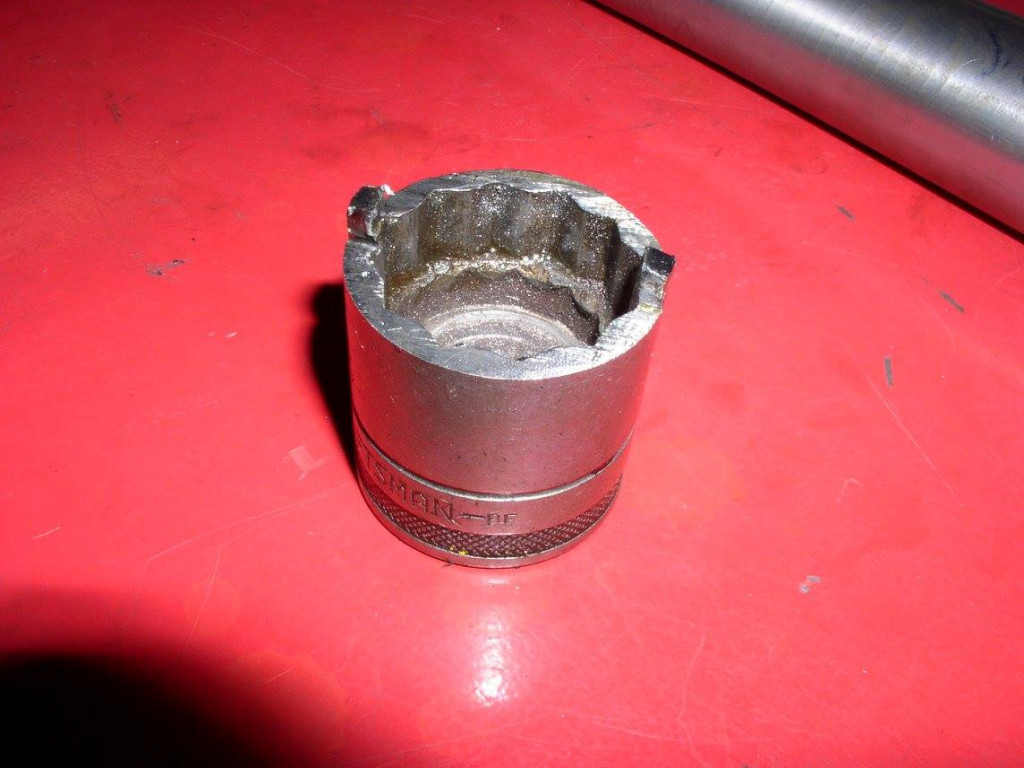
Photo courtesy of Charlie Mullendore of Antietam Classic Cycle.
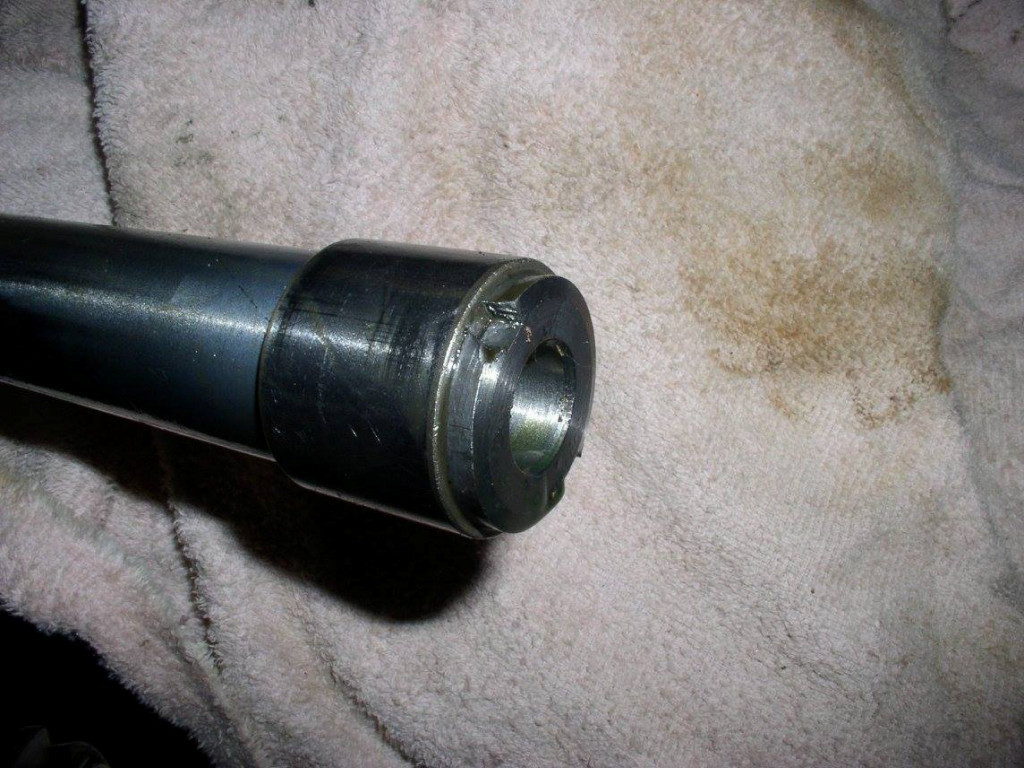
Photo courtesy of Charlie Mullendore of Antietam Classic Cycle.
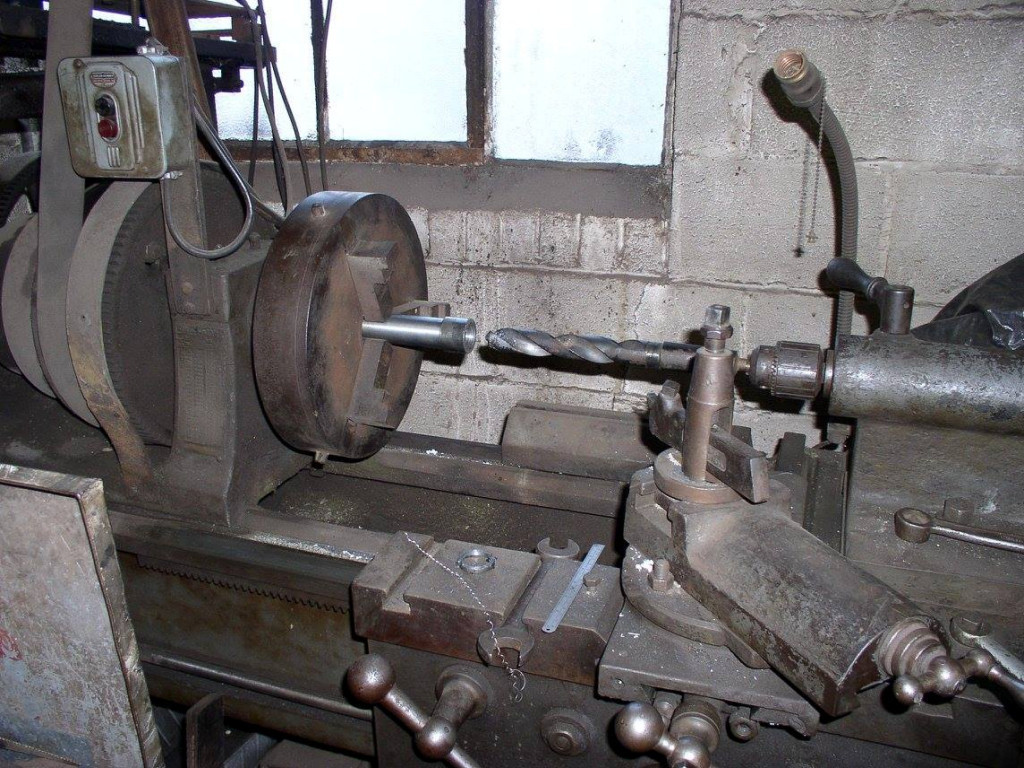
biglathe and drilled them out. (drill size 1.125 inch)
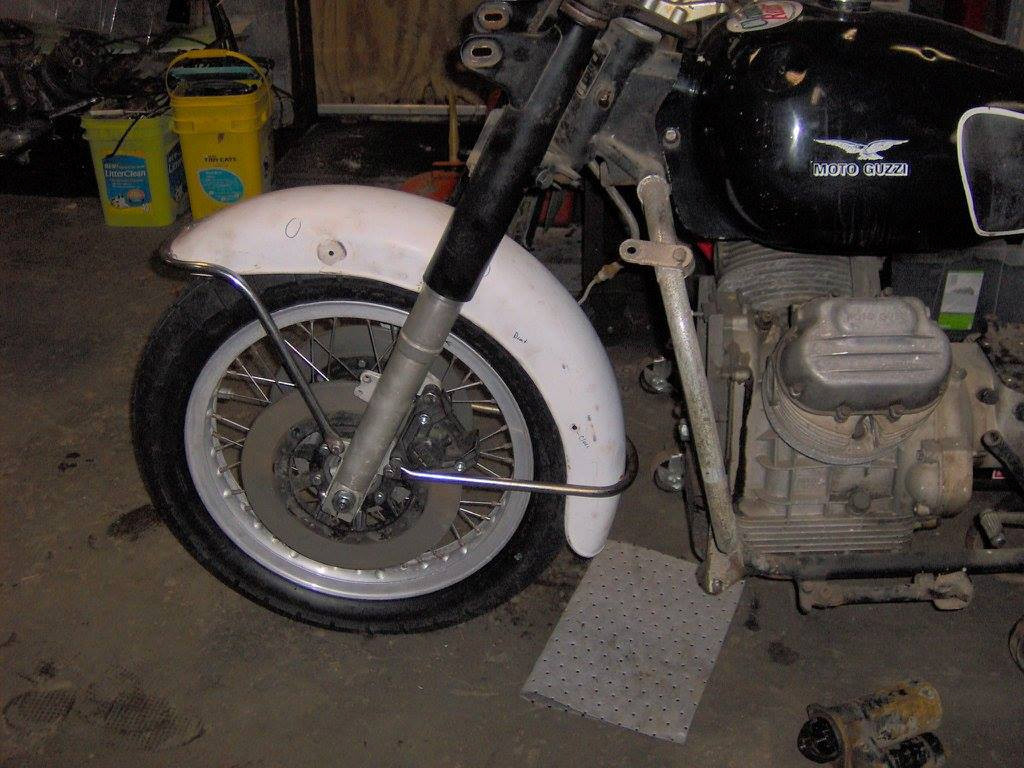
Photo courtesy of Charlie Mullendore of Antietam Classic Cycle.
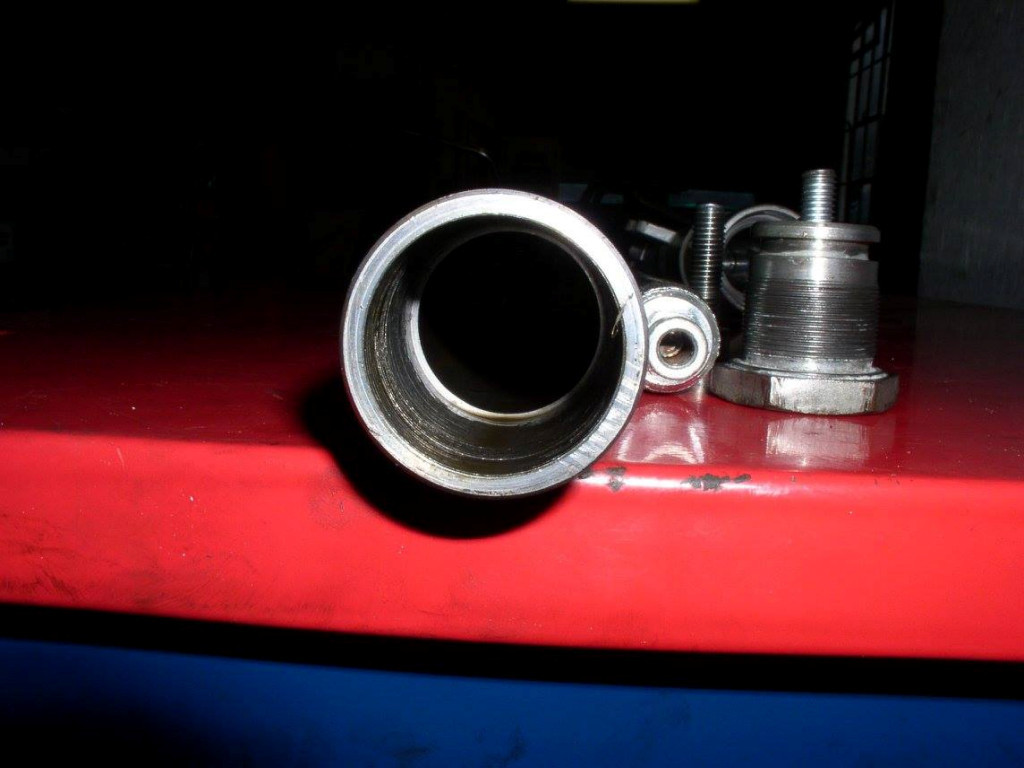
Photo courtesy of Charlie Mullendore of Antietam Classic Cycle.
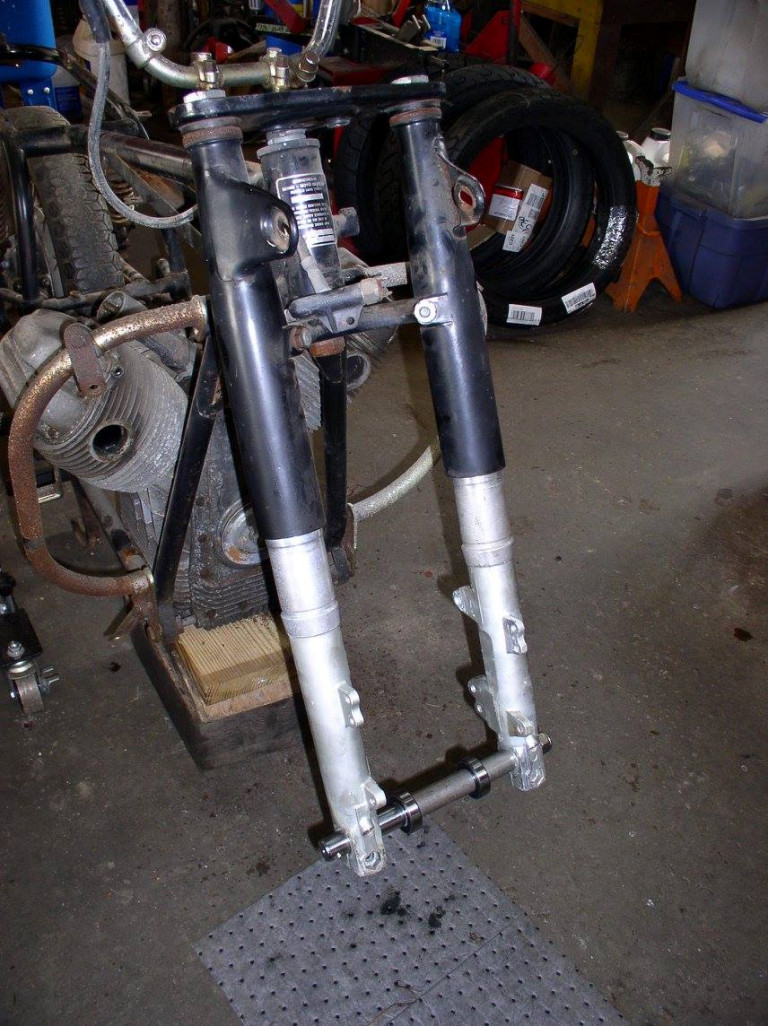
Photo courtesy of Charlie Mullendore of Antietam Classic Cycle.
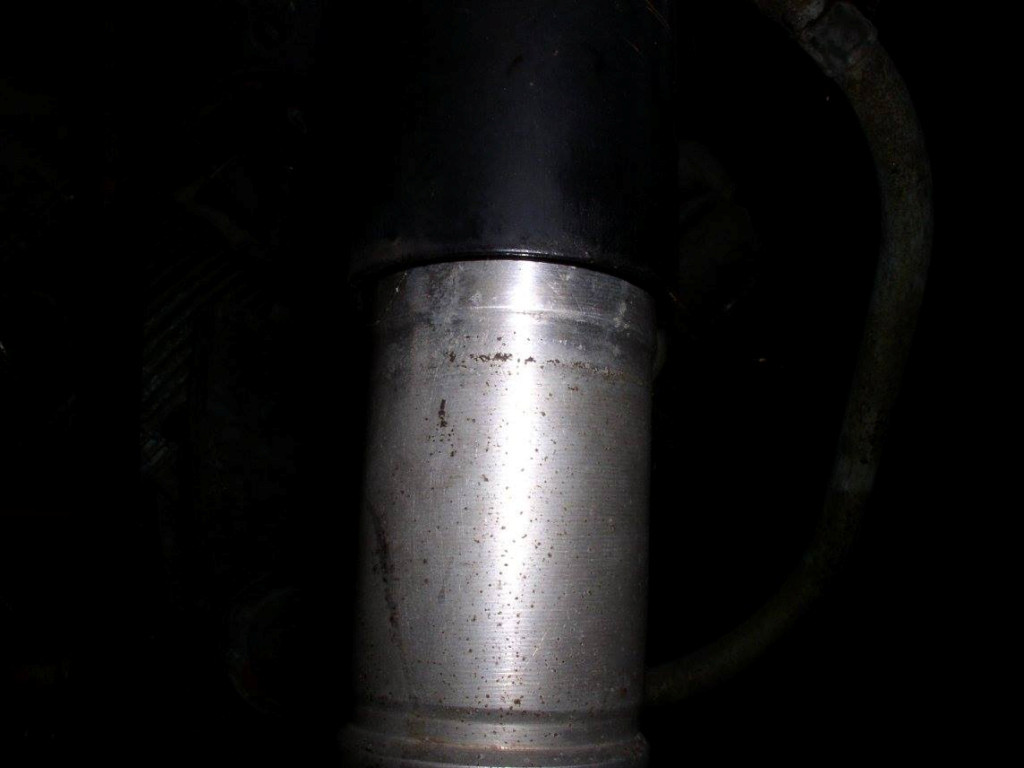
Photo courtesy of Charlie Mullendore of Antietam Classic Cycle.

Photo courtesy of Charlie Mullendore of Antietam Classic Cycle.
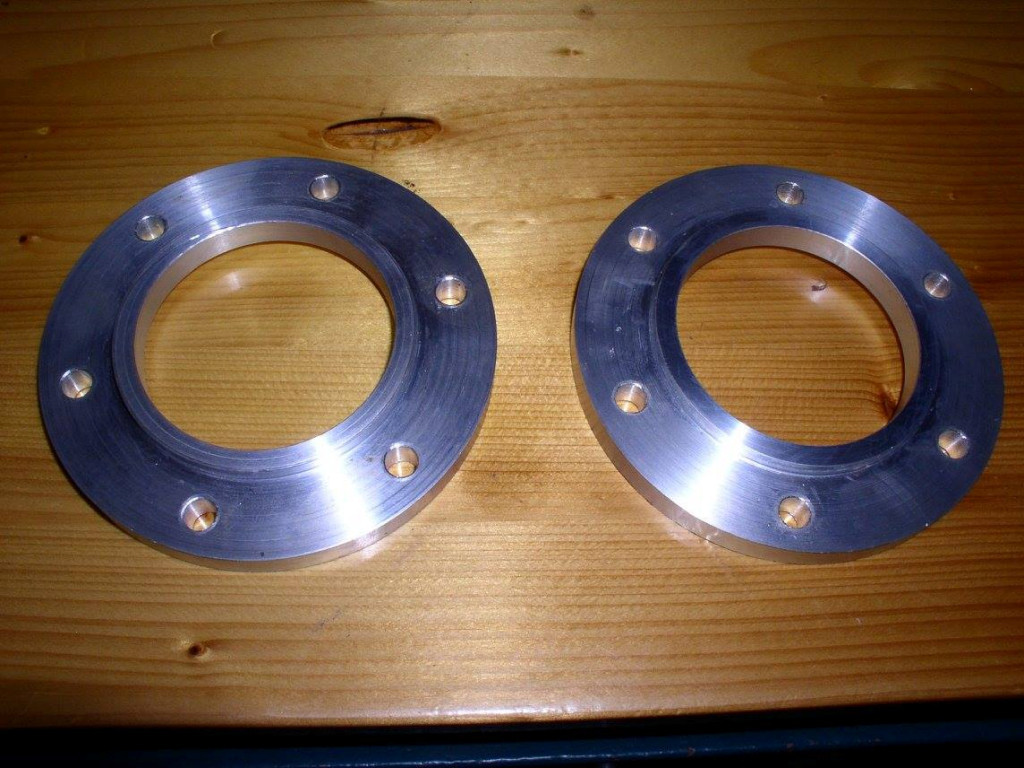
Photo courtesy of Charlie Mullendore of Antietam Classic Cycle.
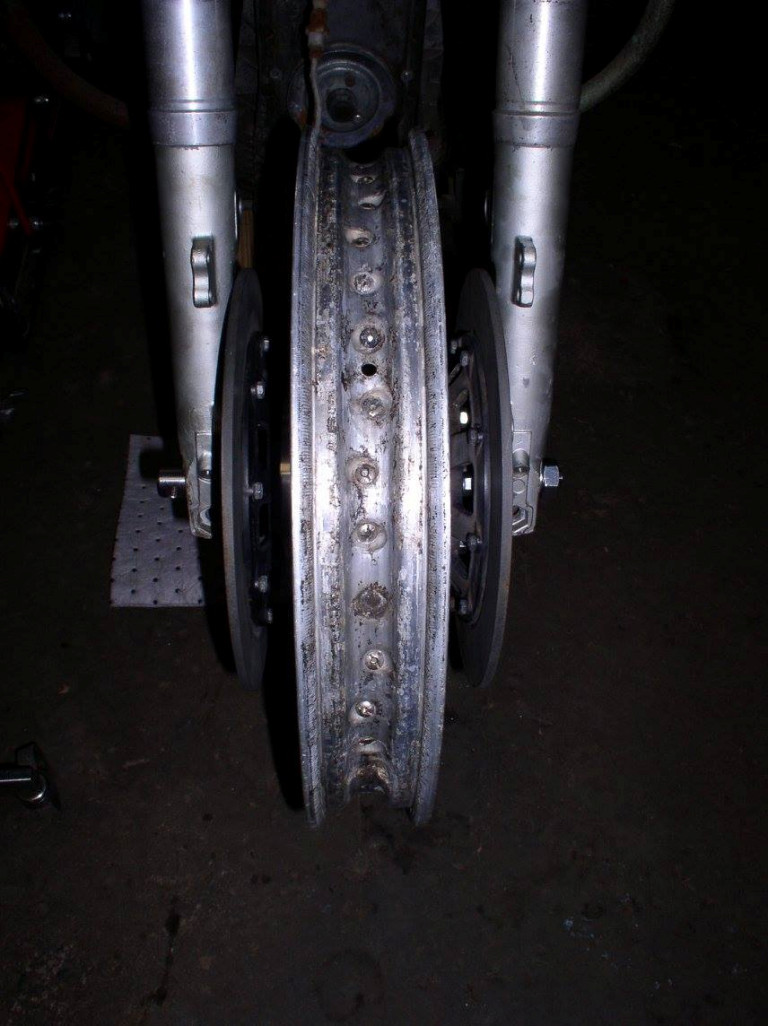
Photo courtesy of Charlie Mullendore of Antietam Classic Cycle.
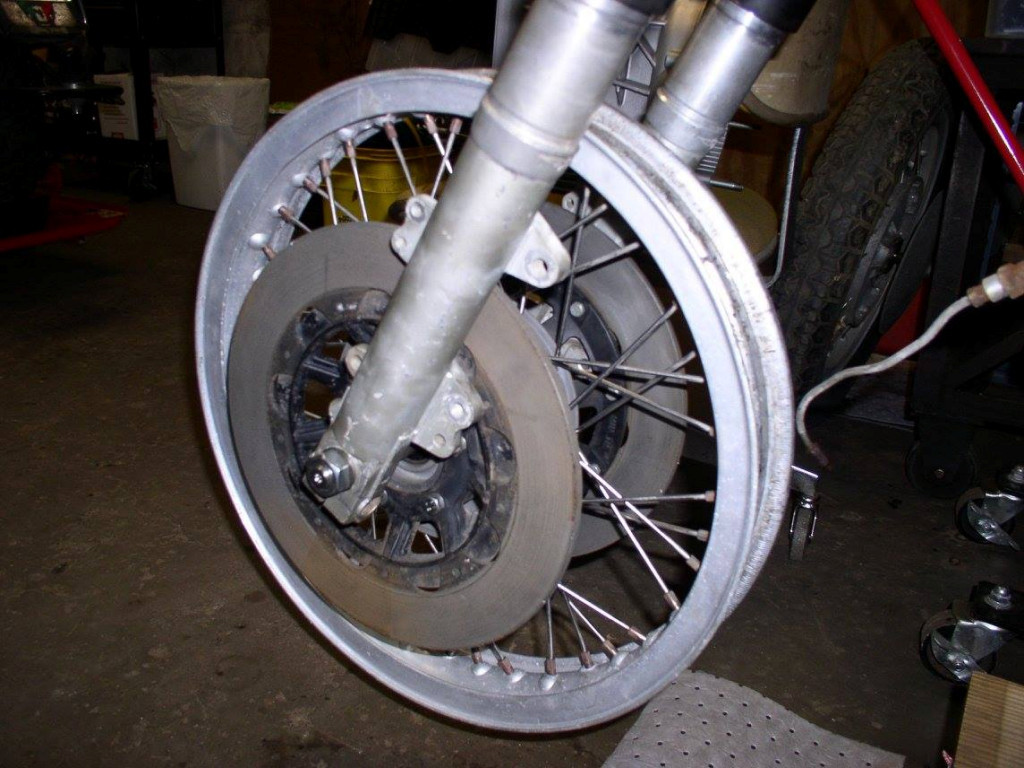
Photo courtesy of Charlie Mullendore of Antietam Classic Cycle.
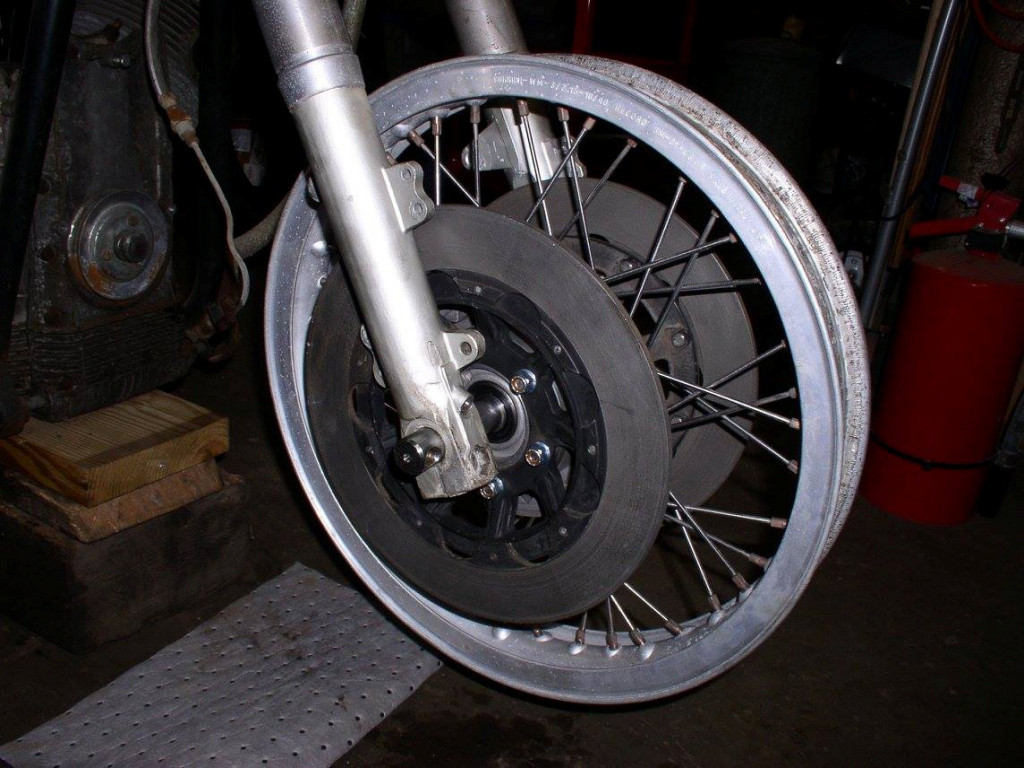
Photo courtesy of Charlie Mullendore of Antietam Classic Cycle.
mock-uppurposes, I just cut the ends off, smashed the tubing flat in the vise and drilled a new hole.
Photo courtesy of Charlie Mullendore of Antietam Classic Cycle.
cut and shutthe tube - cut the tube in the center of the length and weld it back together after the correct amount is removed.
Photo courtesy of Charlie Mullendore of Antietam Classic Cycle.
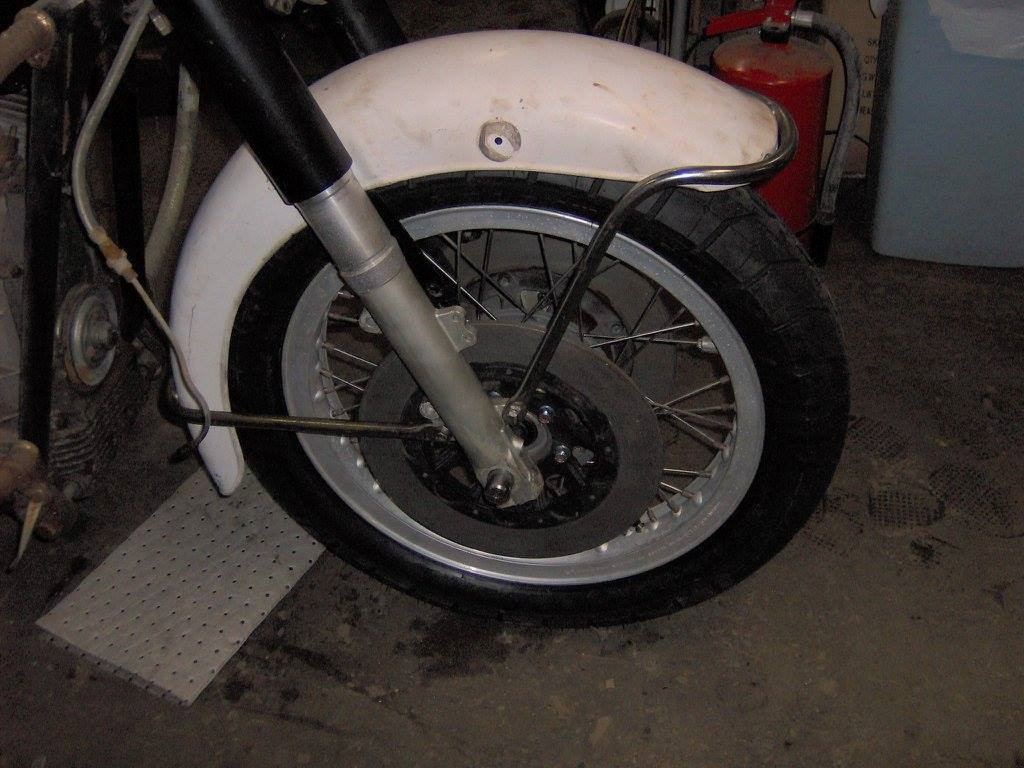
Photo courtesy of Charlie Mullendore of Antietam Classic Cycle.