Moto Guzzi V700, V7 Special, Ambassador, 850 GT, 850 GT California, Eldorado, and 850 California Police models
Created:
Updated:
Thanks to Jürgen Amtmann for sending me his excellent tips and techniques. In Jürgen's own words:
After reading Dan Eberhard's description of overhauling a Moto Guzzi Generator, I realized that it was basically the same as the generator in my 356 Porsche that I am restoring. Since everything on the car is over 50 years old, so is the generator, and it looked it.
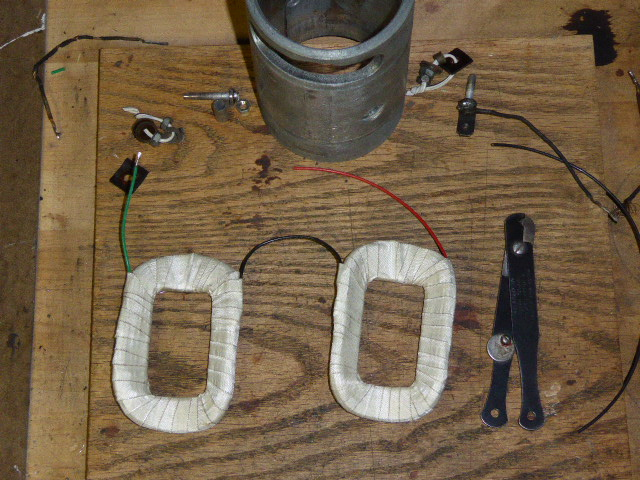
I decided to rip it apart, get the housing zinc plated and the end covers powder coated and after that followed Dan's excellent step by step instructions in putting everything right. I laboriously undid the cotton wrapping of the coils and using modern fiberglass wrapping tape re-wrapped them after unsoldering the leads going to the B+ and DF terminals (the cloth insulation had deteriorated) (Photo 1) and substituting modern aircraft Tefzel insulated wire for the exposed wires. (Photo 2)
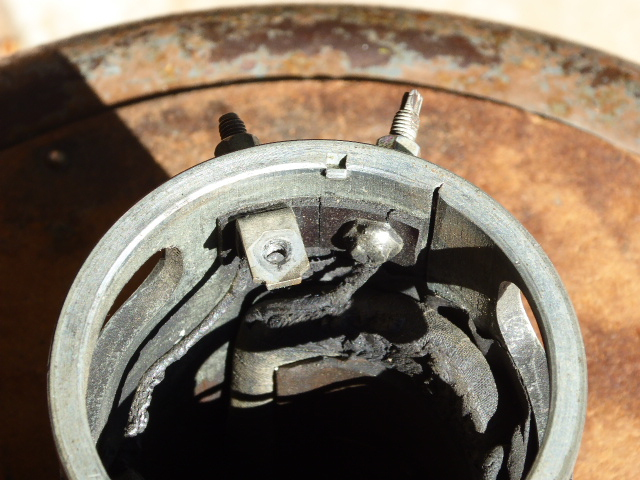
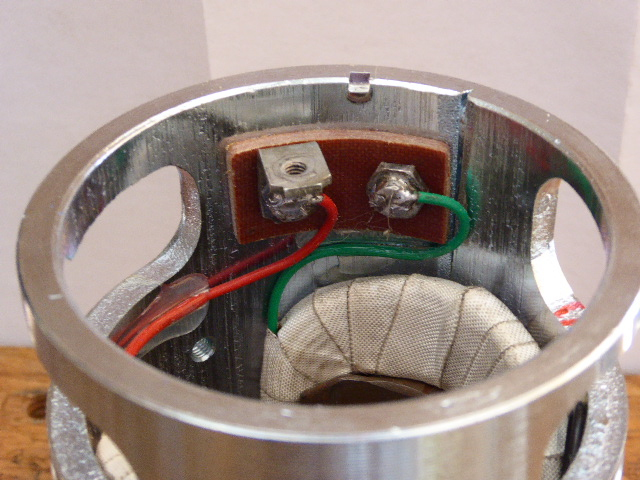
Dan had warned about being very careful with the insulating phenolic under the terminals that protrude thru the generator case because the phenolic strip tends to break. Of course, mine broke. (Photo 3). Bummer! The original is about 2 mm thick Phenolic and brittle. Getting 2 mm phenolic (or circuit board) is no problem, but it won't bend easily to the inside diameter of the case, and even if it did, it would be a pita to drill and install.
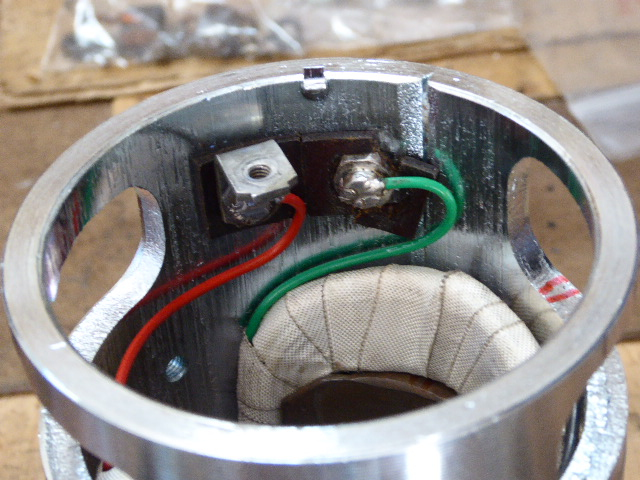
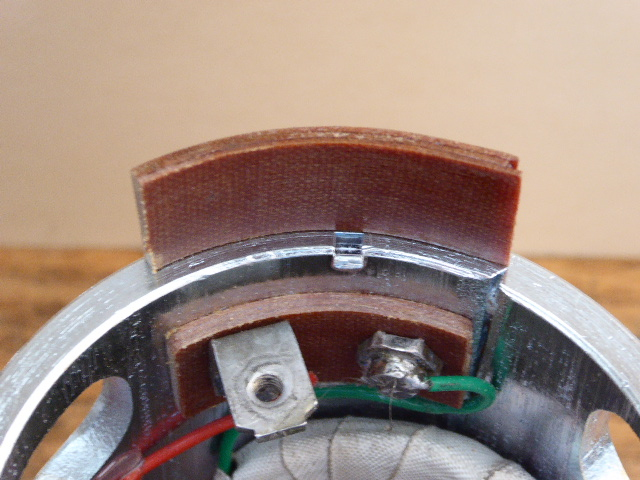
The solution was to get 0.032 inch thick cotton cloth phenolic, epoxy 3 layers together while bent around a baked bean tin can and strapped down with a bunch of rubber bands. The single piece of newly formed insulation is now easily held in place and drilled from the outside to the diameter of the posts, posts inserted and screwed tight. The result is shown in (Photo 4) After immobilizing the terminal wires with E 6000 Adhesive (great stuff for glueing almost everything, (Photo 5), the reassembly was a cinch. Just don't loose or forget the bearing spring in the front cover. (ask me how I can give that advice).