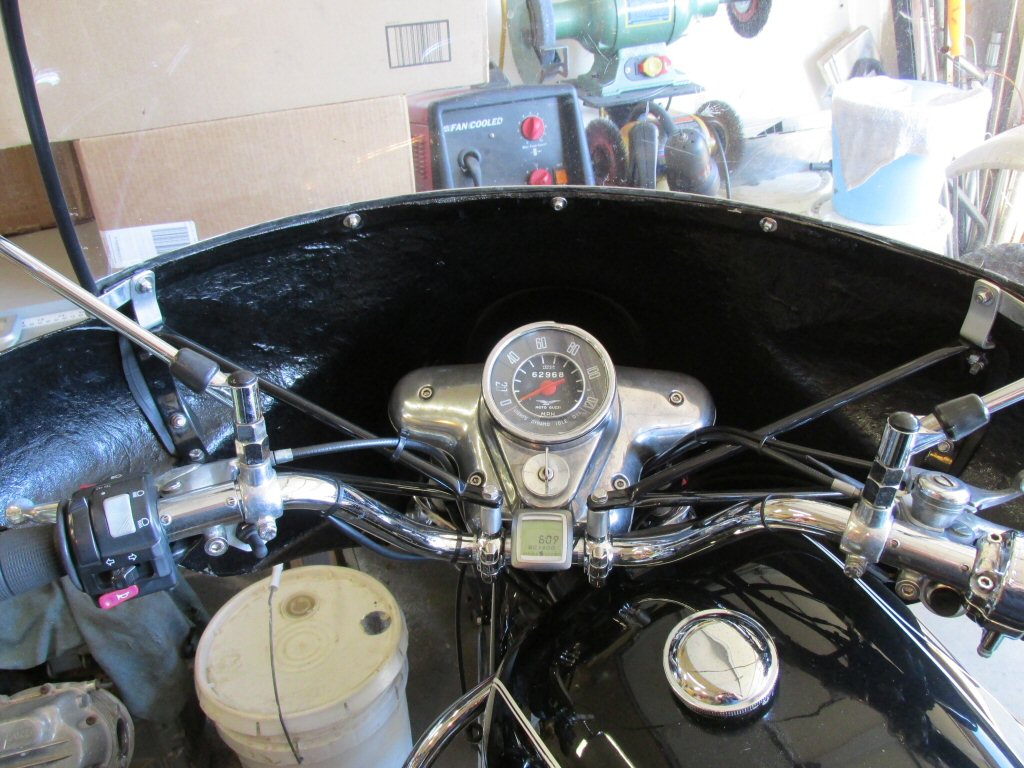
Moto Guzzi fairing
Moto Guzzi V700, V7 Special, Ambassador, 850 GT, 850 GT California, Eldorado, and 850 California Police models
This fairing is commonly referred to as the Polizia
fairing due to its use by the Itilian police force.
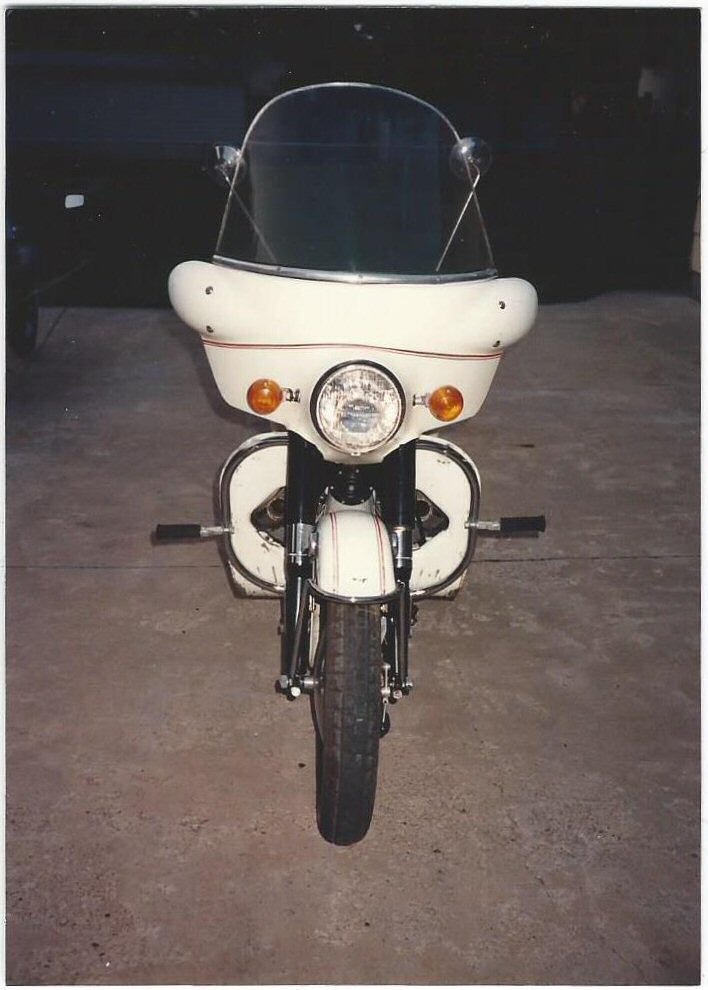
poliziafairing mounted to an A-series Ambassador.
Photo courtesy of George Vignovich.
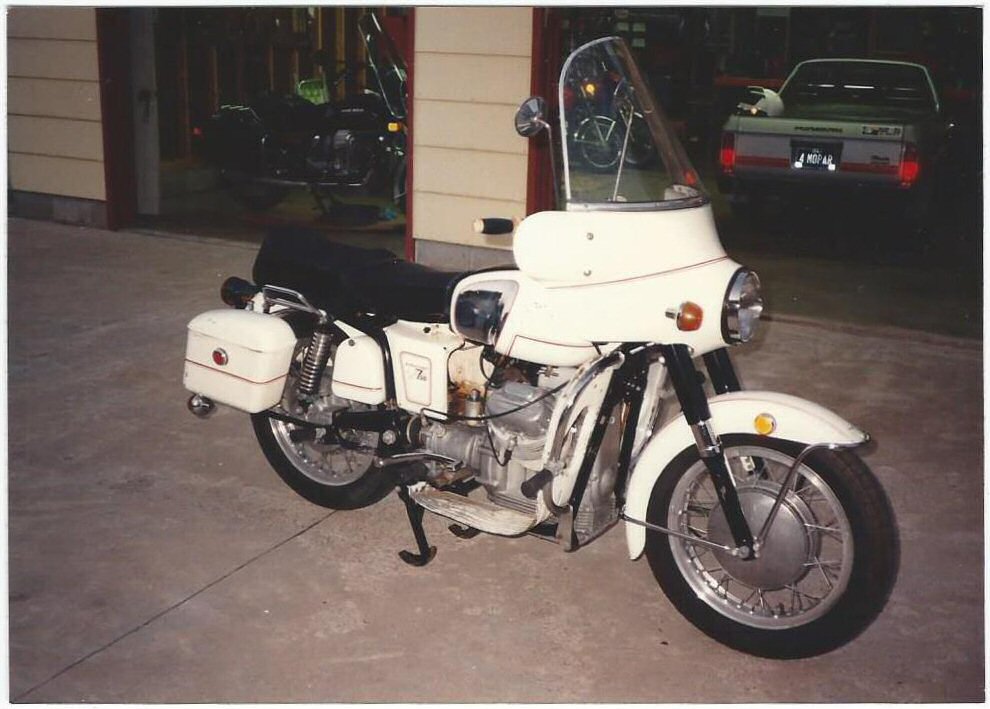
poliziafairing mounted to an A-series Ambassador.
Photo courtesy of George Vignovich.
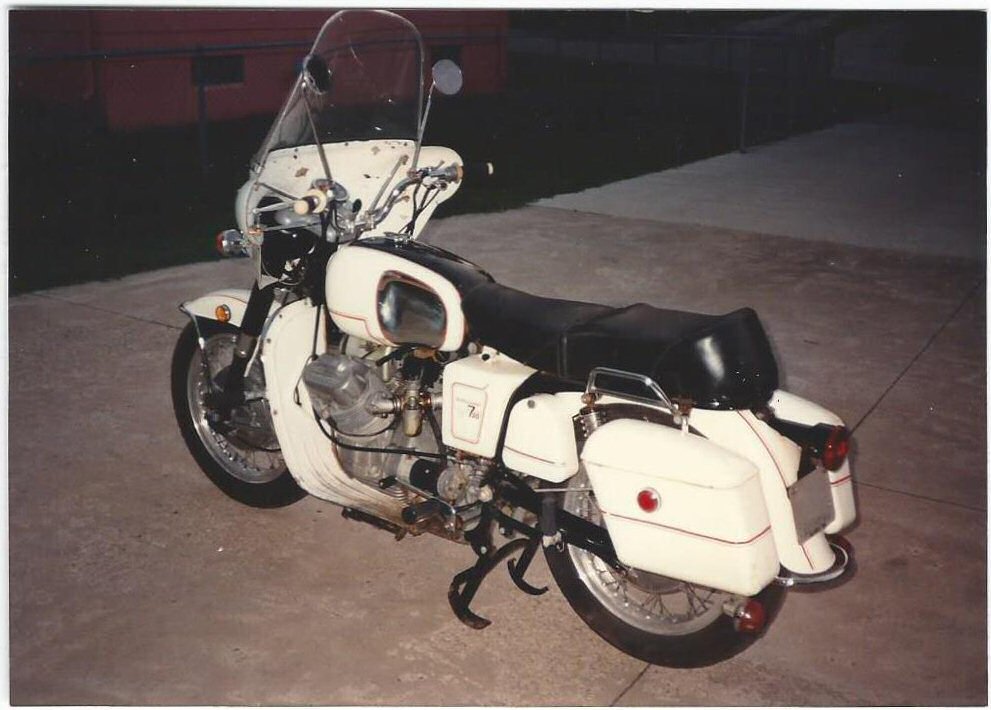
poliziafairing mounted to an A-series Ambassador.
Photo courtesy of George Vignovich.
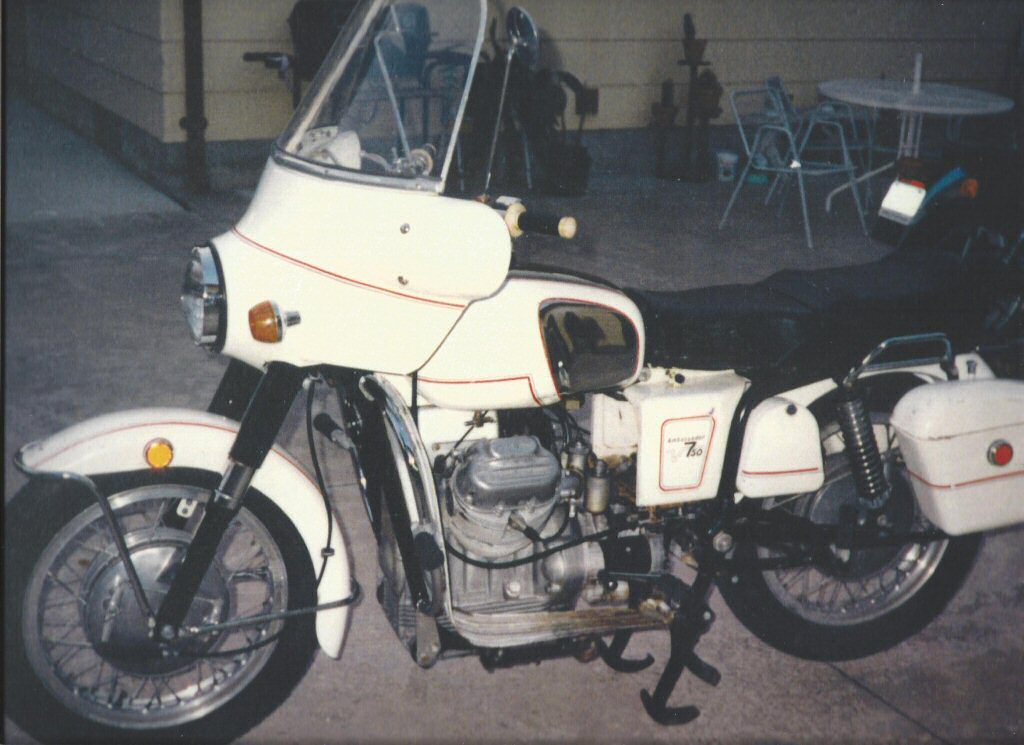
poliziafairing mounted to an A-series Ambassador.
Photo courtesy of George Vignovich.
I really like the look of my Ambassador without a fairing. But, sitting upright while riding 80 MPH down the highway is much more enjoyable when you aren't pushing 80 MPH wind with your body.
My Dad suggested that I use a stock fairing (which was designed using the now famous wind tunnel at Mandello del Lario), rather than go with an after market version. He mentioned that former Moto Guzzi National Owners Club (MGNOC) Illinois Rep Bob Ferris thought that it was the best protecting fairing he had ever ridden behind. Fortunately, my Dad had a stock fairing and some of the necessary parts in his stash in Texas.
So Dad shipped me the parts he had and I ordered a windshield (MG# 12577250) and two V braces (MG# 12578621) from MG Cycle. This left me with a few parts I needed to find or make myself.
I made patterns of several of the parts that can be fabricated in the common home shop.
Here is what I did for the remaining parts...
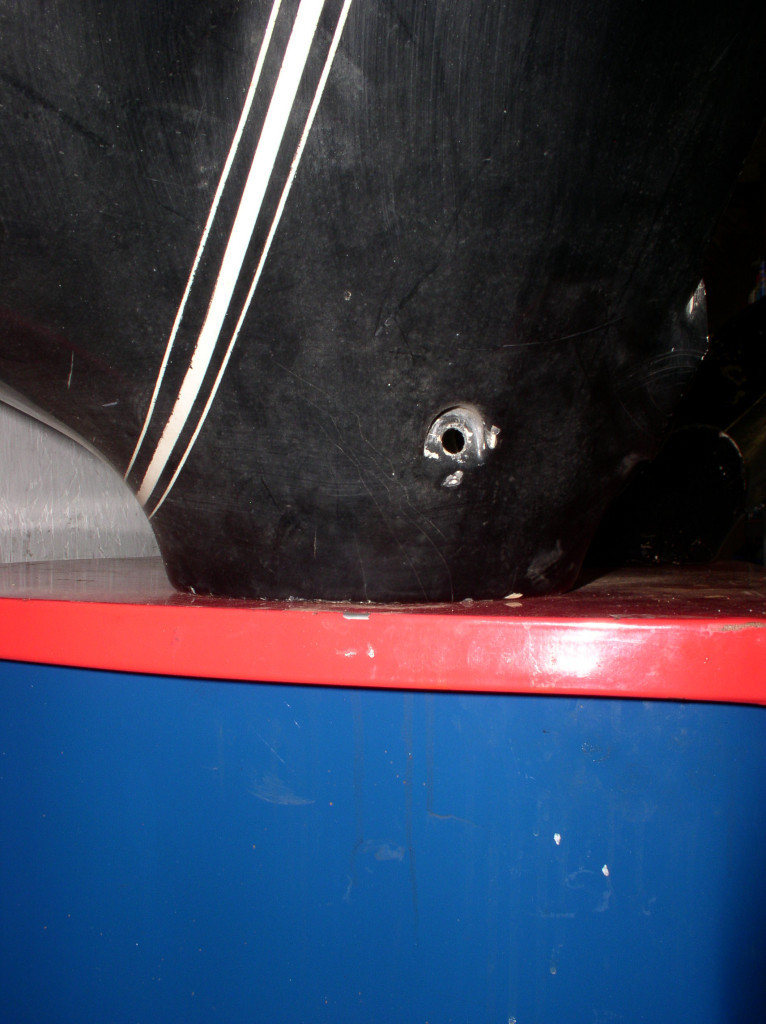
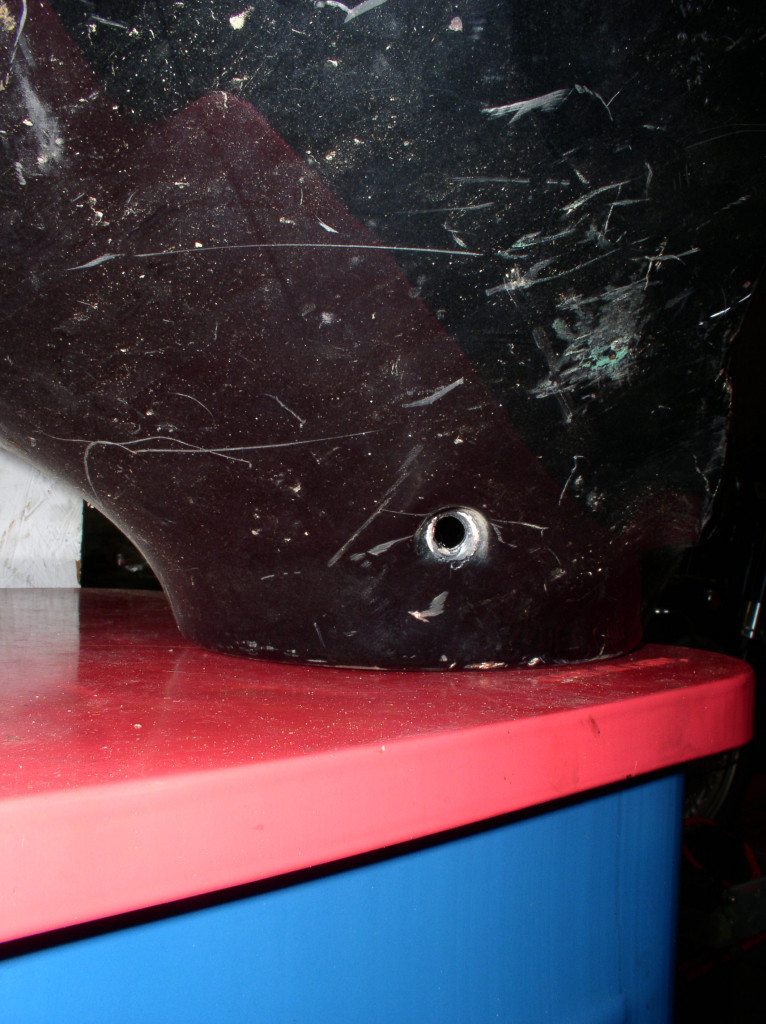
Major components
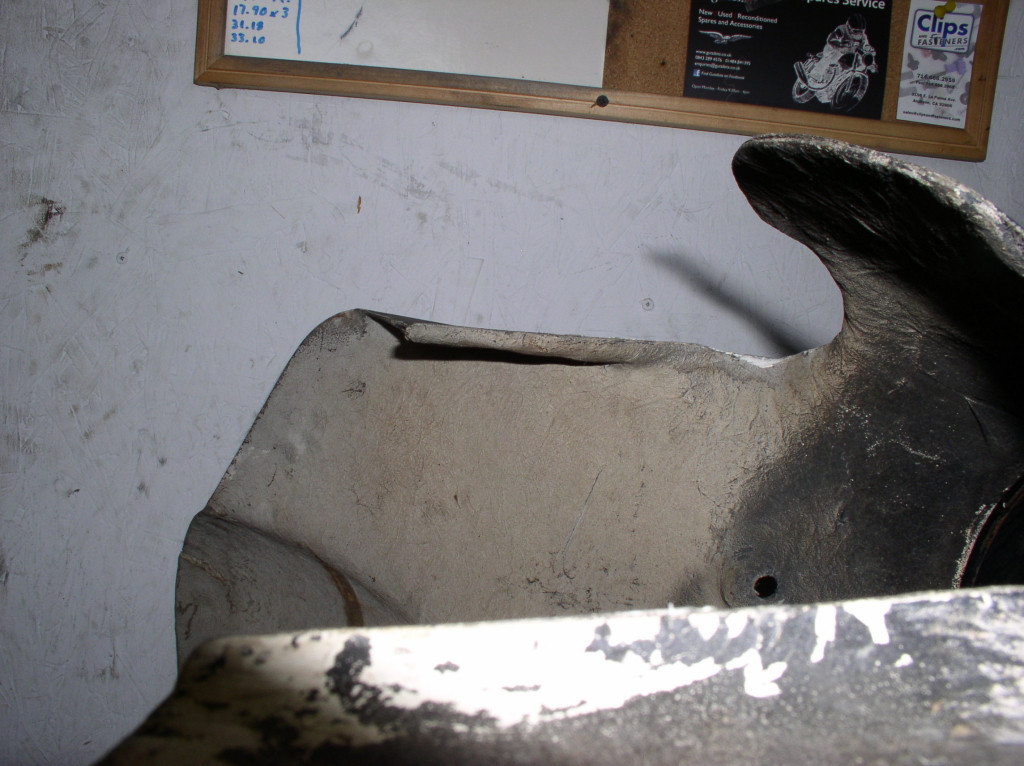
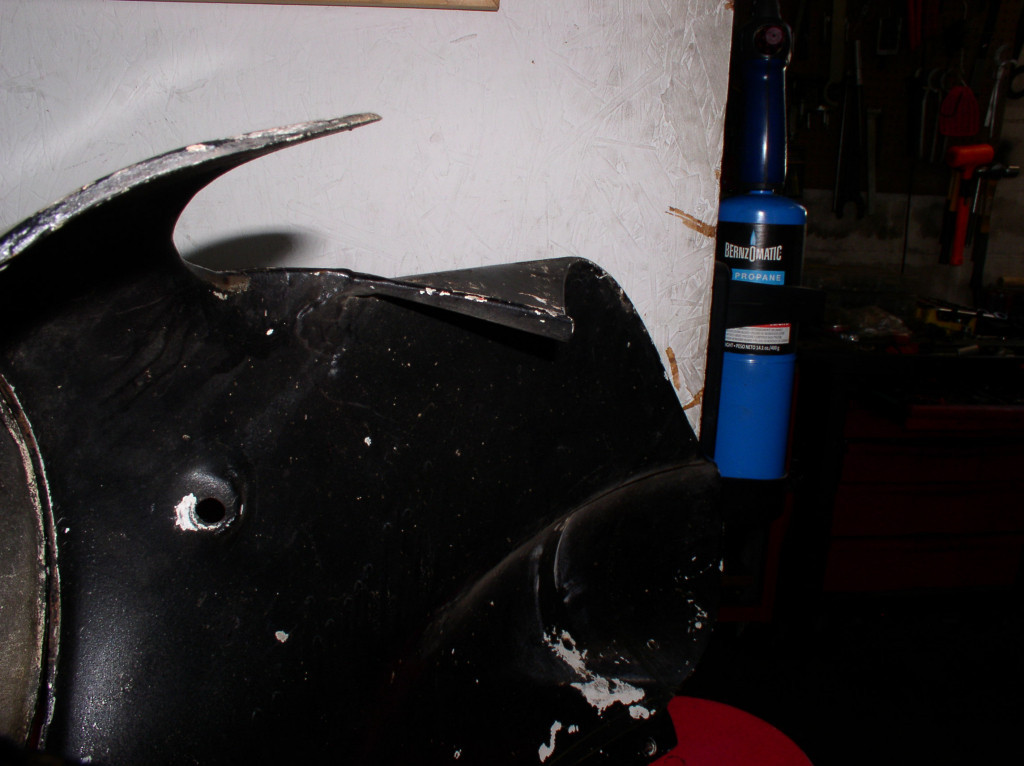
Fairing (MG# 12575421)
My Dad sent me this. Alternatively, you may be able to purchase a replica from MG Cycle. Take note that there are two versions of the fairing: one for V7 / V700 models and one for Ambassador and Eldorado models. The difference in the two fairings has to do with the length of the nose
of the fairing AND with how far back the undersides protrude. The V7 / V700 fairing is longer in order to accommodate the longer headlight shell. A long-nose fairing will definitely fit with a shorter headlight shell (there aren't any differences in the fork ears), but you will have a most difficult (impossible) time trying to keep your headlight adjusted properly. Furthermore, the underside of the V7 / V700 fairing protrudes further back than the later fairing...so much so that it will contact the later tank when the handlebars are turned fully right or left.
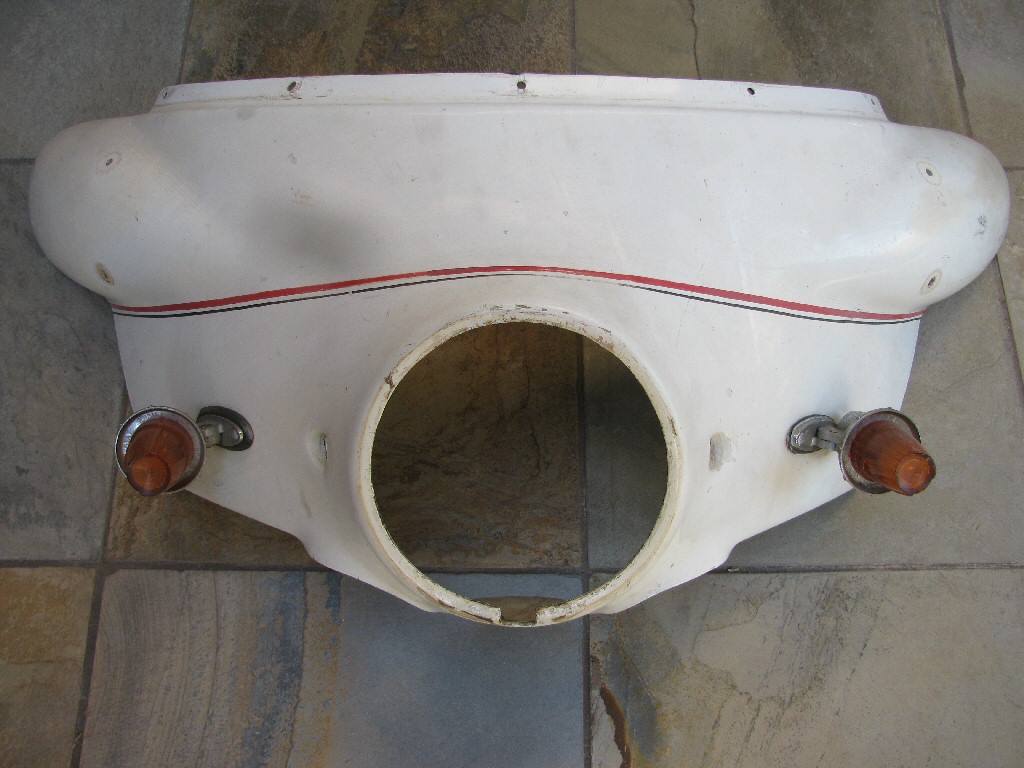
Photo courtesy of Gregory Bender.
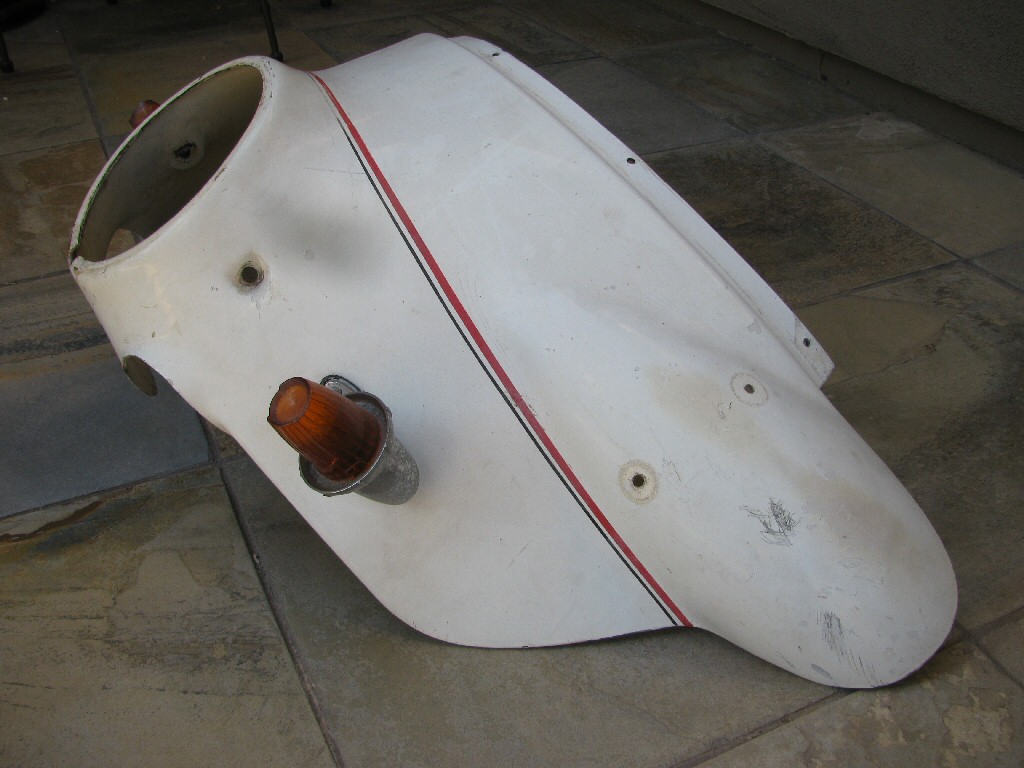
Photo courtesy of Gregory Bender.
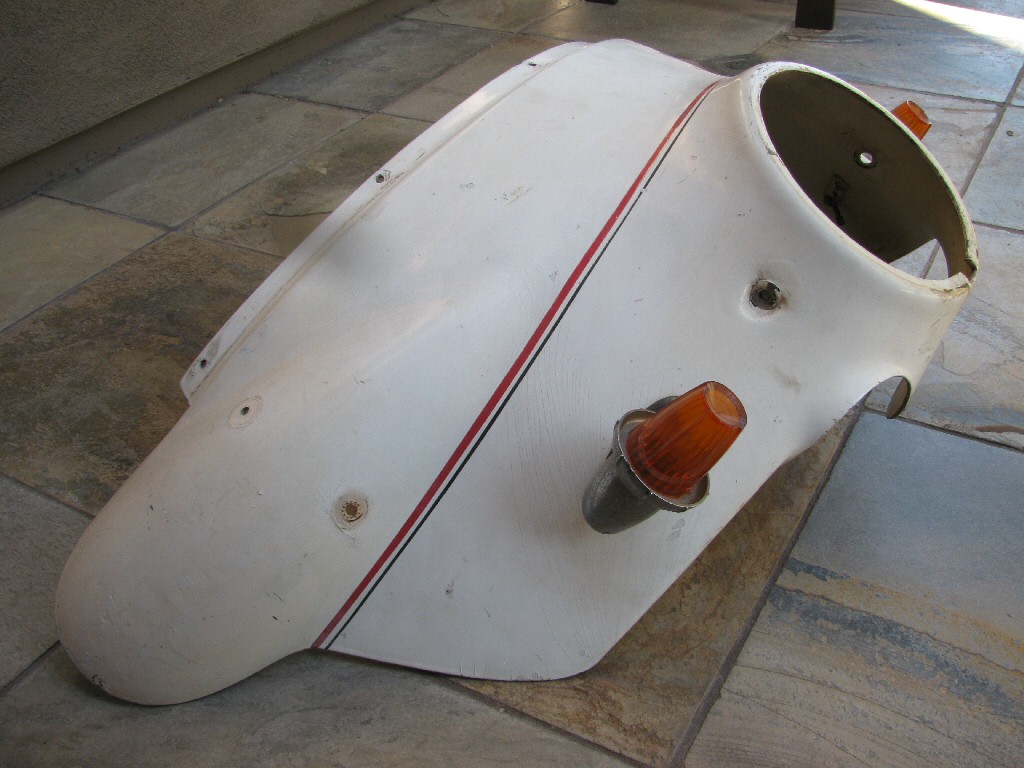
Photo courtesy of Gregory Bender.
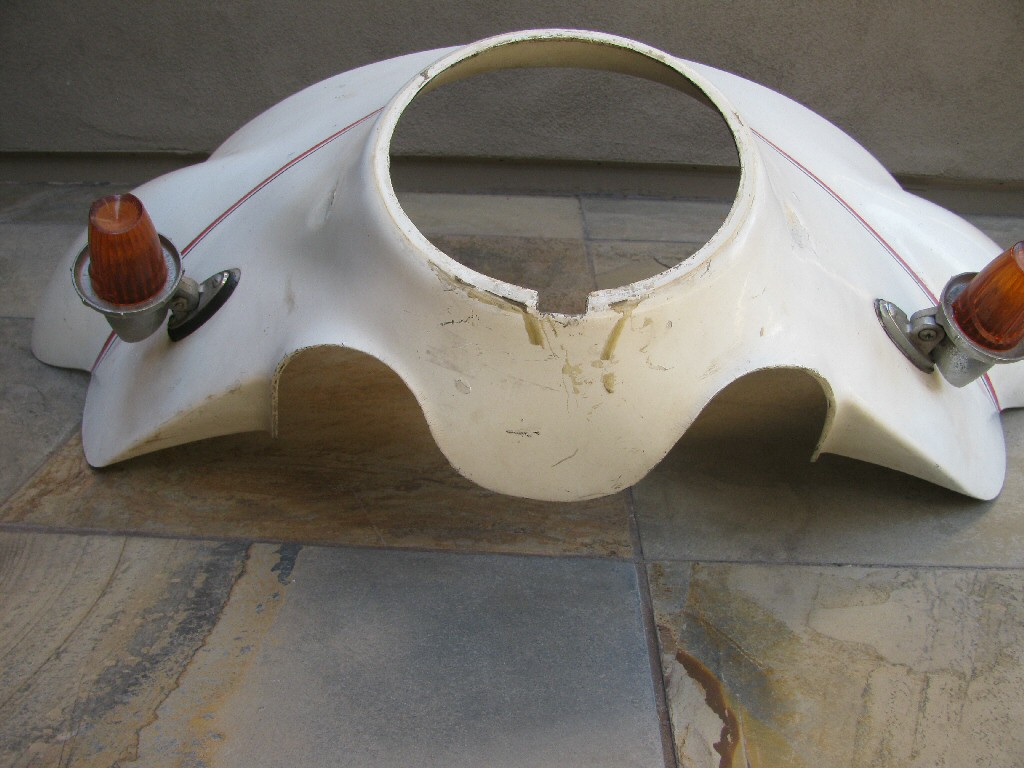
Photo courtesy of Gregory Bender.
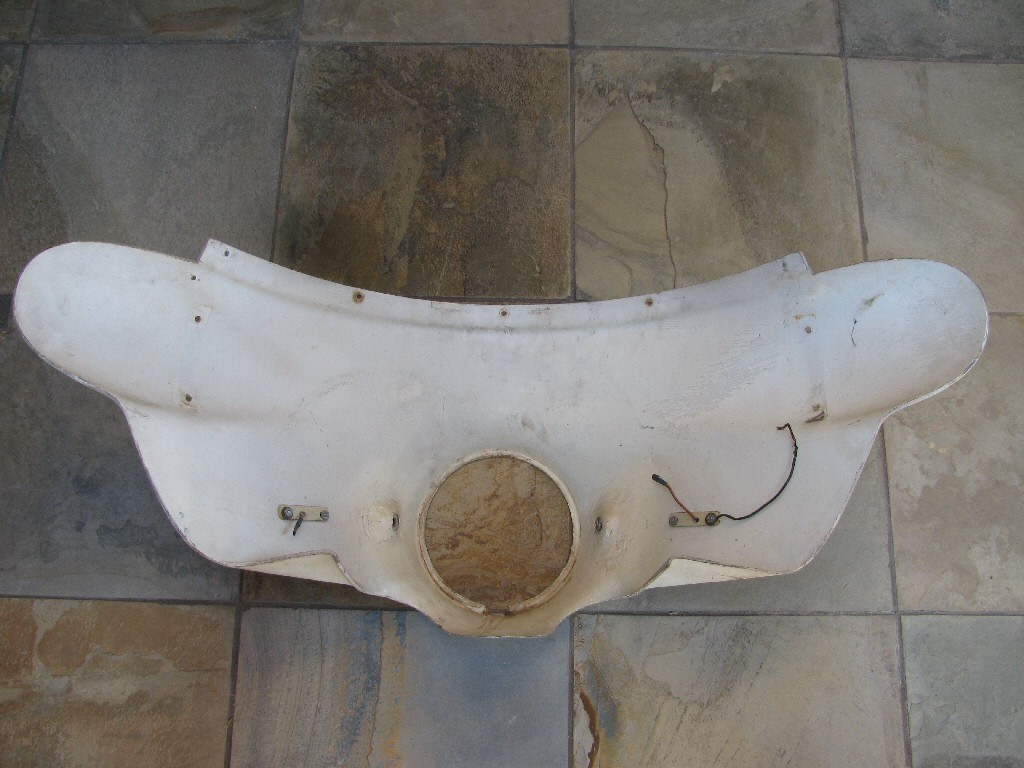
Photo courtesy of Gregory Bender.

Photo courtesy of Gregory Bender.
Comparison of the early and late fairings
Moto Guzzi produced two fairings: an early version and a late version. The early version is intended to be fit with the deeper headlight shell and the narrower gas tank; typical of the V700 and early Ambassador models. The late version is intended to be fit with the shallower headlight shell and the wider gas tank; typical of all other models.
Thanks to Charlie Mullendore of Antietam Classic Cycle for sending me these photos comparing the two versions.
horizontal left side portionthat will clear narrower gas tanks, but not wider gas tanks.
Photo courtesy of Charlie Mullendore of Antietam Classic Cycle.
horizontal right side portionthat will clear narrower gas tanks, but not wider gas tanks.
Photo courtesy of Charlie Mullendore of Antietam Classic Cycle.
horizontal right side portionthat will clear wider gas tanks.
Photo courtesy of Charlie Mullendore of Antietam Classic Cycle.
nosefor fitment with the deeper headlight bucket.
Photo courtesy of Charlie Mullendore of Antietam Classic Cycle.
nosefor fitment with the shallower headlight bucket.
Photo courtesy of Charlie Mullendore of Antietam Classic Cycle.
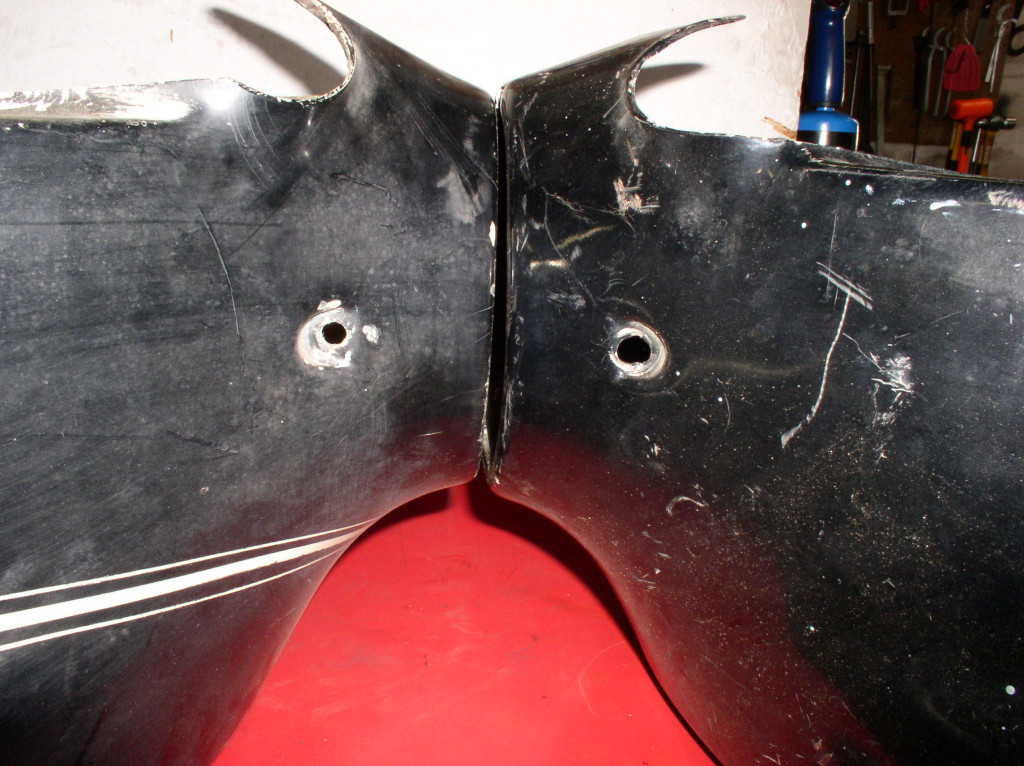
nose. Early fairing is on the left; late fairing is on the right.
Photo courtesy of Charlie Mullendore of Antietam Classic Cycle.
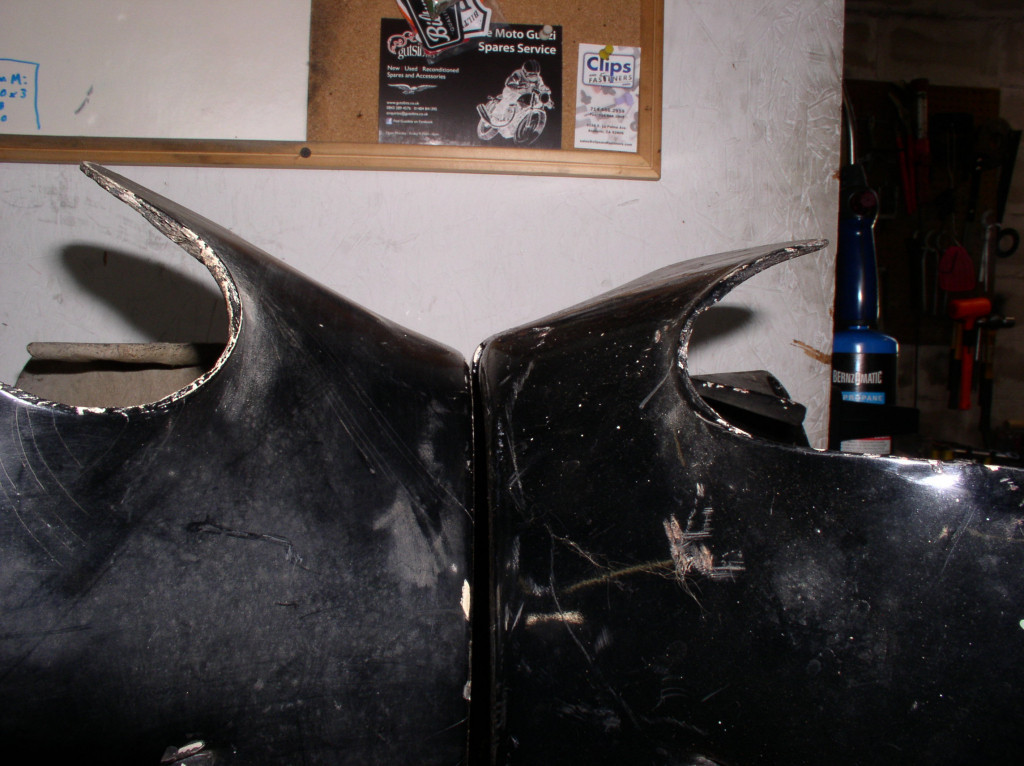
Photo courtesy of Charlie Mullendore of Antietam Classic Cycle.
horizontal side portion.
Photo courtesy of Charlie Mullendore of Antietam Classic Cycle.
horizontal side portion.
Photo courtesy of Charlie Mullendore of Antietam Classic Cycle.
Windshield (MG# 12577250)
I purchased one from MG Cycle.

Photo courtesy of Gregory Bender.
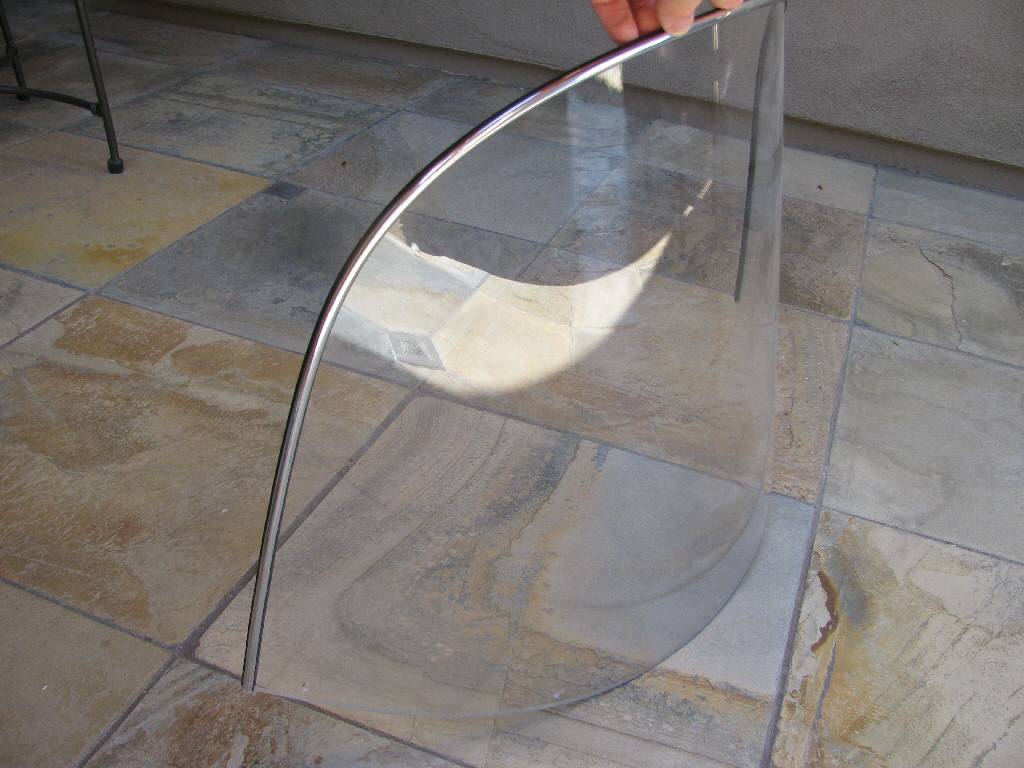
Photo courtesy of Gregory Bender.
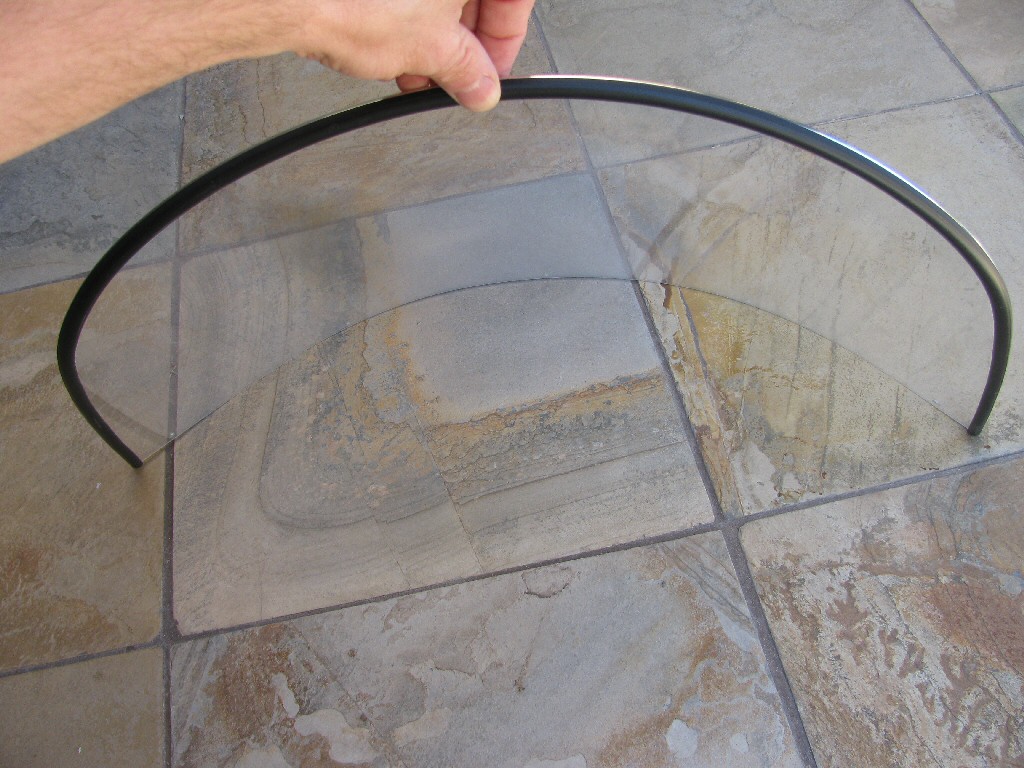
Photo courtesy of Gregory Bender.
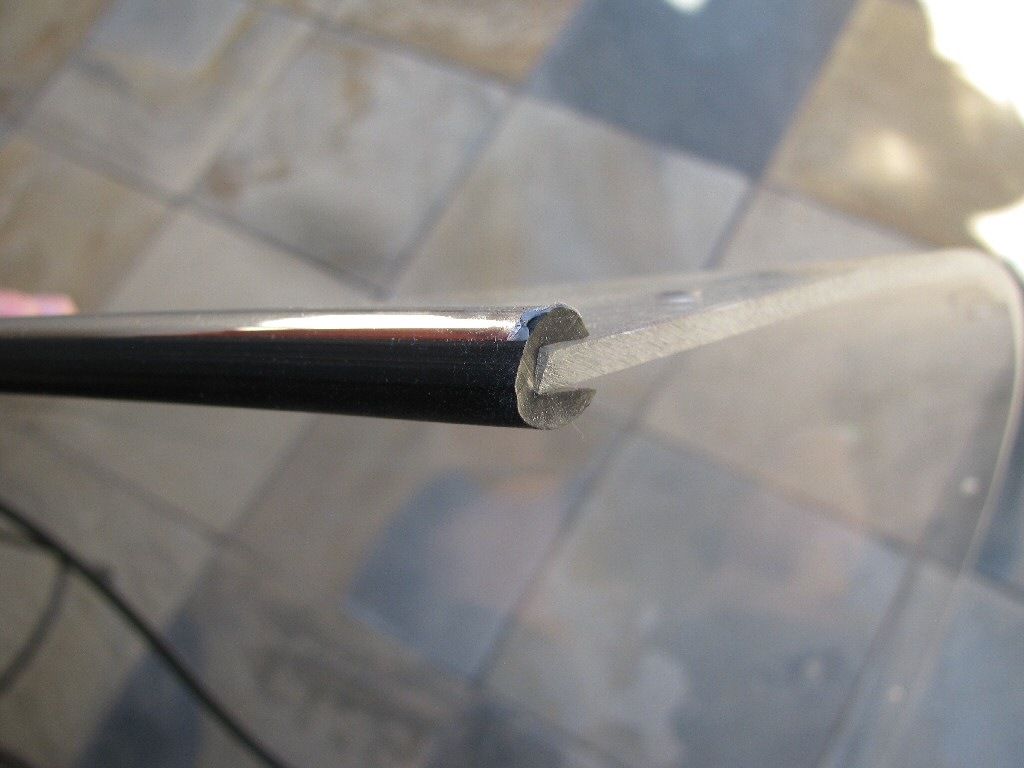
Photo courtesy of Gregory Bender.
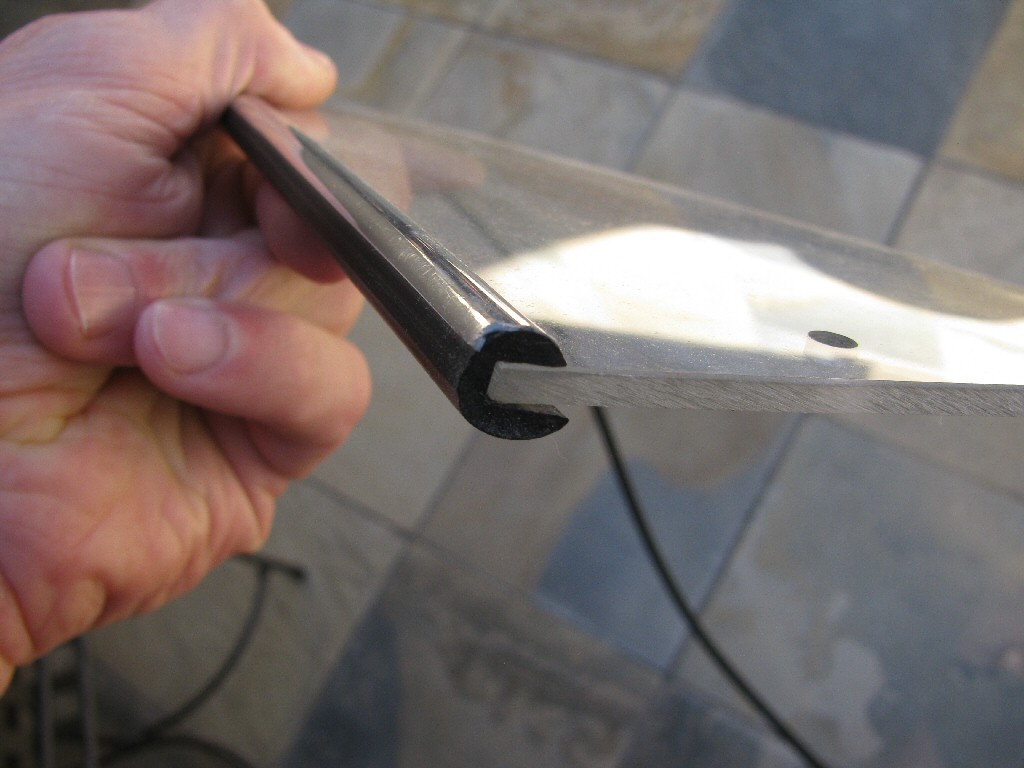
Photo courtesy of Gregory Bender.
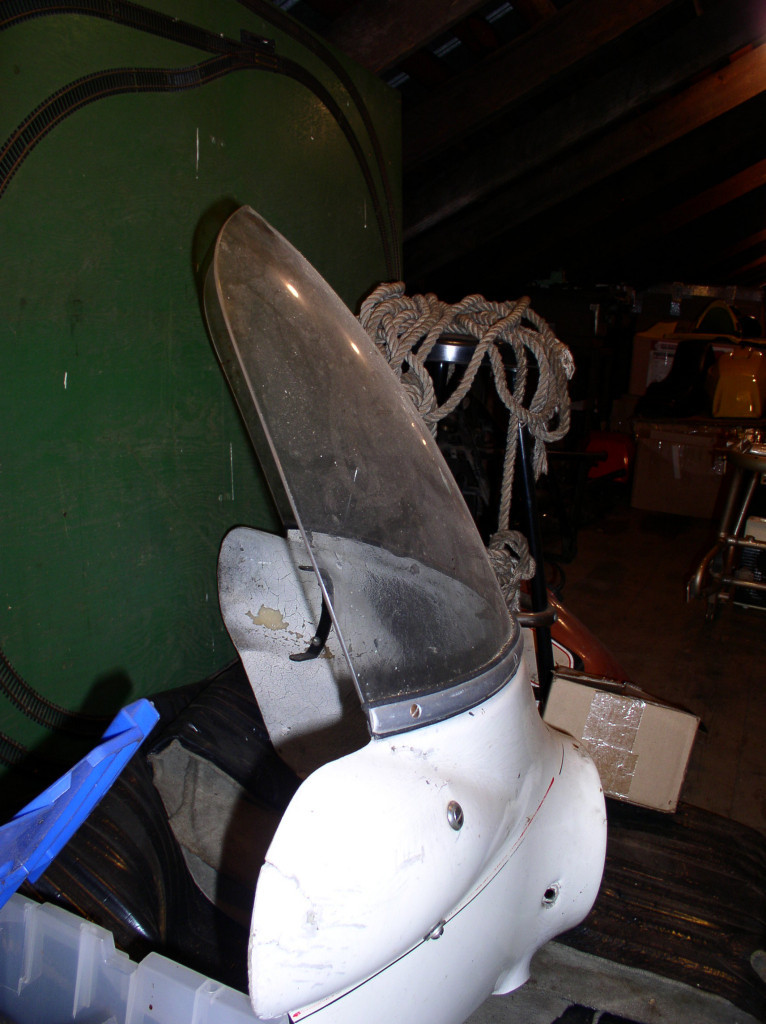
Photo courtesy of Charlie Mullendore of Antietam Classic Cycle.
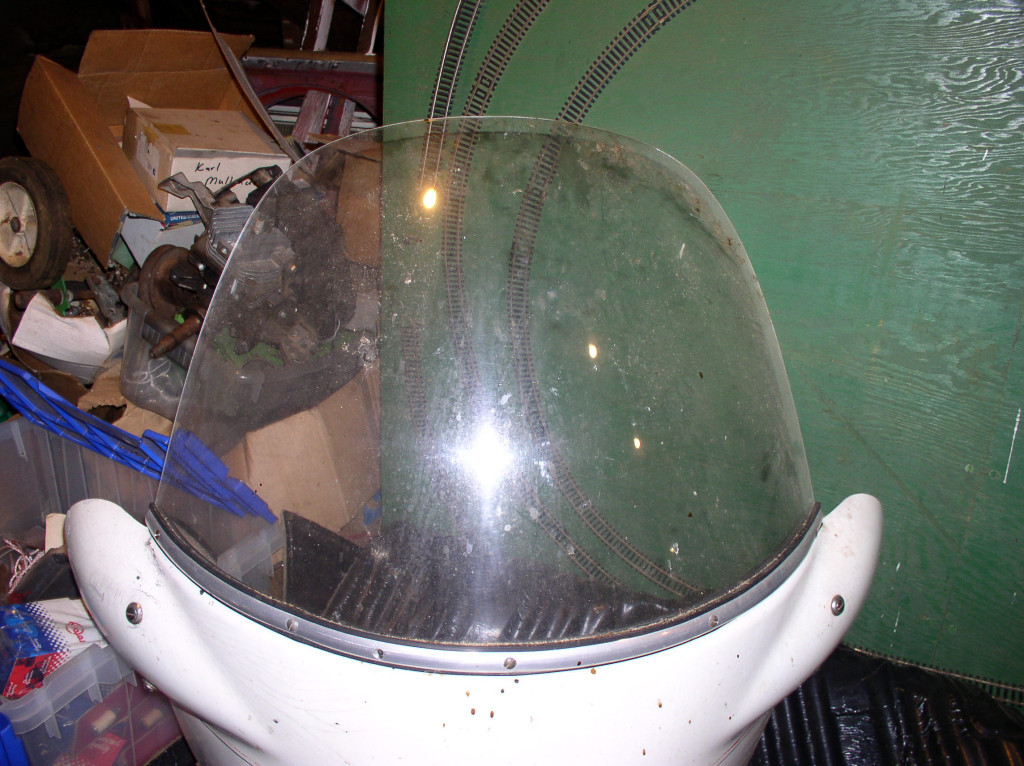
Photo courtesy of Charlie Mullendore of Antietam Classic Cycle.
Aluminum trim piece (MG# 12578240)
My Dad sent me this. Download the fairing parts patterns if you would like to create one yourself.
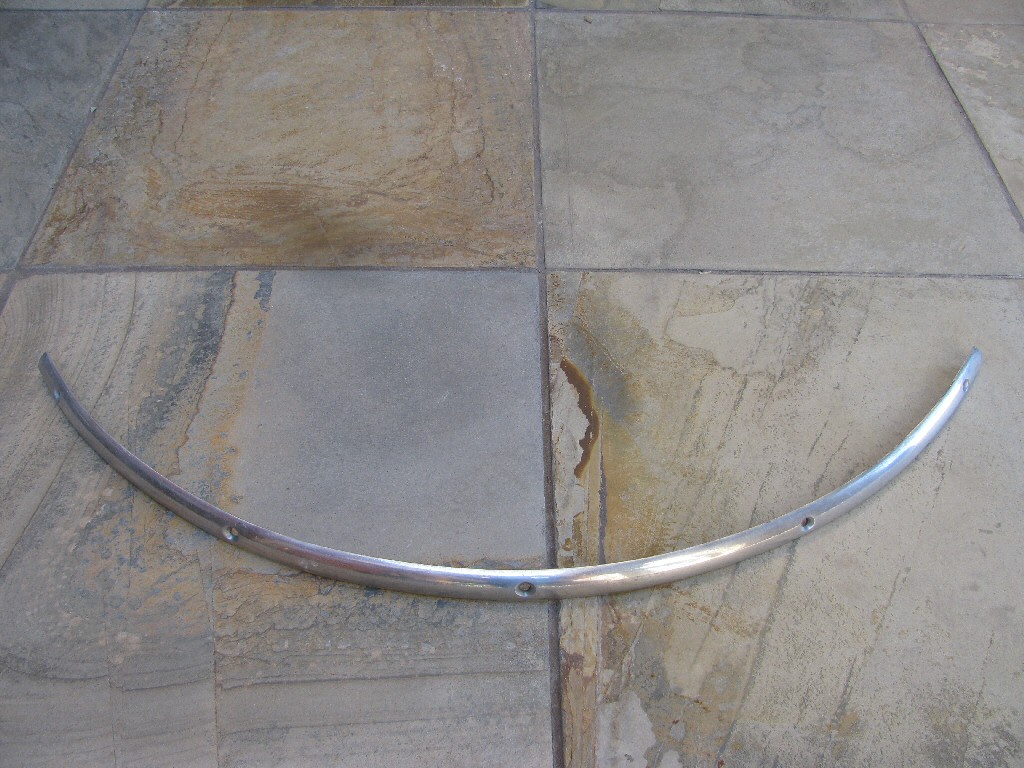
Photo courtesy of Gregory Bender.
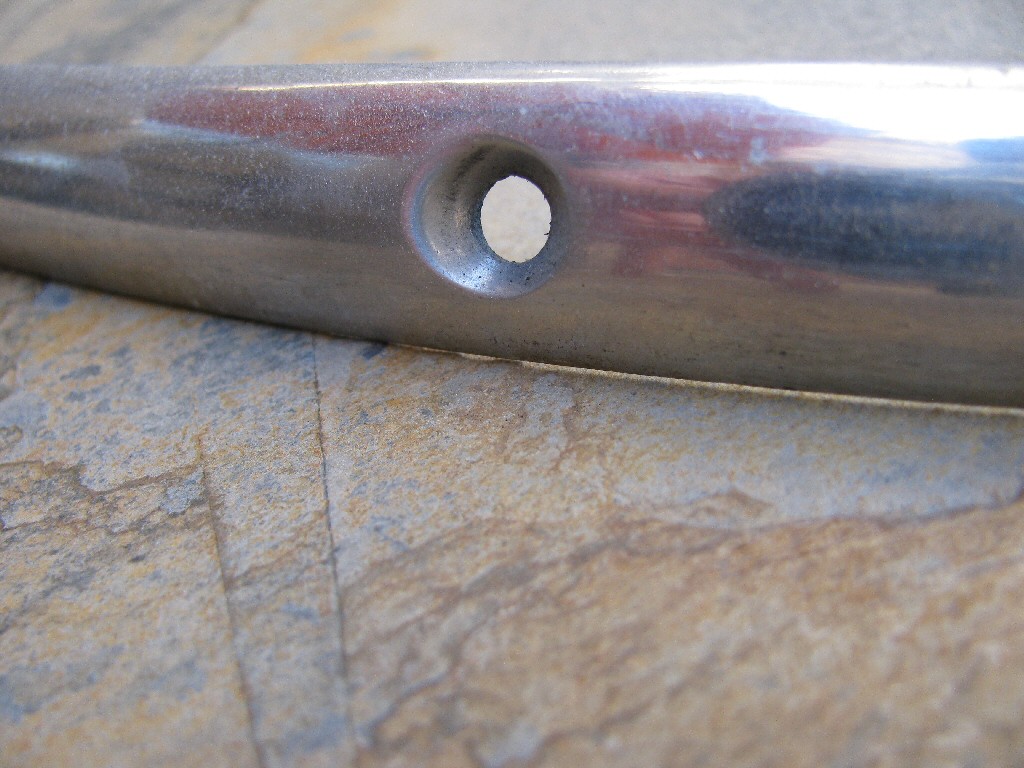
Photo courtesy of Gregory Bender.
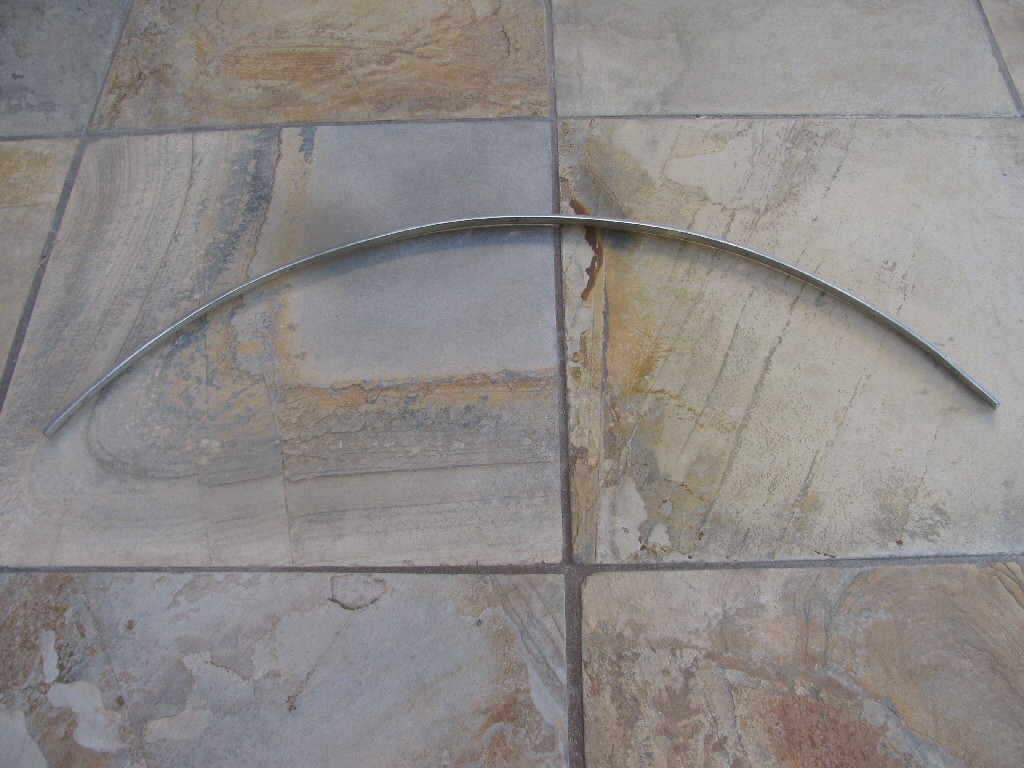
Photo courtesy of Gregory Bender.
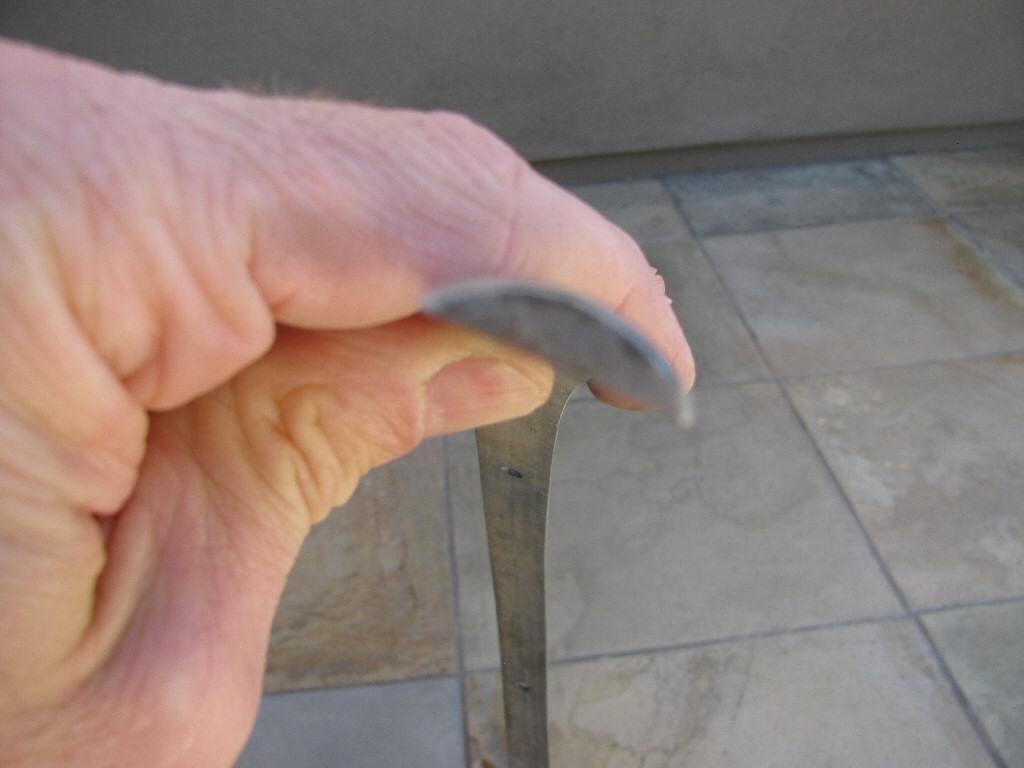
Photo courtesy of Gregory Bender.
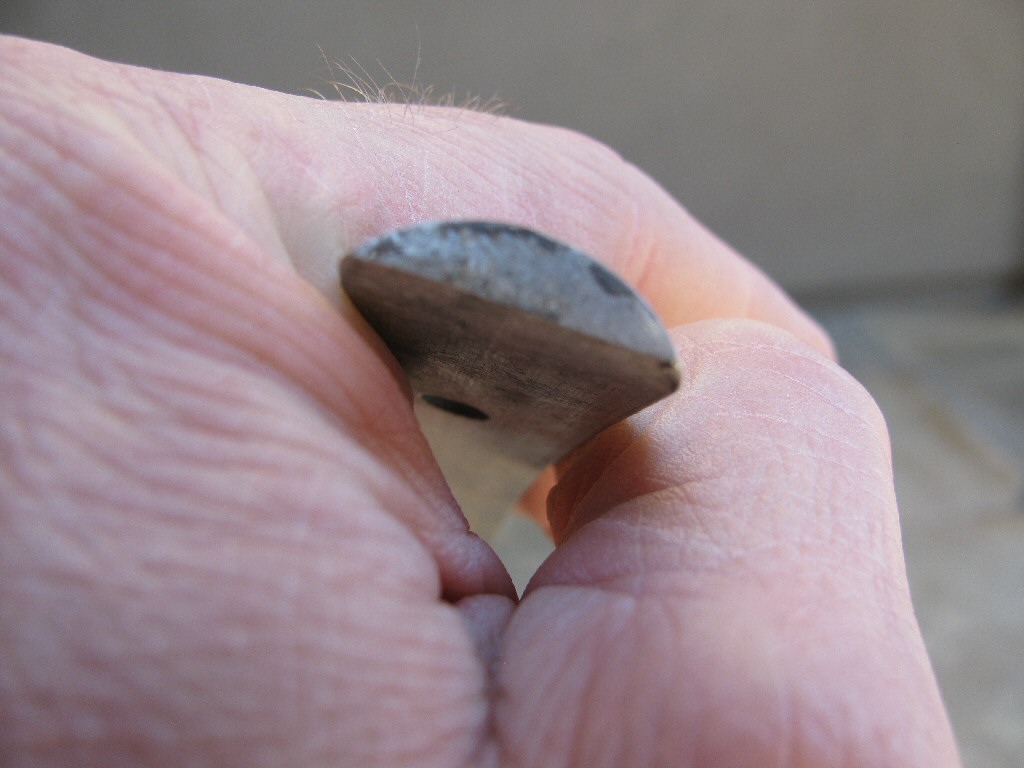
Photo courtesy of Gregory Bender.
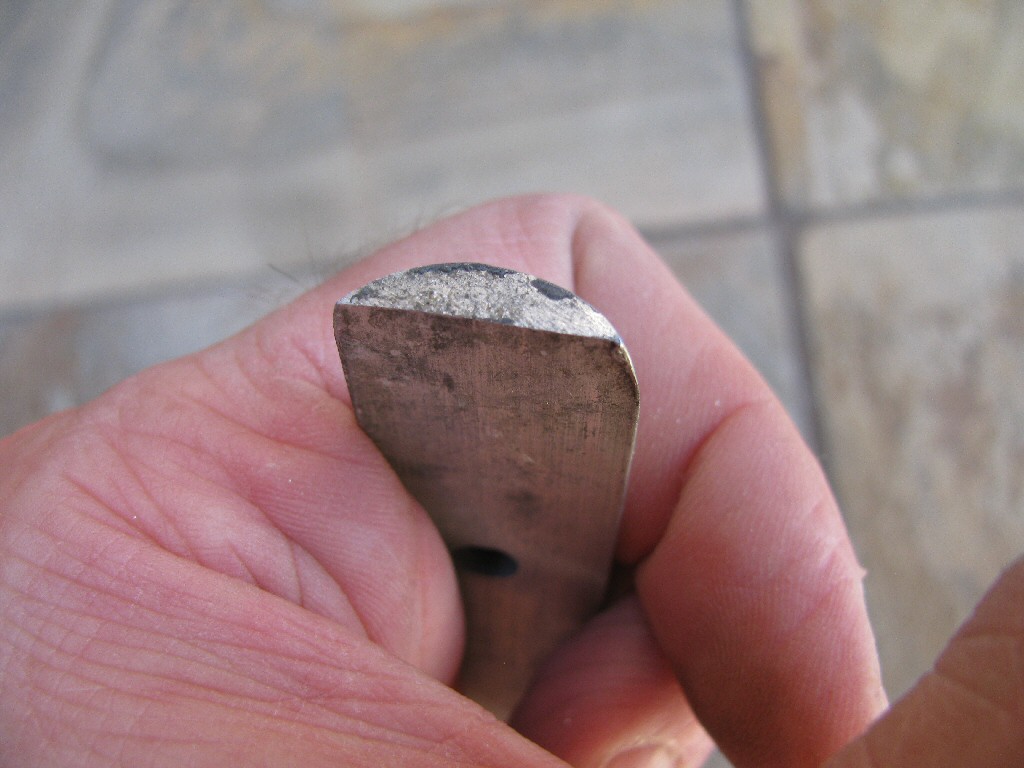
Photo courtesy of Gregory Bender.
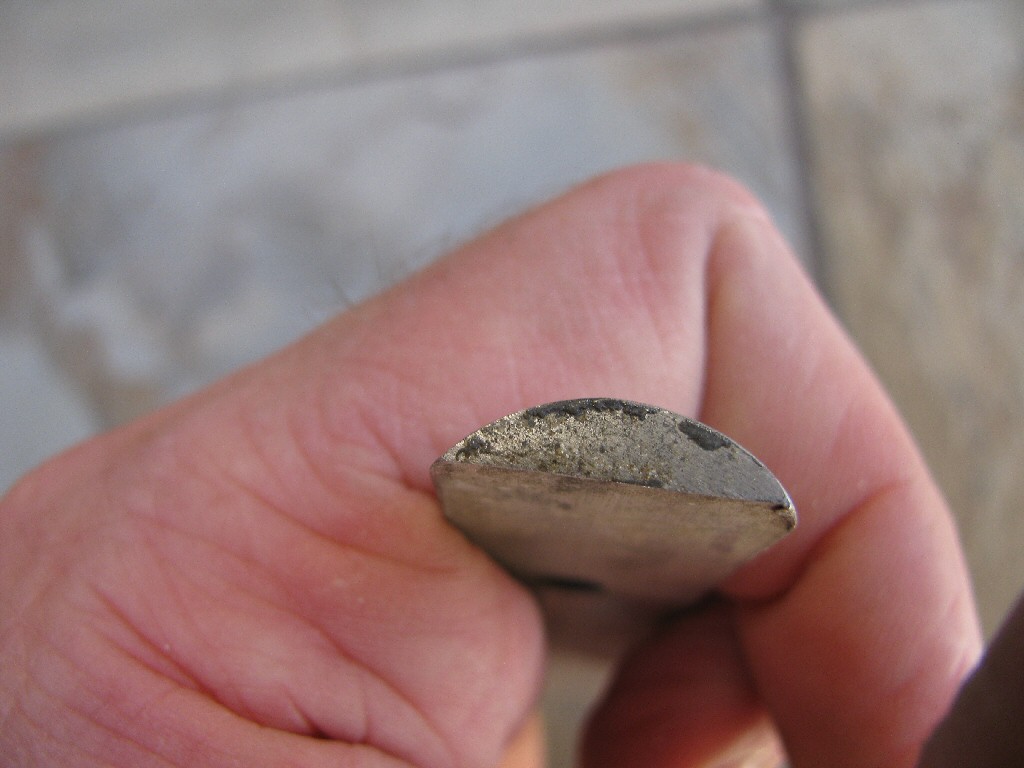
Photo courtesy of Gregory Bender.
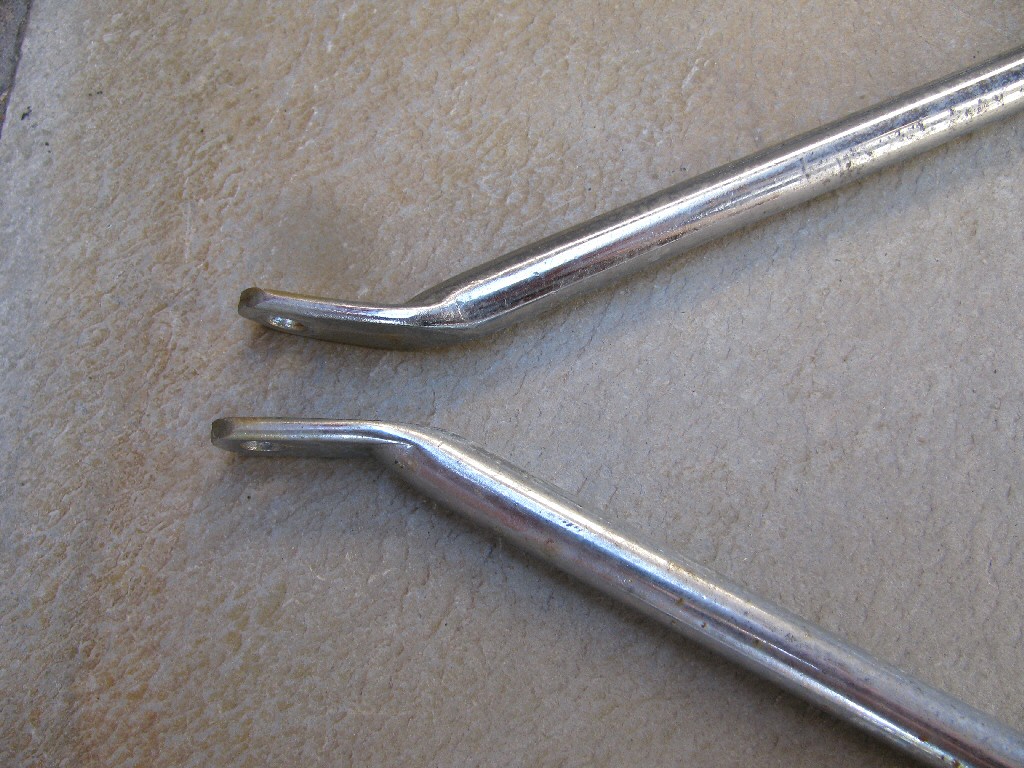
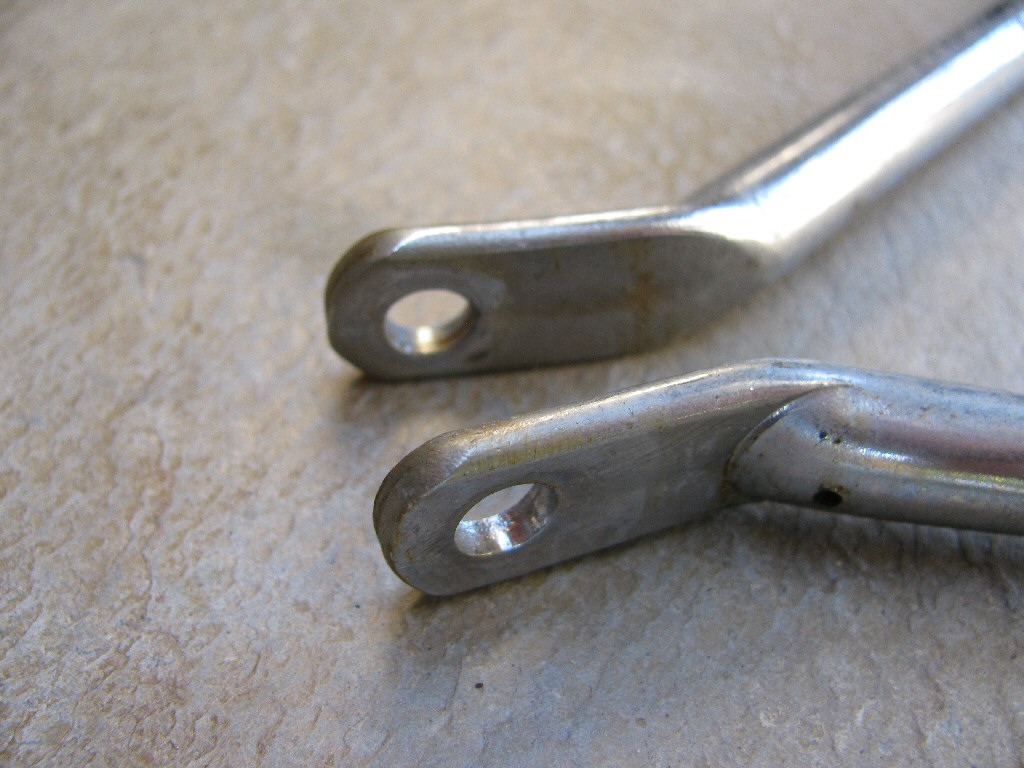
V
bracket (MG# 12578621)
I purchased two from MG Cycle. Download the fairing parts patterns if you would like to create these yourself.
Vbracket (MG# 12578621).
Photo courtesy of Gregory Bender.
Vbracket (MG# 12578621).
Photo courtesy of Gregory Bender.
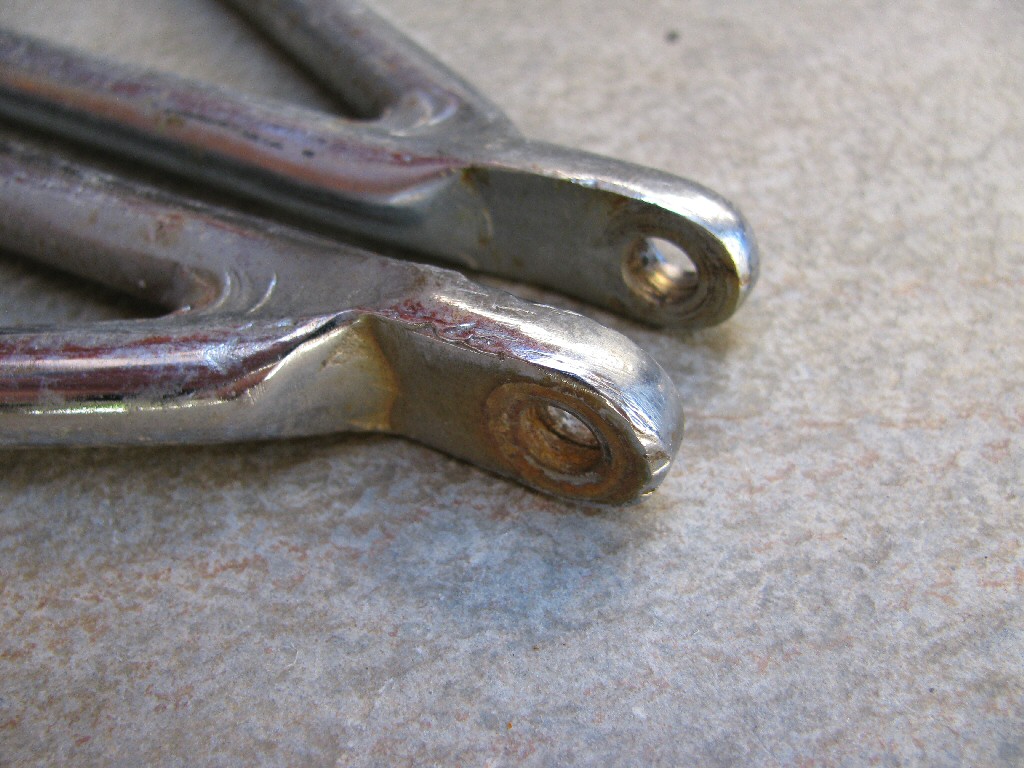
Vbracket (MG# 12578621).
Photo courtesy of Gregory Bender.
Vbracket (MG# 12578621).
Photo courtesy of Gregory Bender.
Vbracket (MG# 12578621).
Photo courtesy of Gregory Bender.
Vbracket (MG# 12578621).
Photo courtesy of Gregory Bender.
Vbracket (MG# 12578621).
Photo courtesy of Gregory Bender.
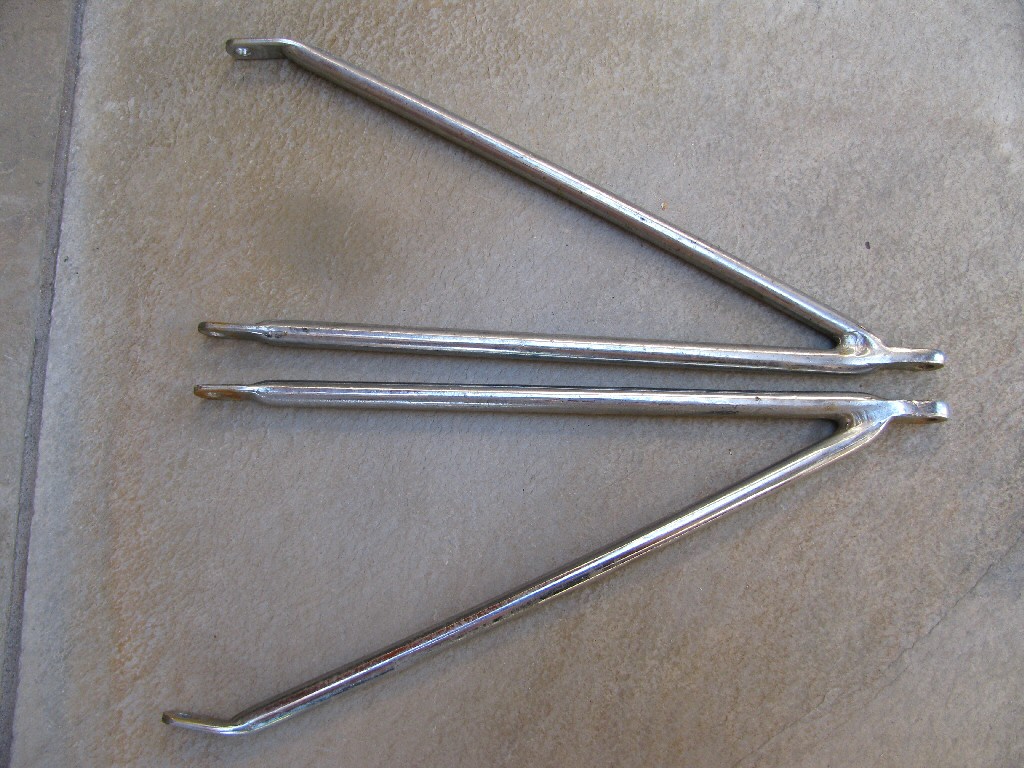
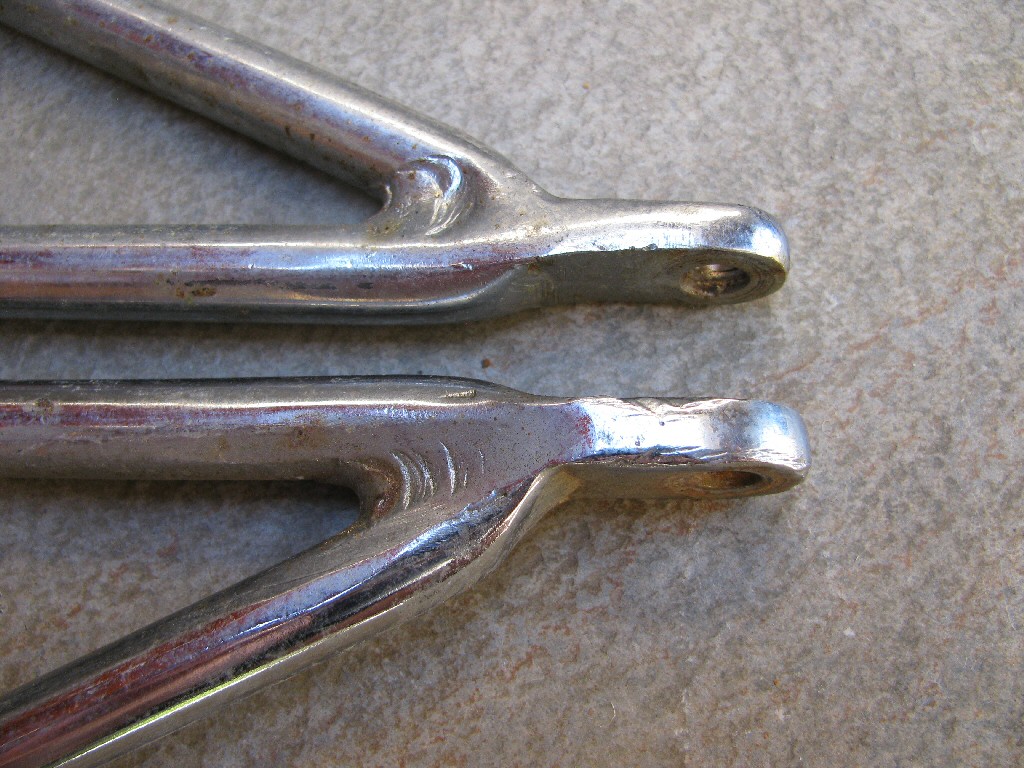
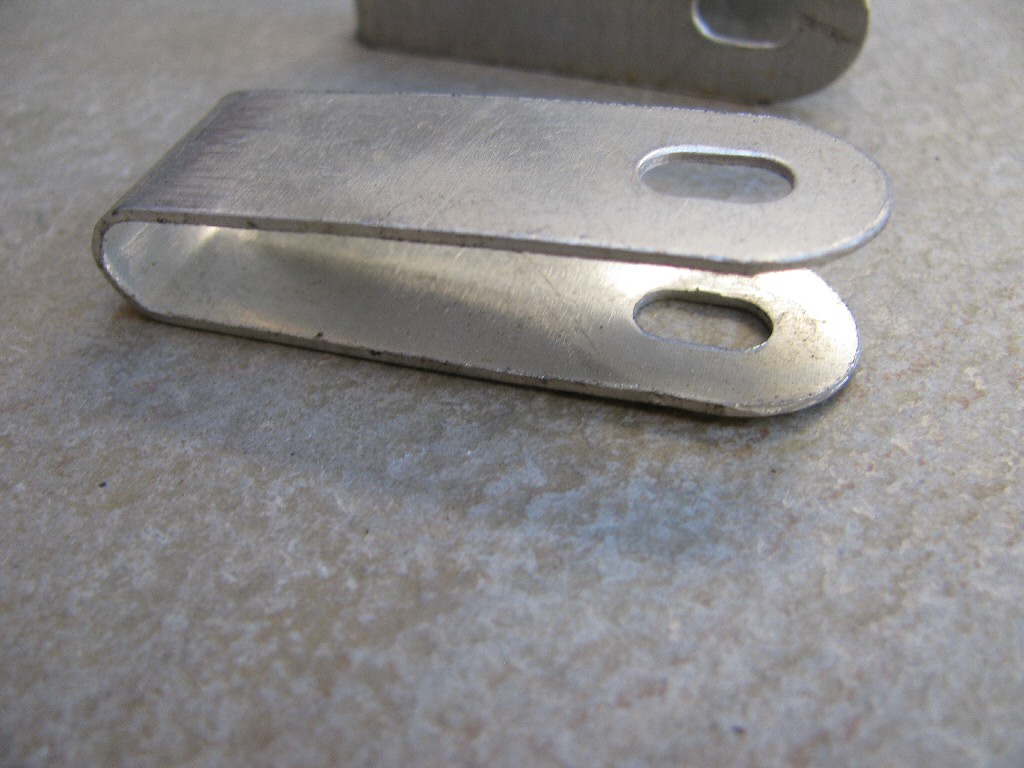
U
bracket (MG# 12575540)
My Dad sent me two of these. Download the fairing parts patterns if you would like to create these yourself.
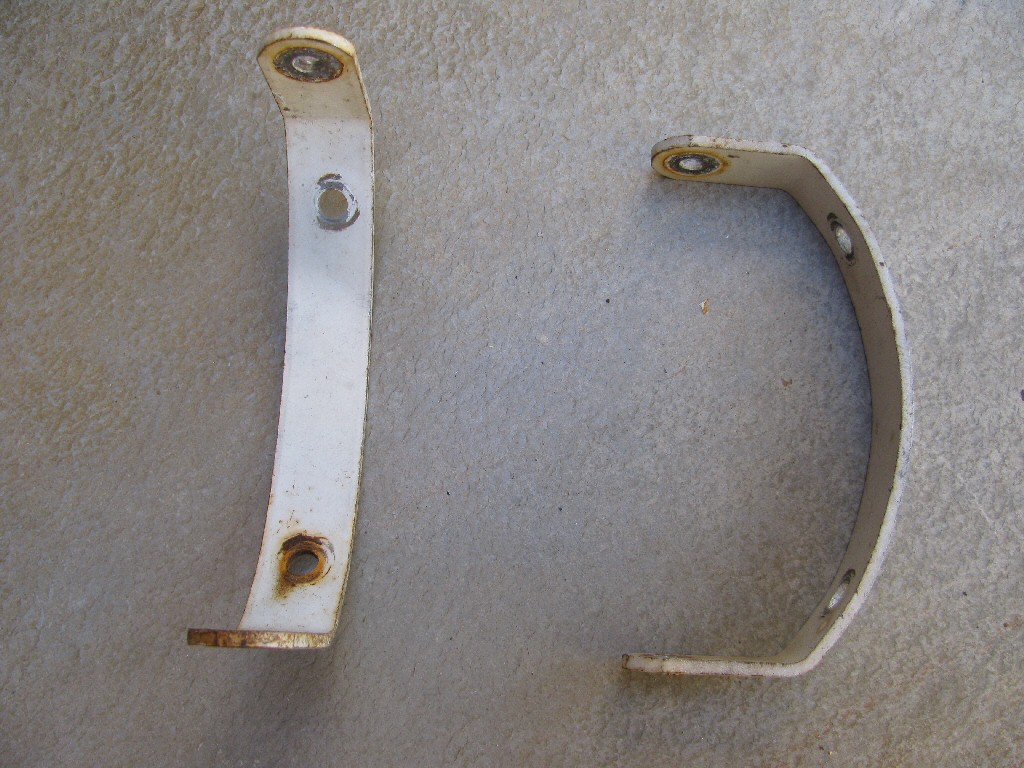
Photo courtesy of Gregory Bender.
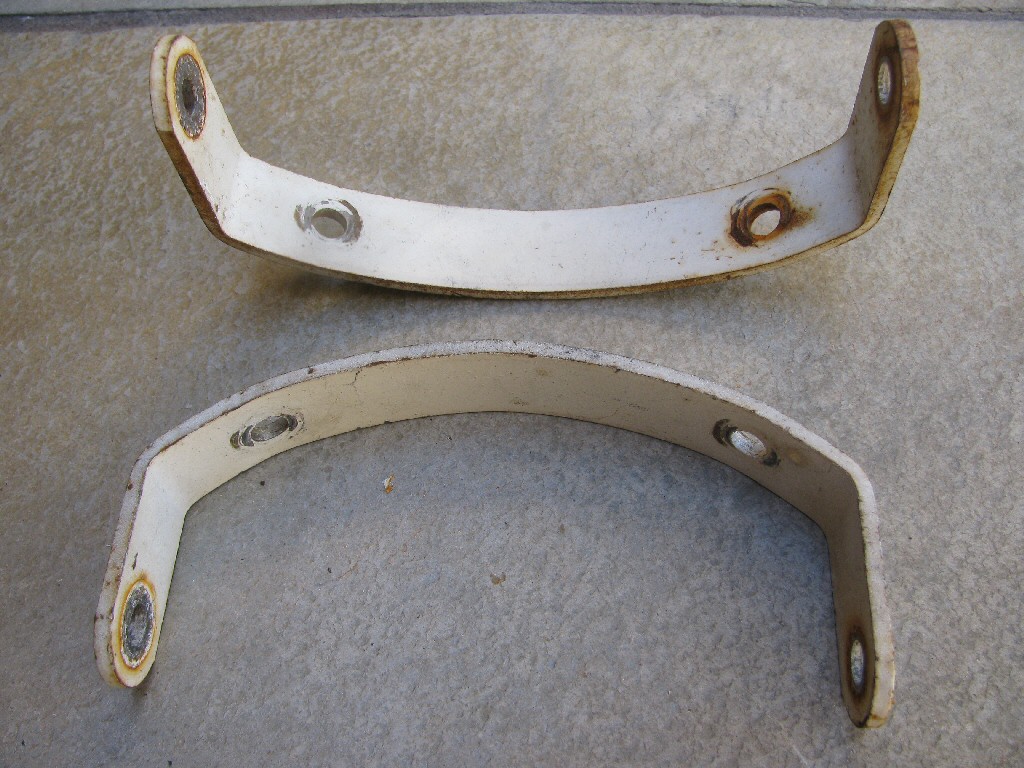
Photo courtesy of Gregory Bender.
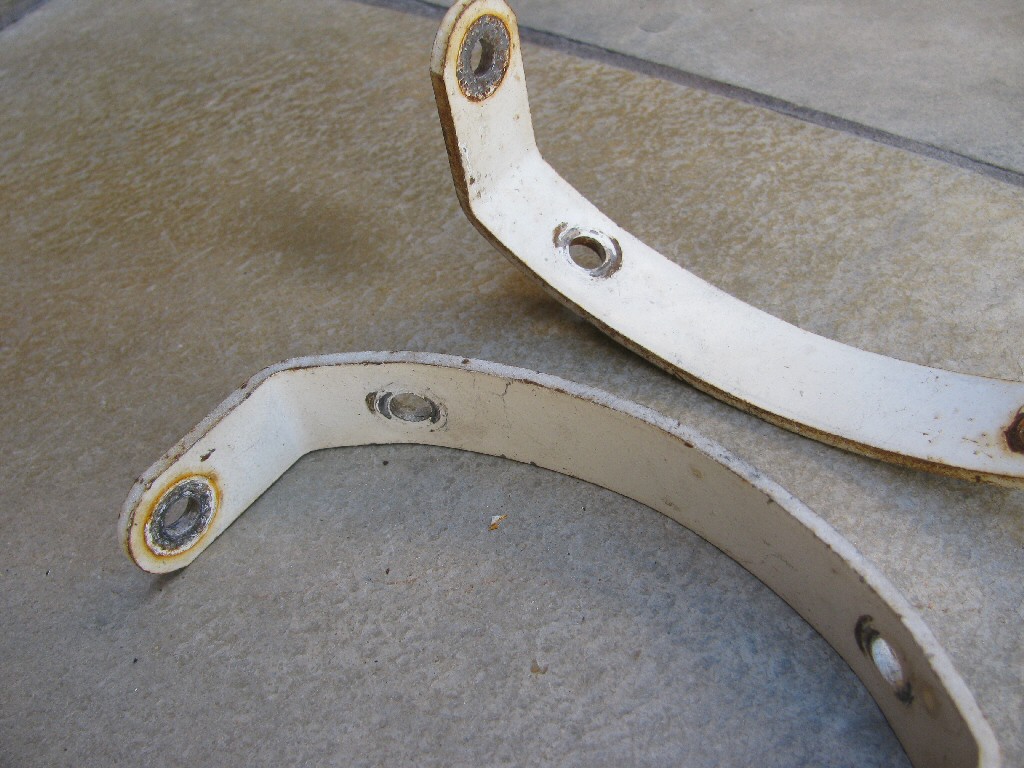
Photo courtesy of Gregory Bender.

Photo courtesy of Gregory Bender.
Gasket [fairing to headlight] (MG# 12578940)
My Dad sent me this. Alternatively, you may be able to find a very soft 1⁄4 inch or 3⁄8 inch diameter rubber tube, slice it open length-wise, and wrap the tube around the headlight opening in the fairing. Charlie Mullendore of Antietam Classic Cycle reports that McMaster-Carr part number 12335A52 works very well in this application.
![Gasket [fairing to headlight] (MG# 12578940).](mg_images/fairing_moto_guzzi_59.jpg)
Photo courtesy of Gregory Bender.
![Gasket [fairing to headlight] (MG# 12578940).](mg_images/fairing_moto_guzzi_60.jpg)
Photo courtesy of Gregory Bender.
Windshield to fairing connections
Gasket [fairing to windshield] (MG# 12577940)
For this I used an old length of motorcycle inner tube. The natural curve in the inner tube approximates the curve of the windshield. I punched the needed holes with a gasket punch.
![Gasket [fairing to windshield] (MG# 12577940).](mg_images/fairing_moto_guzzi_57.jpg)
Photo courtesy of Gregory Bender.
![Gasket [fairing to windshield] (MG# 12577940).](mg_images/fairing_moto_guzzi_58.jpg)
Photo courtesy of Gregory Bender.
Bolt (MG# 98260520)
These are 5 mm × 0.8 mm × 20 mm oval head machine screws. The oval head fits very nicely into the aluminum trim piece (MG# 12578240). You'll need 5 of these.
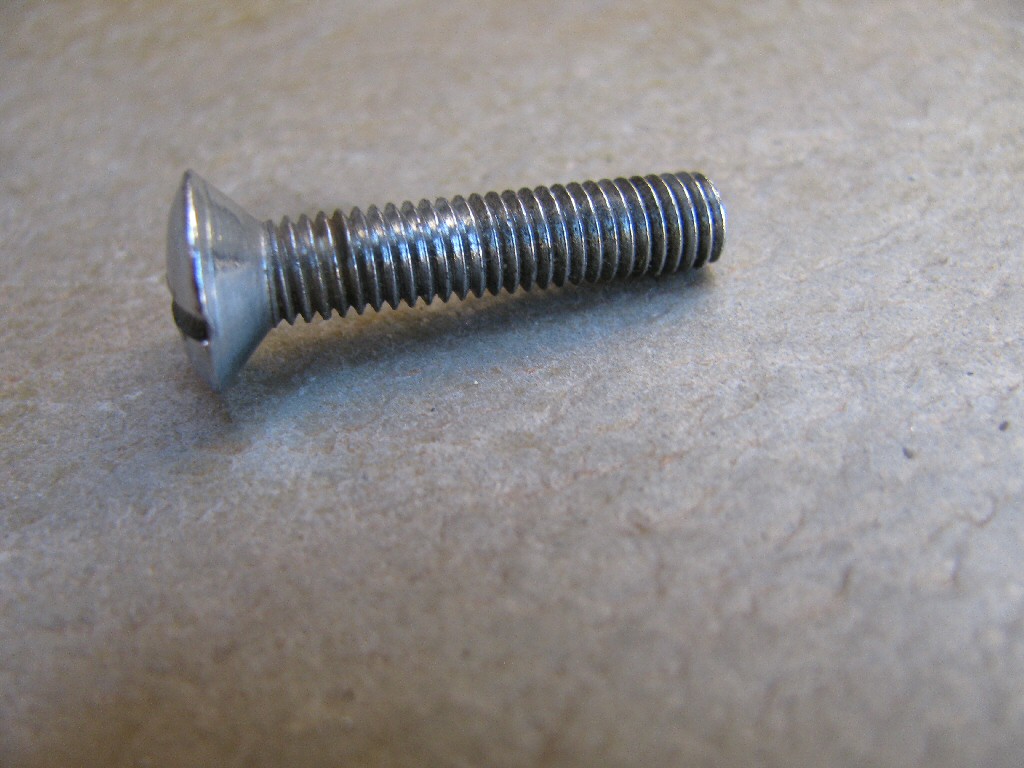
Photo courtesy of Gregory Bender.
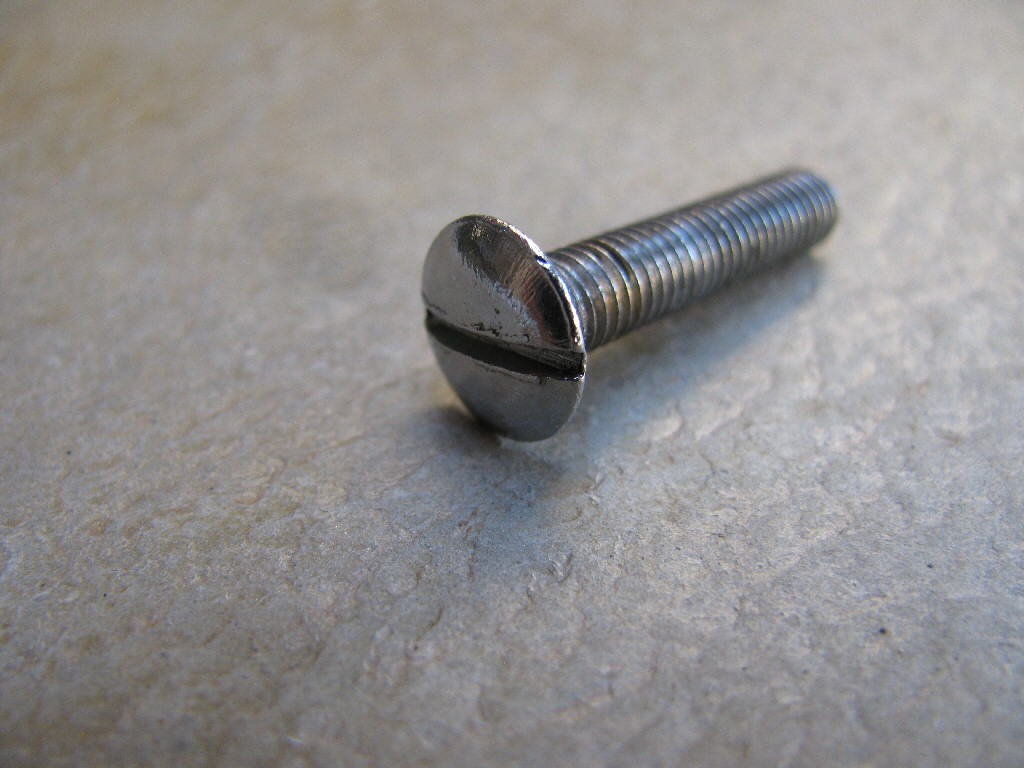
Photo courtesy of Gregory Bender.
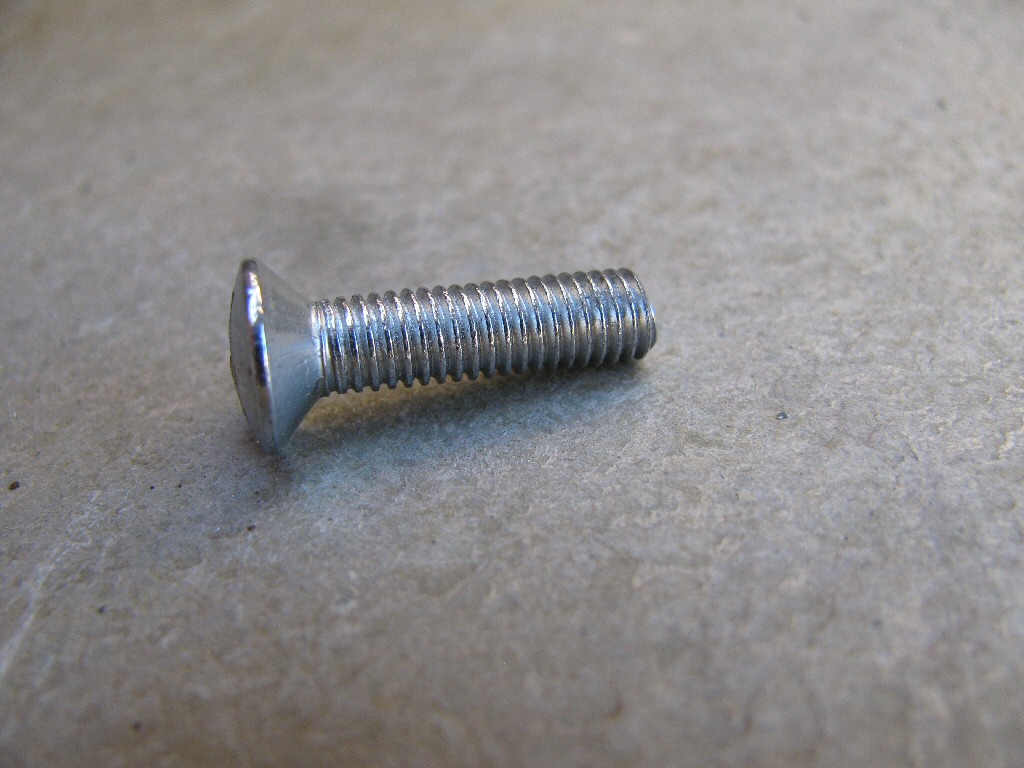
Photo courtesy of Gregory Bender.
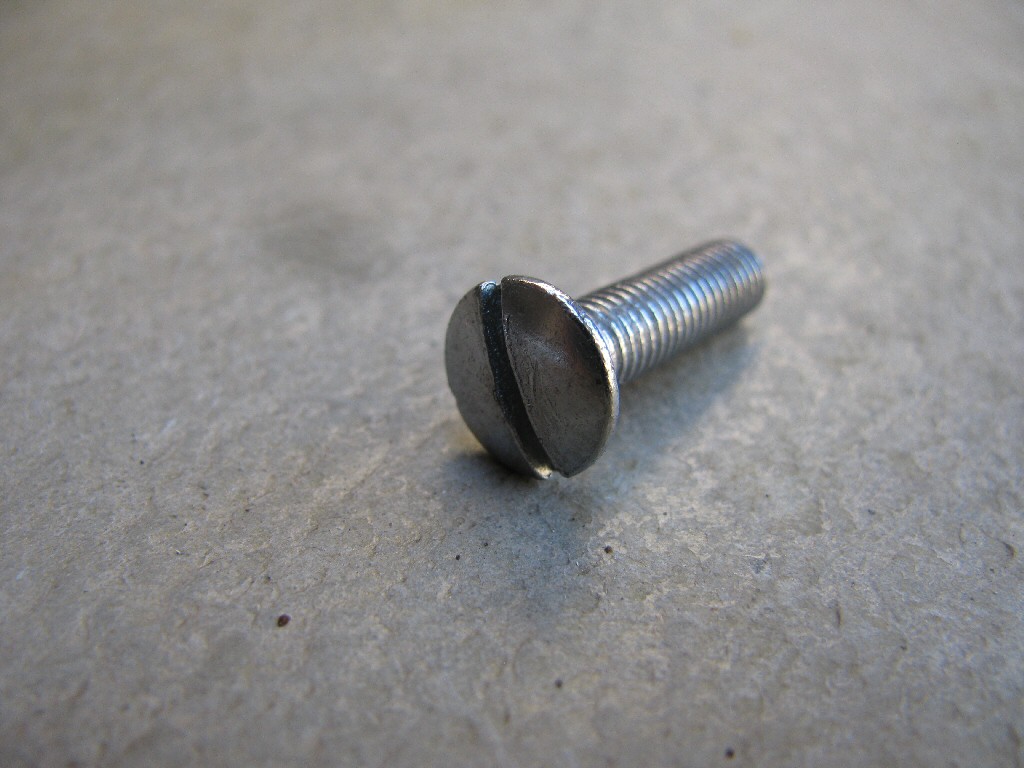
Photo courtesy of Gregory Bender.
Flat washer (MG# 95000205)
Originally I believe these were standard 5 mm flat washers. I prefer 5 mm fender washers because I think the larger diameter of the fender washers will help even the pressure on the fiberglass fairing.
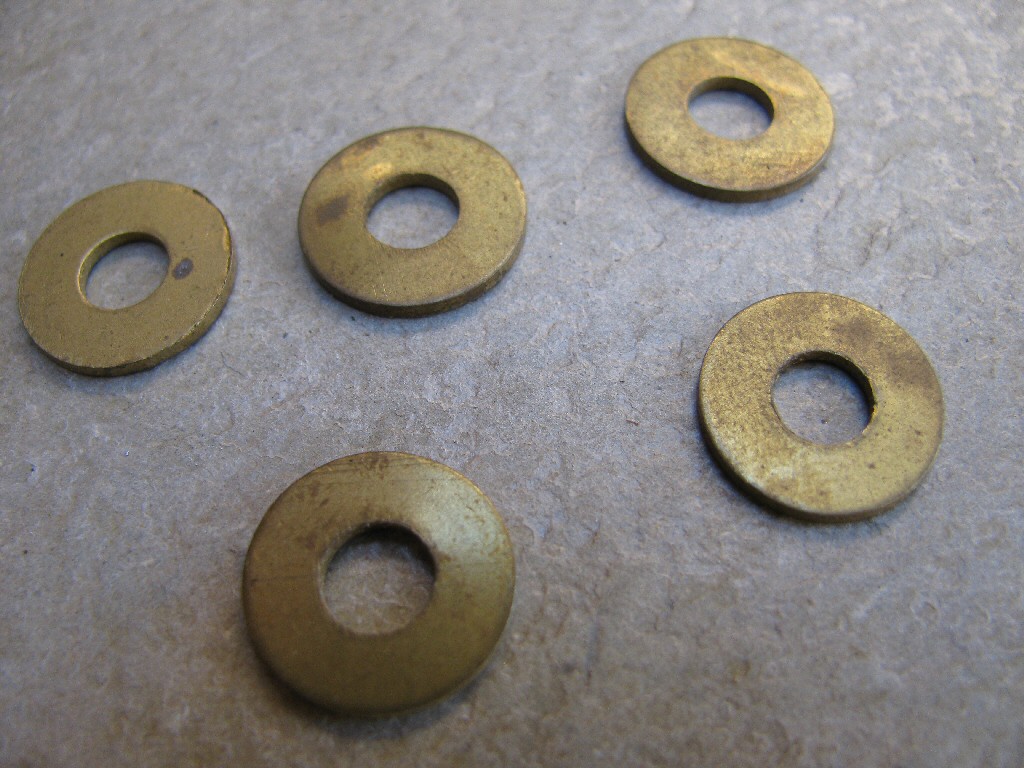
Photo courtesy of Gregory Bender.
Nut (MG# 95602205)
Originally I believe these were standard 5 mm × 0.8 mm nuts. I prefer 5 mm × 0.8 mm nylon insert locking nuts.
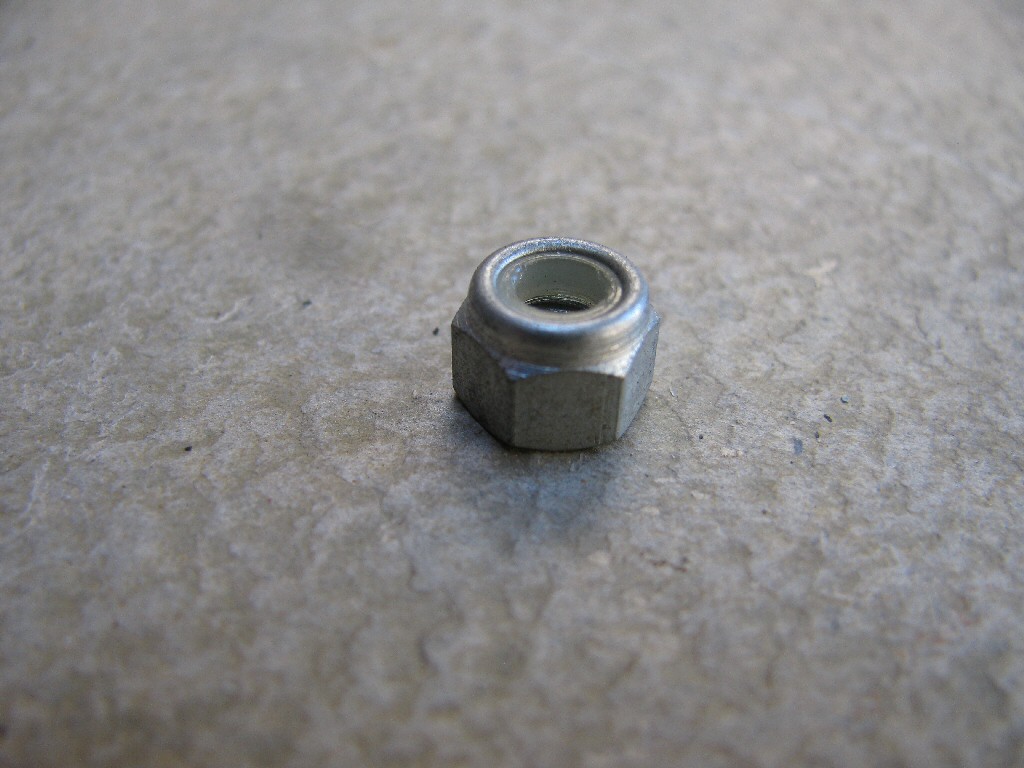
Photo courtesy of Gregory Bender.
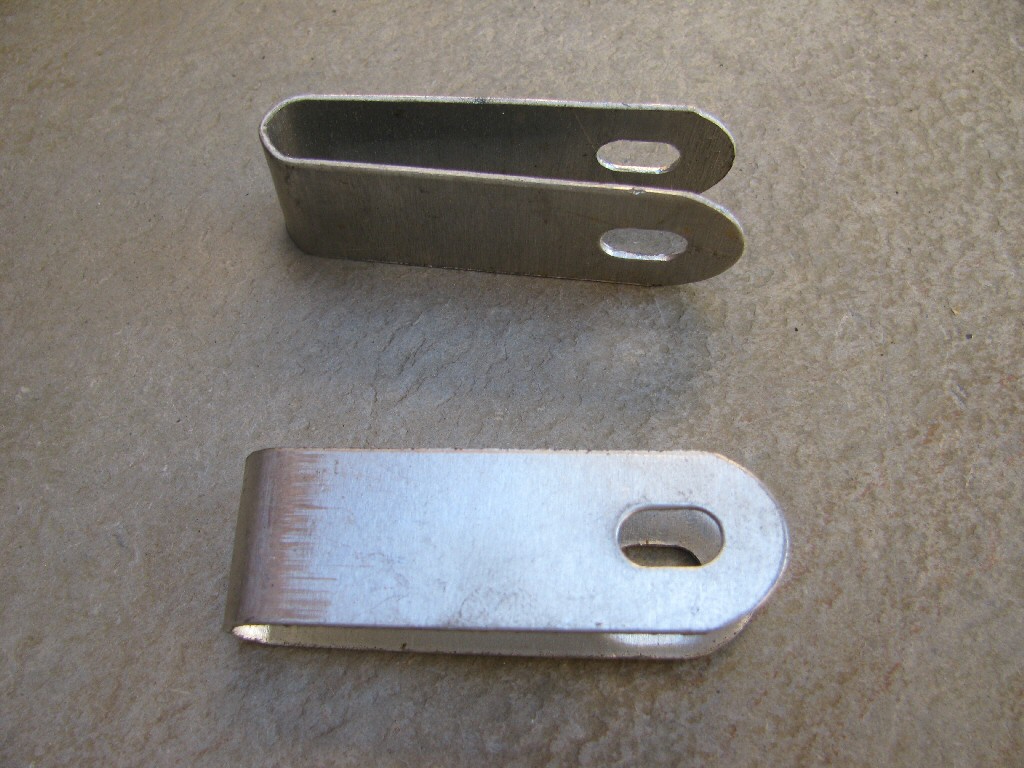
U
clamp (MG# 12578450)
My Dad sent me two of these. One U
clamp should go around the windshield and fairing on each side of the windshield. Download the fairing parts patterns if you would like to create these yourself.
Uclamp (MG# 12578450).
Photo courtesy of Gregory Bender.
Uclamp (MG# 12578450).
Photo courtesy of Gregory Bender.
Fairing to headlight connections
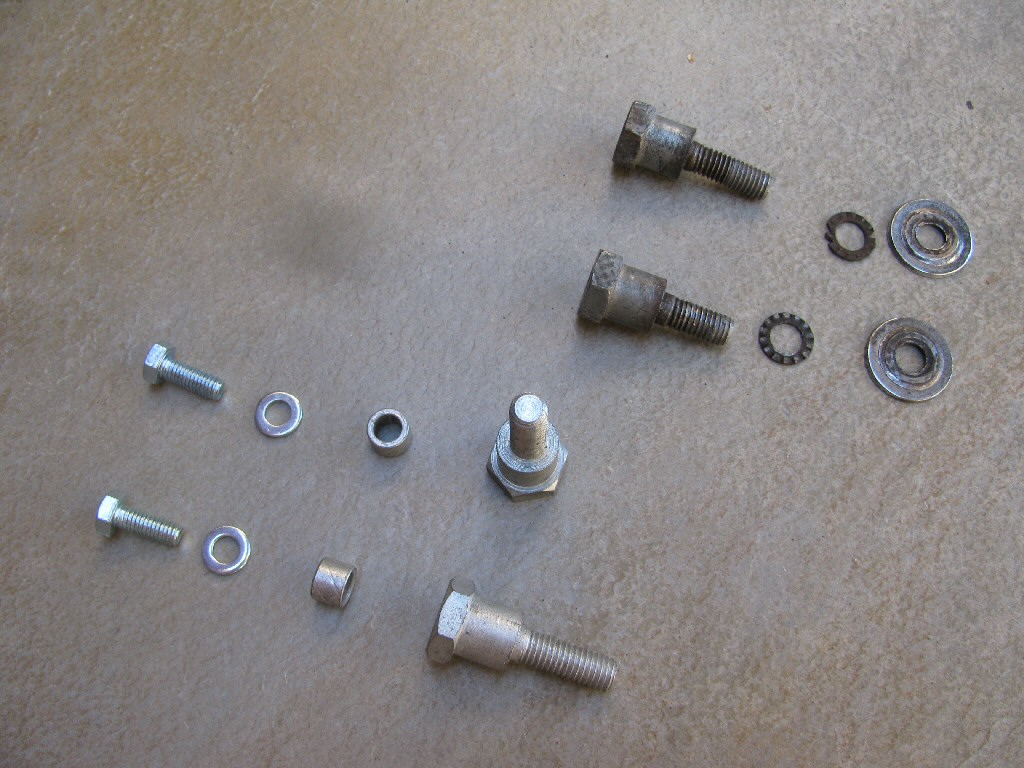
Photo courtesy of Gregory Bender.
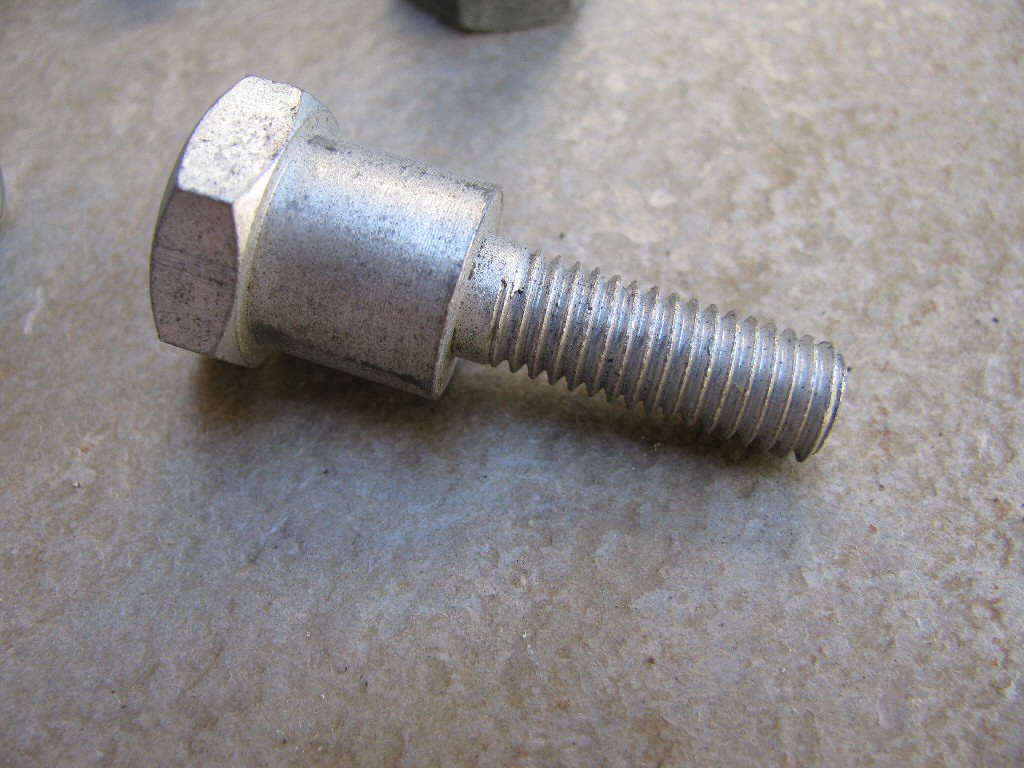
Photo courtesy of Gregory Bender.
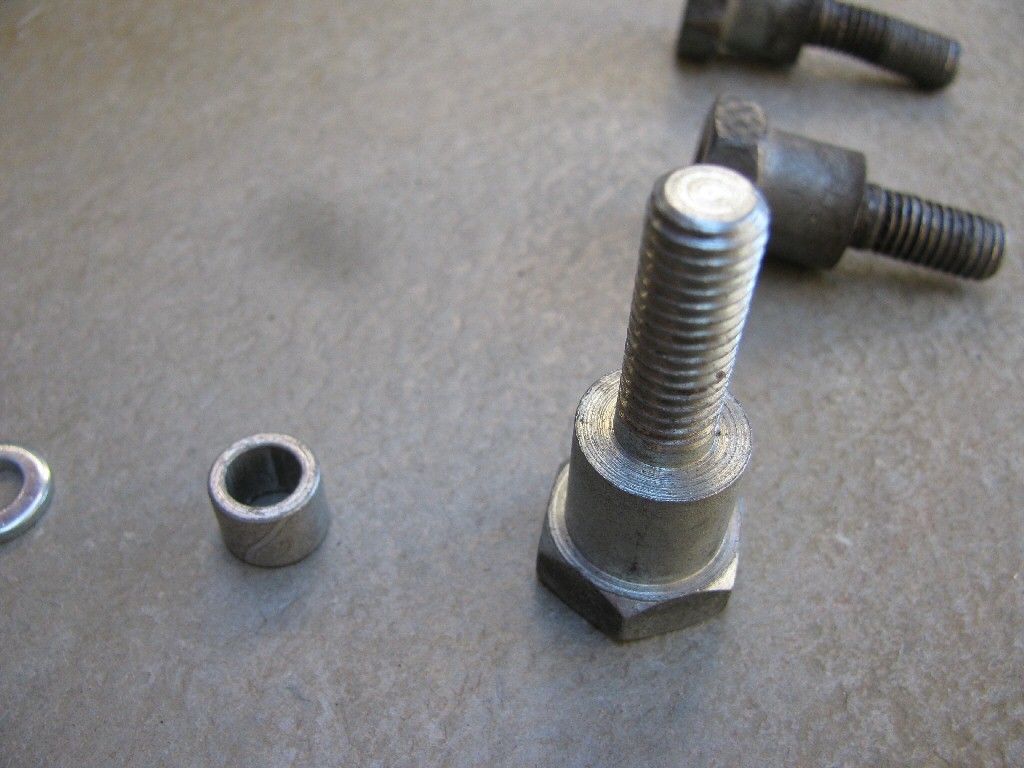
Photo courtesy of Gregory Bender.
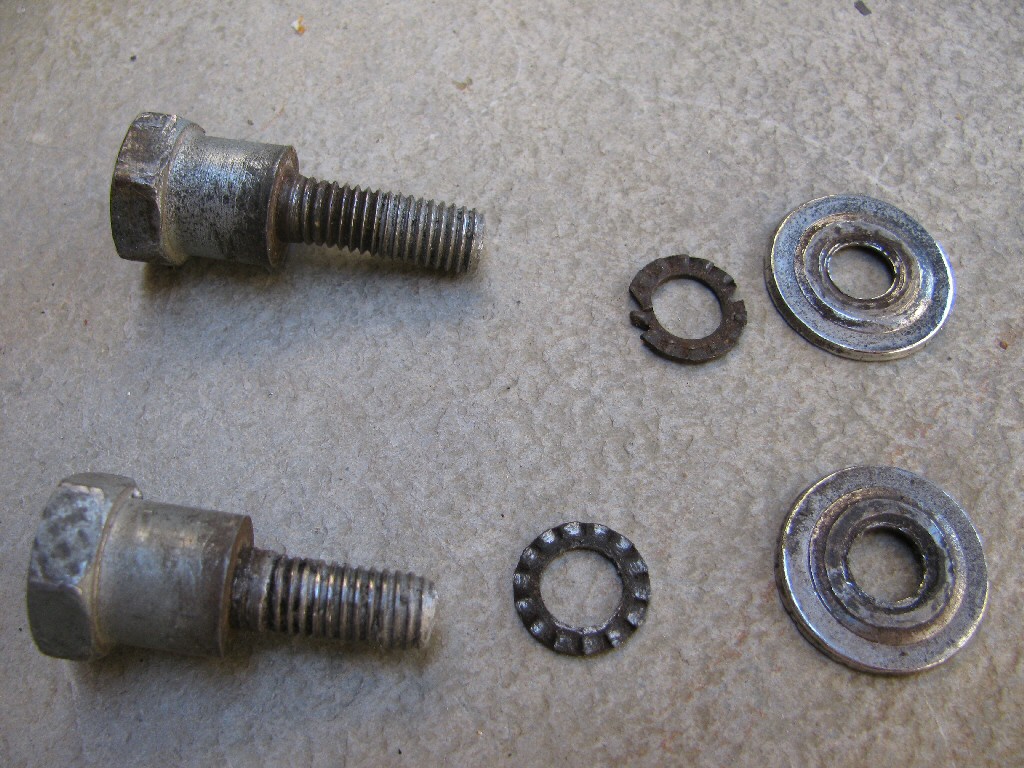
Photo courtesy of Gregory Bender.
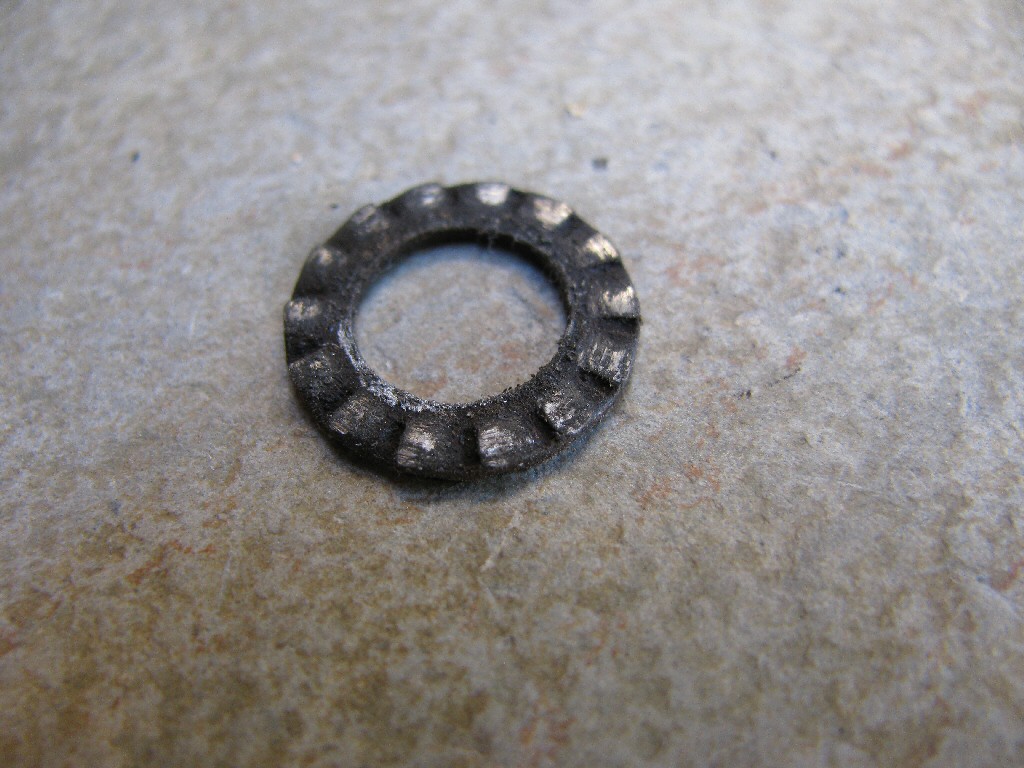
Photo courtesy of Gregory Bender.
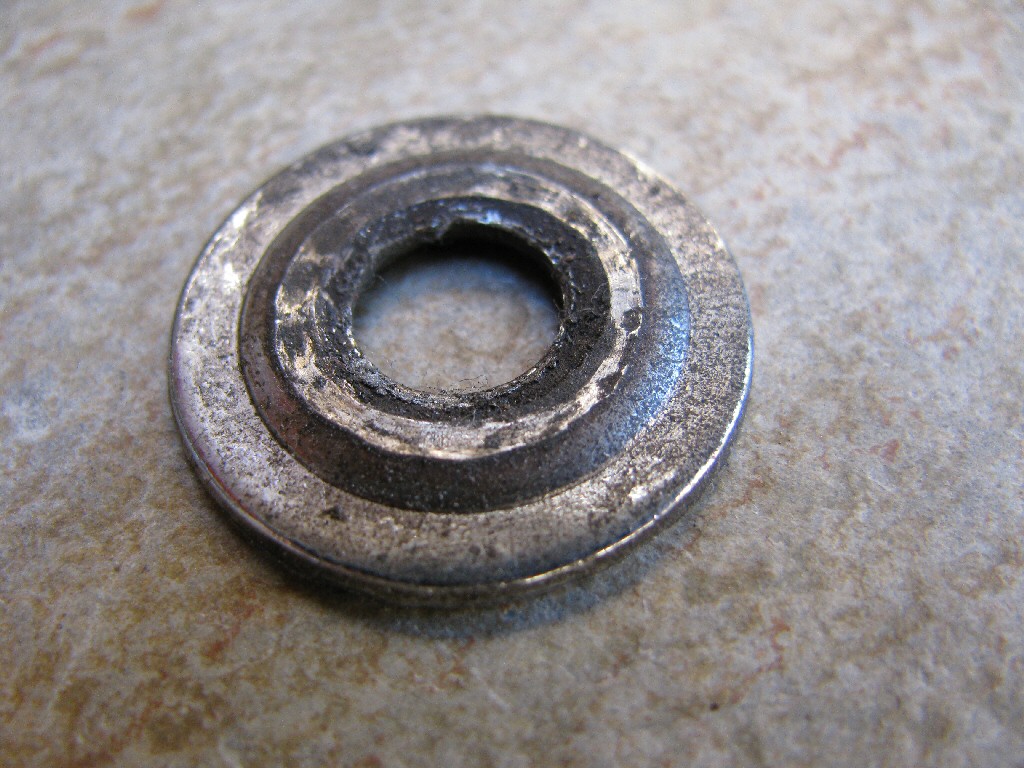
Photo courtesy of Gregory Bender.
Bolt (MG# 98054318)
I used 6 mm × 1 mm × 18 mm bolts.
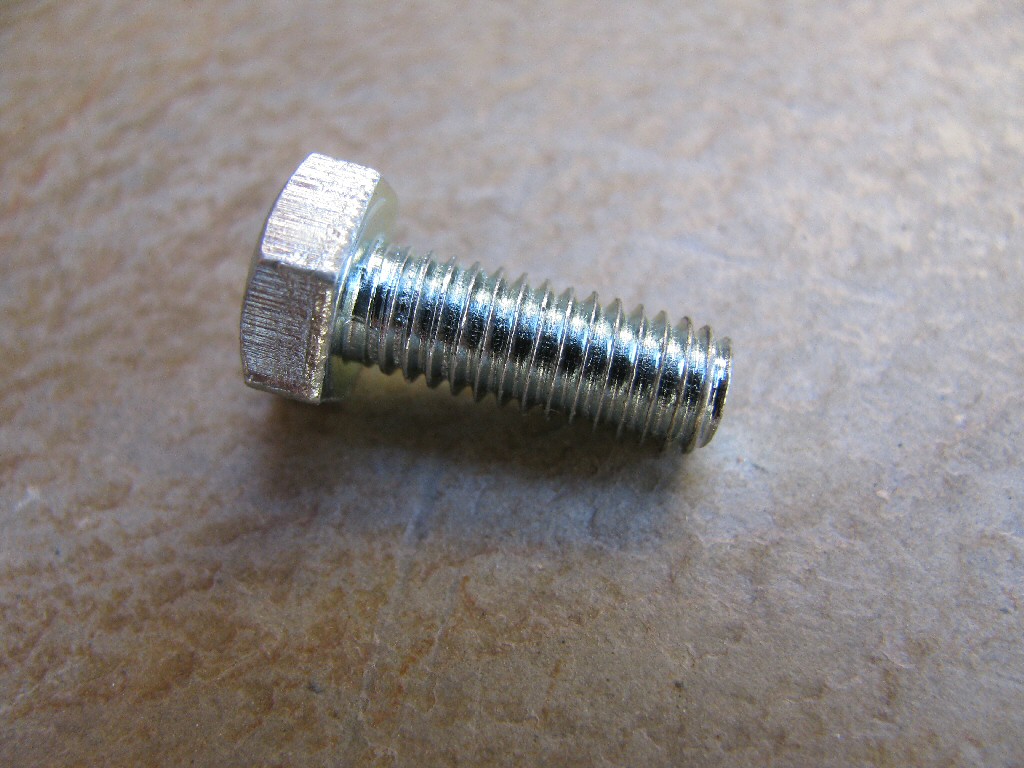
Photo courtesy of Gregory Bender.
Flat washer (MG# 95021106)
I used 6 mm flat washers.
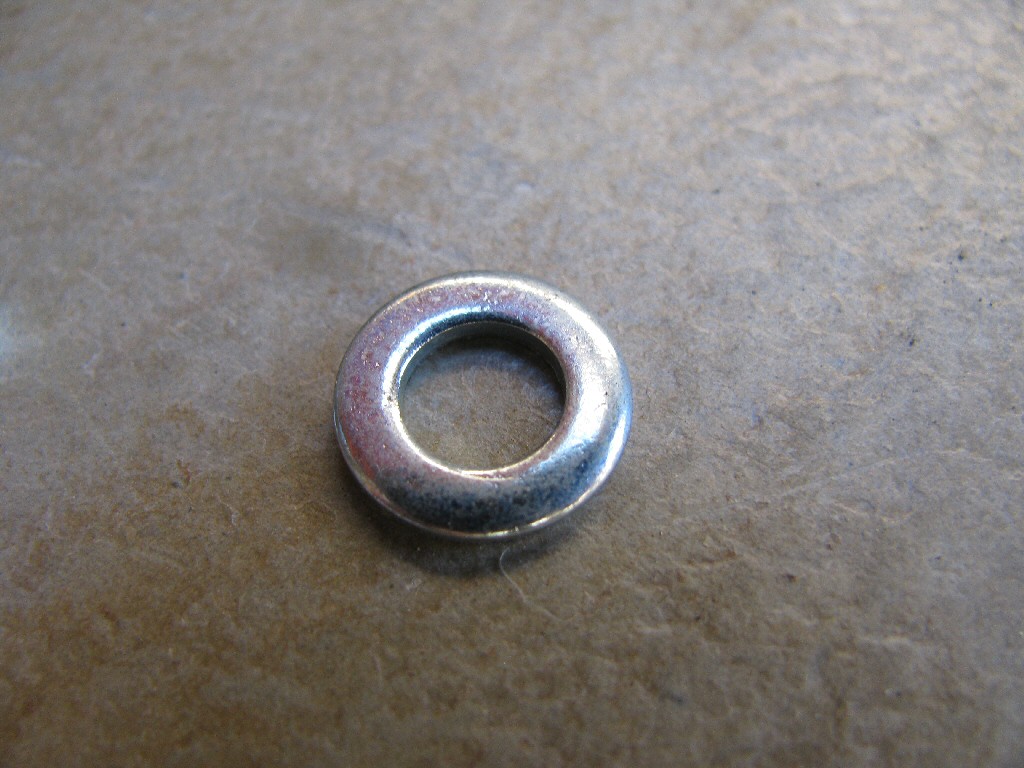
Photo courtesy of Gregory Bender.
Distance tube (MG# 91180707)
Neither my Dad nor I had one of these to evaluate. Not knowing the dimensions, I ordered four of them from a dealer (two for him and two for me). When I got them, I realized there is nothing special about them at all. Each is a 7.5 mm long tube that has an outside diameter of 10 mm and an inside diameter of 7 mm. A 6 mm bolt (MG# 98054318) fits through the tube and into the special bolt (MG# 12740740). The fairing itself is then free to rotate on the distance tube (MG# 91180707).
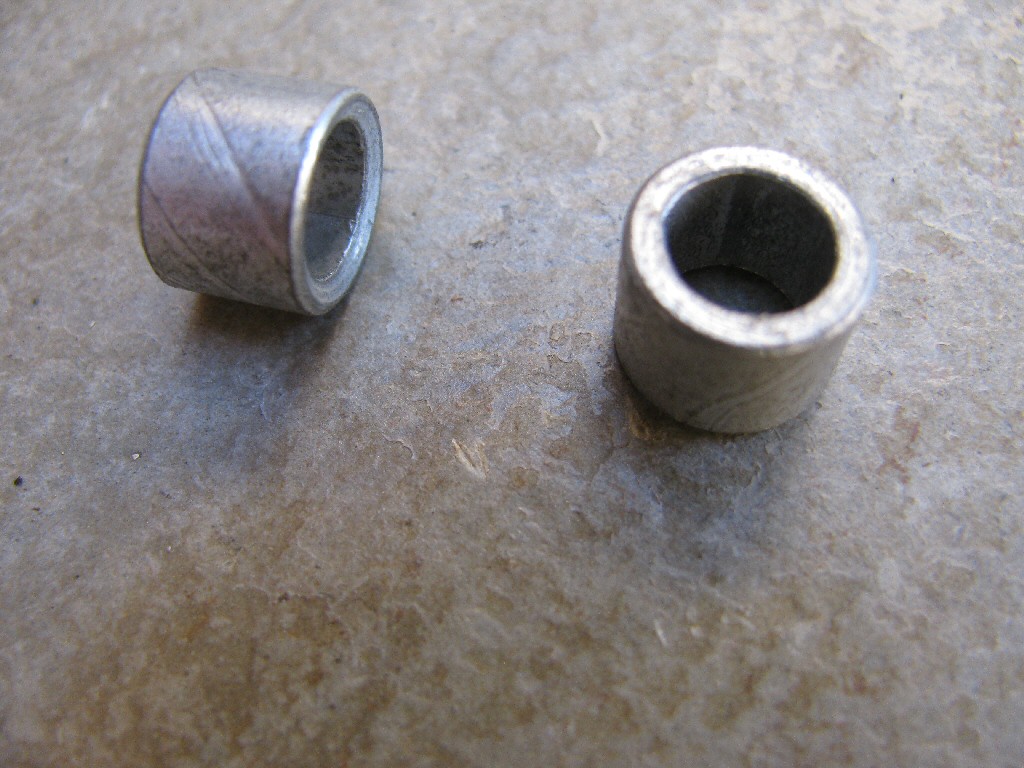
Photo courtesy of Gregory Bender.
Special bolt (MG# 12740740)
Although you may be able to find this special bolt, I chose to make the two I needed from a 1⁄2 inch stainless steel bolt. This took quite a bit of work on the grinder, and some slow going with the tap and die (stainless steel is much more difficult to work with). In the end, my bolts are as good as the originals. Download the pattern if you would like to create these yourself.
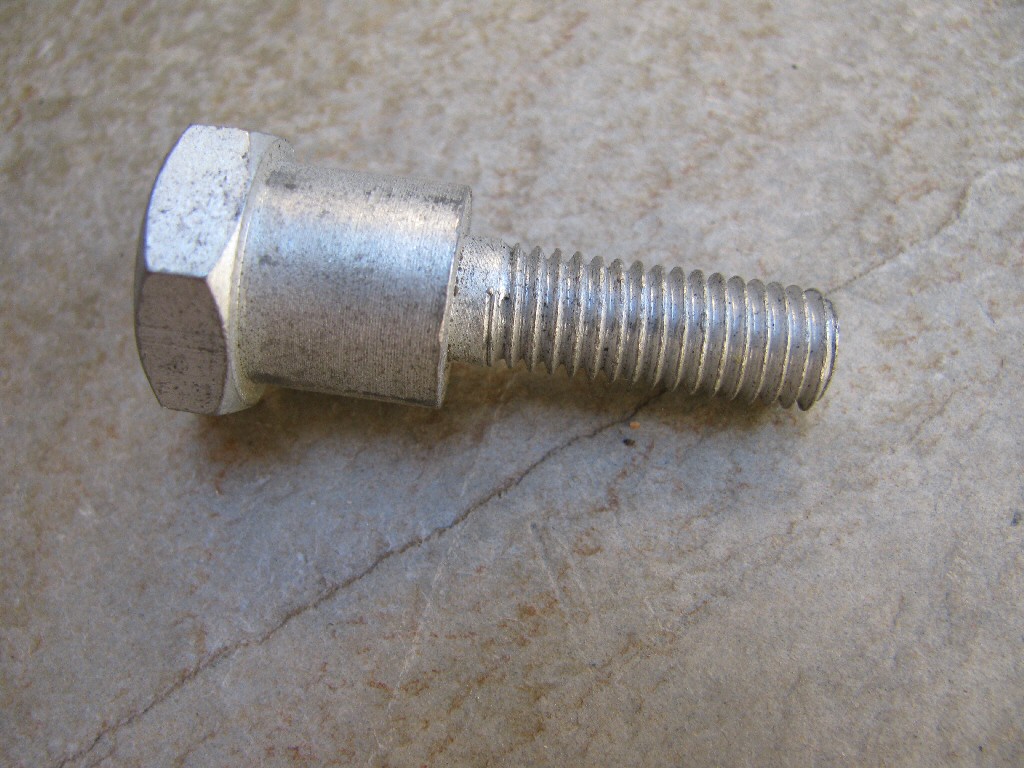
Photo courtesy of Gregory Bender.
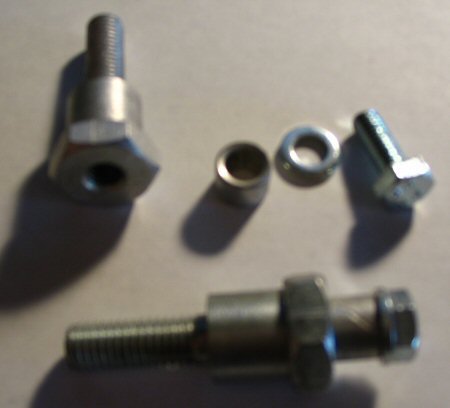
Photo courtesy of Gregory Bender.
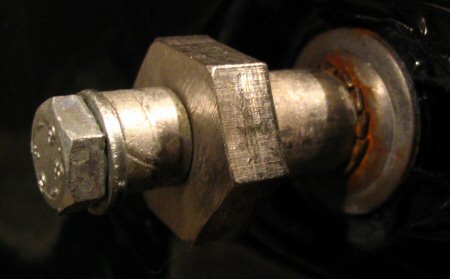
Photo courtesy of Gregory Bender.
Faring to U
bracket connections
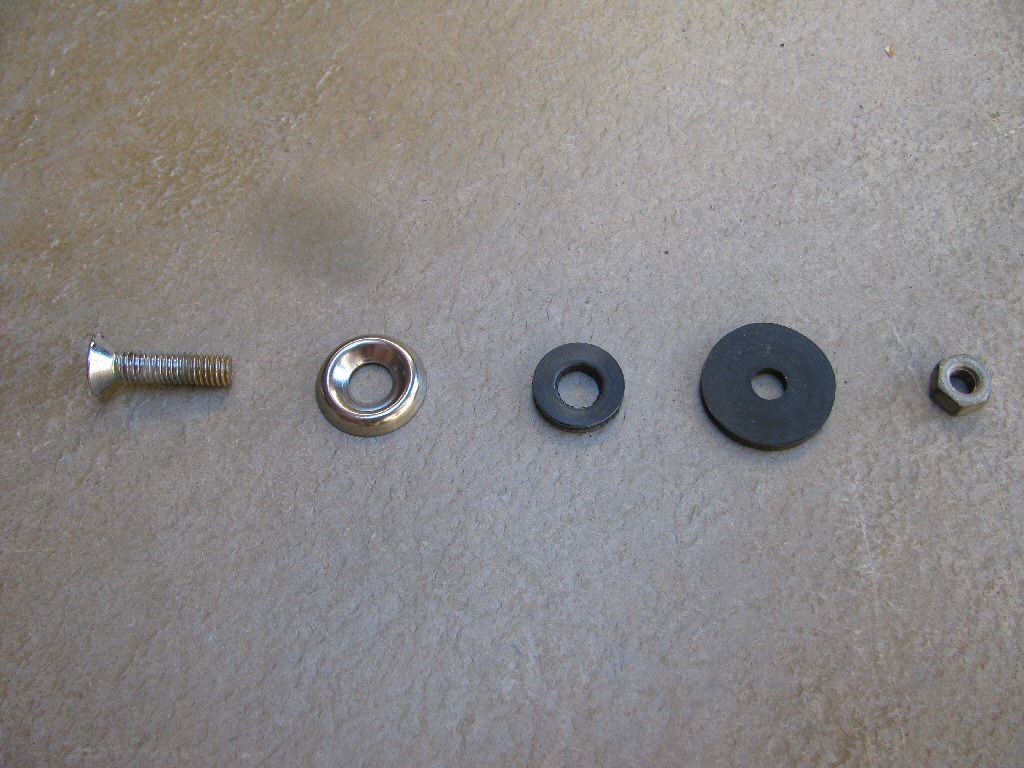
Photo courtesy of Gregory Bender.
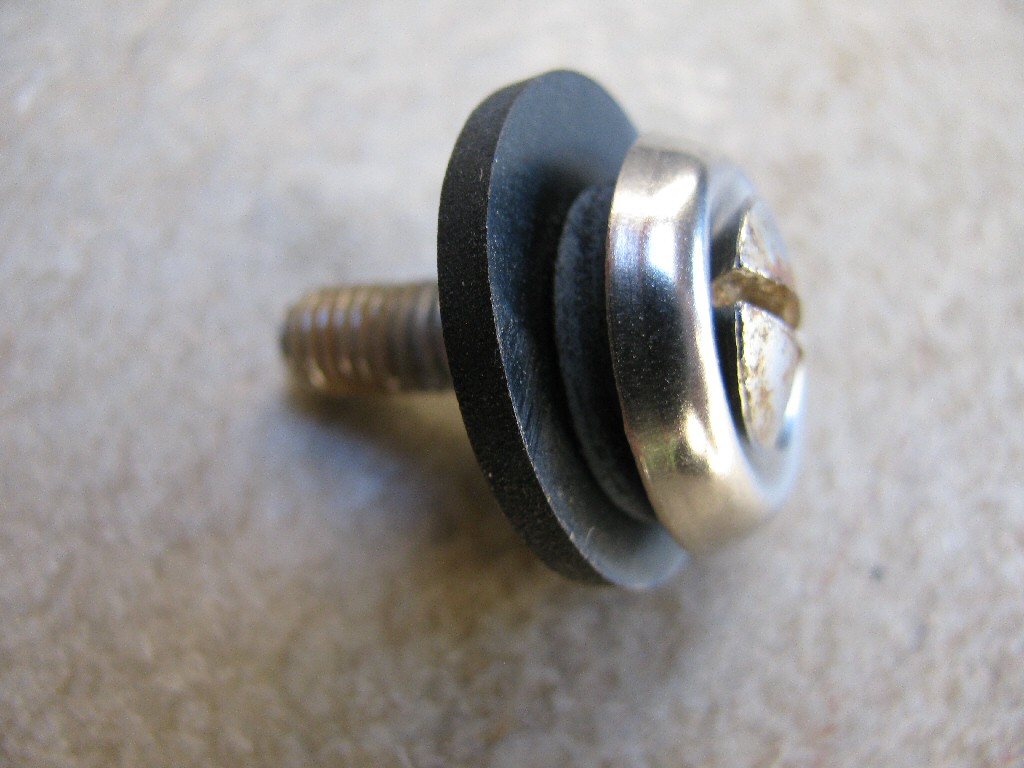
Photo courtesy of Gregory Bender.
Bolt (MG# 98260625)
These are 6 mm × 1.25 mm × 25 mm oval head machine screws. The oval head fits very nicely into the countersunk / finish / trim washer (MG# 12577840). You'll need 4 of these.
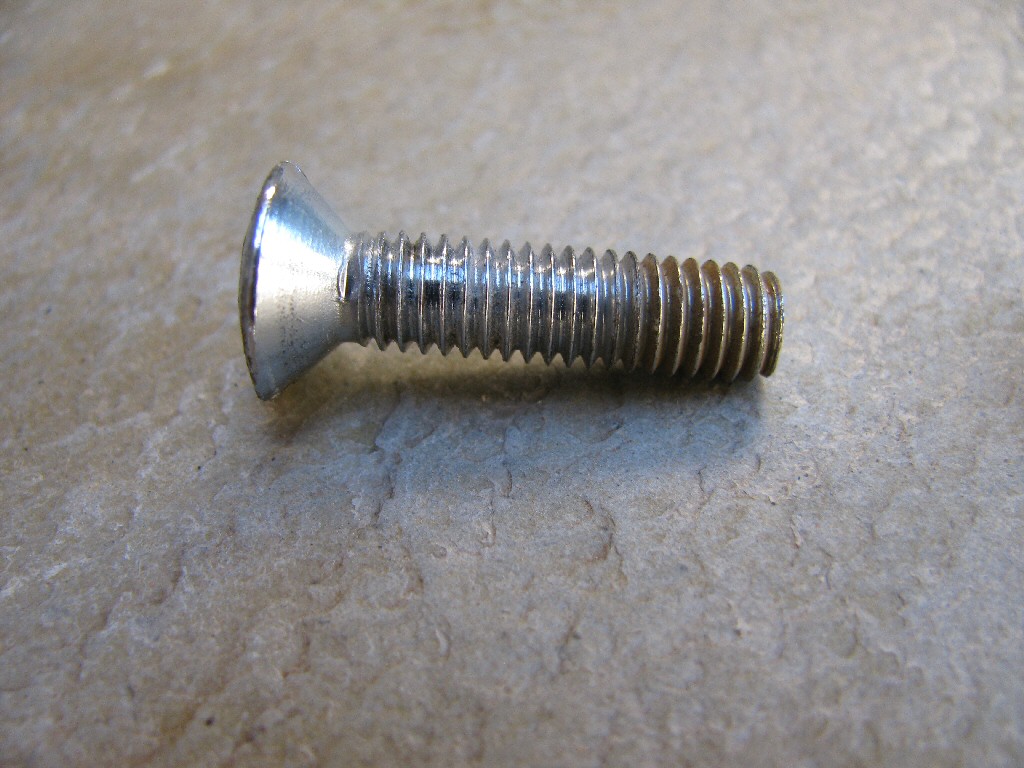
Photo courtesy of Gregory Bender.
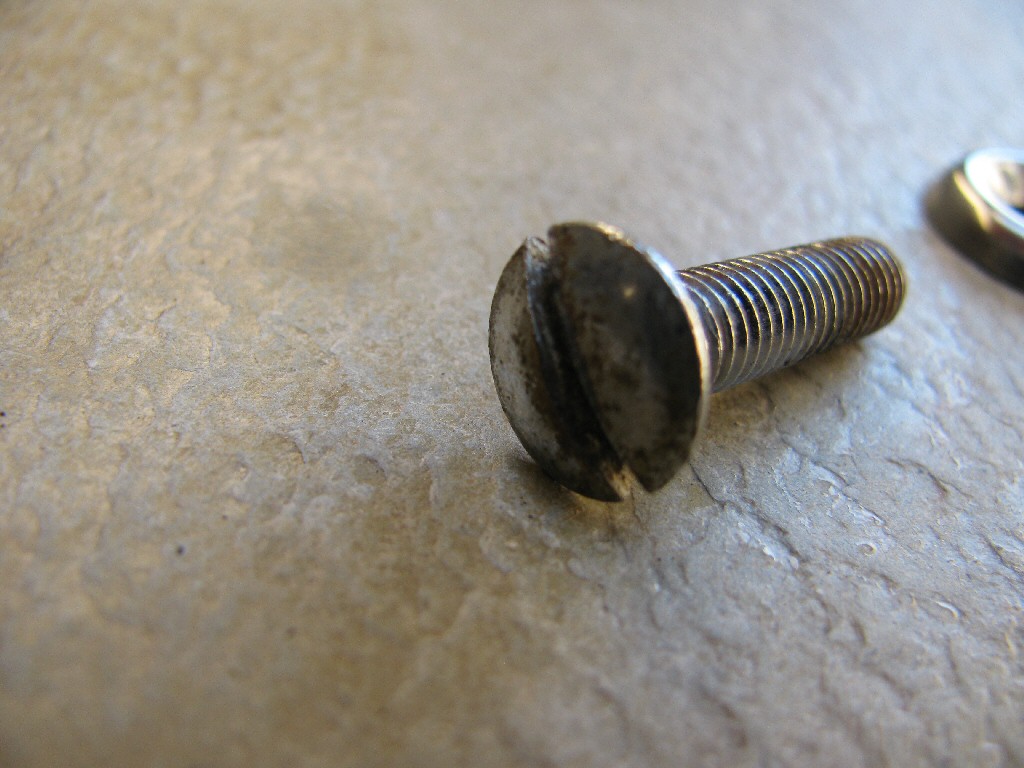
Photo courtesy of Gregory Bender.
Countersunk / finish / trim washer (MG# 12577840)
These have a 6 mm hole to fit the 6 mm bolts. You'll need 4 of these.
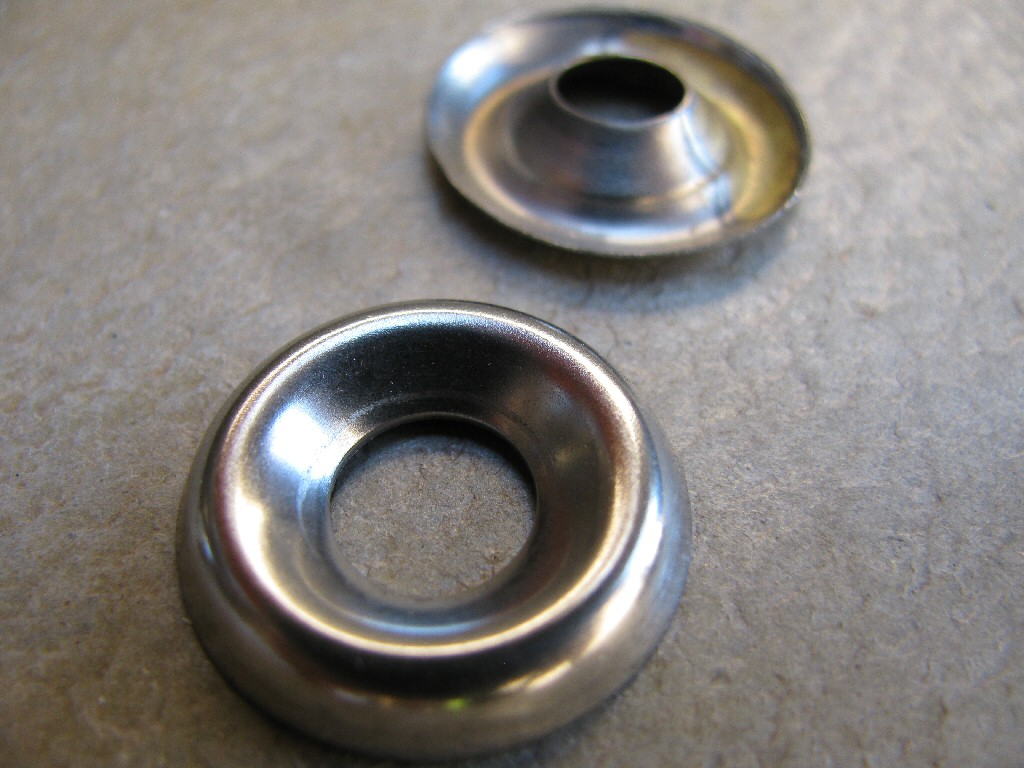
Photo courtesy of Gregory Bender.
Small rubber washer (MG# 45212400)
I created my own using 1⁄8 inch thick neoprene washers I found in the plumbing section of my local hardware store. I used my gasket punch set to size the washers properly. Size them to fit the inside of the countersunk washer properly. The real purpose of this washer is to prevent the finish / trim washer (MG# 12577840) from cutting through the large rubber washer (MG# 93110060).
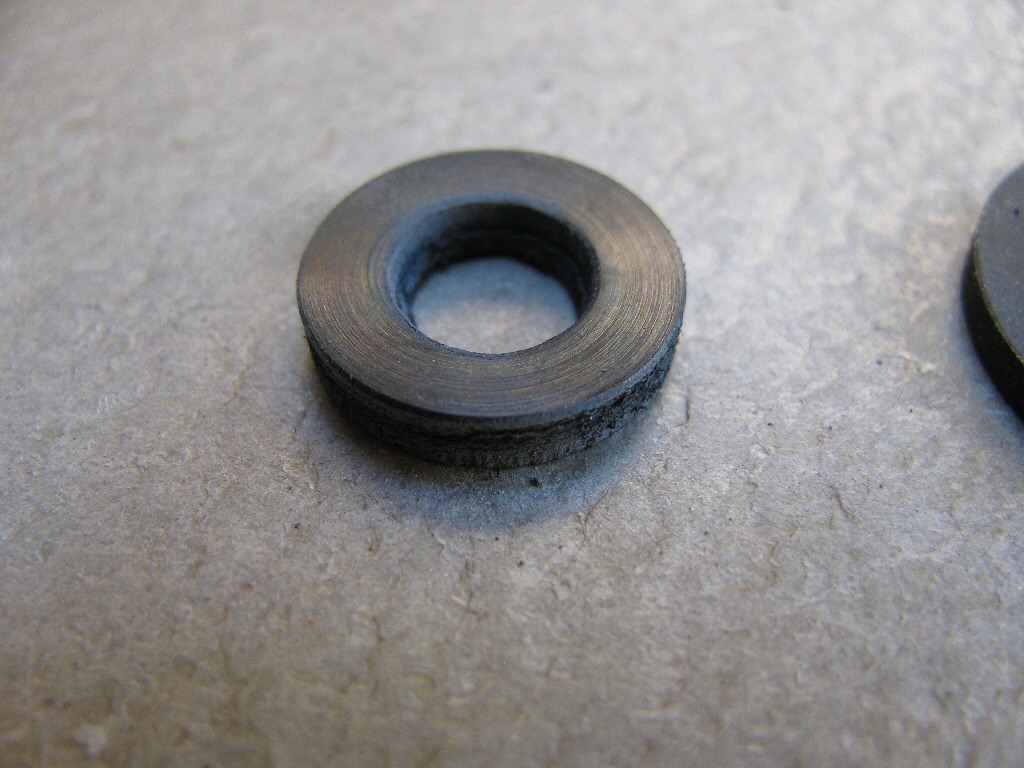
Photo courtesy of Gregory Bender.
Large rubber washer (MG# 93110060)
I created my own using a 3⁄32 inch sheet of neoprene I found in the plumbing section of my local hardware store. Size them so that they are a bit bigger than the countersunk washer.

Photo courtesy of Gregory Bender.
Flat washer (MG# 95021106)
I used 6 mm flat washers.
Photo courtesy of Gregory Bender.
Nut (MG# 92602206)
Originally I believe these were standard 6 mm × 1 mm nuts. I prefer 6 mm × 1 mm nylon insert lock nuts.
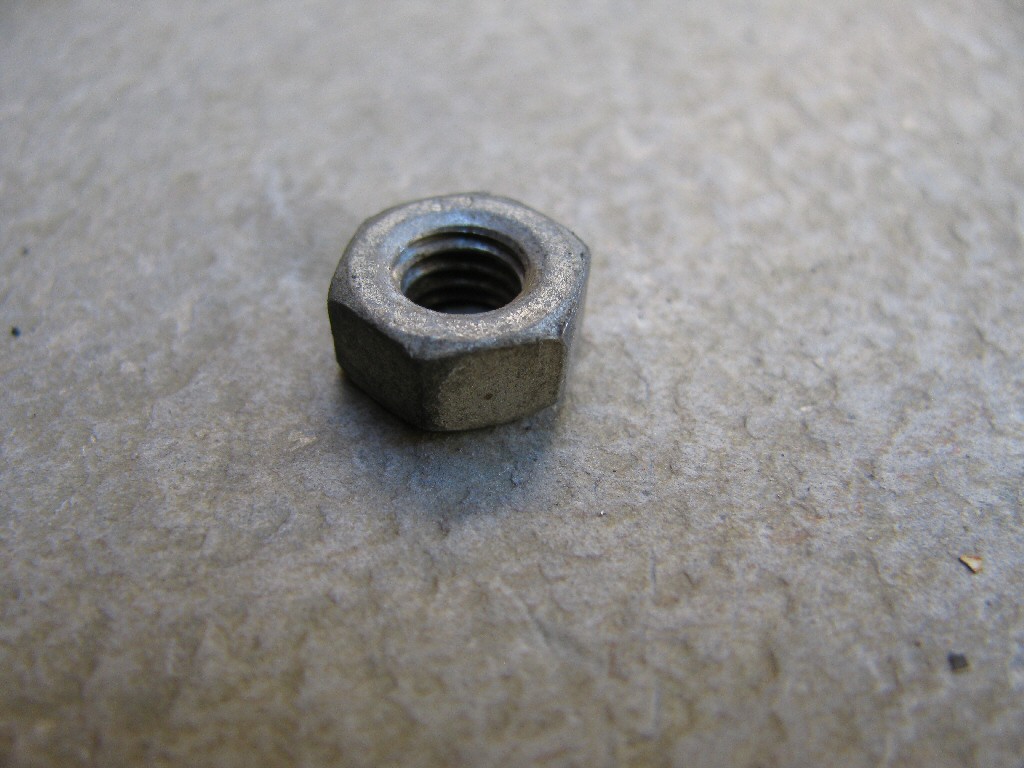
Photo courtesy of Gregory Bender.
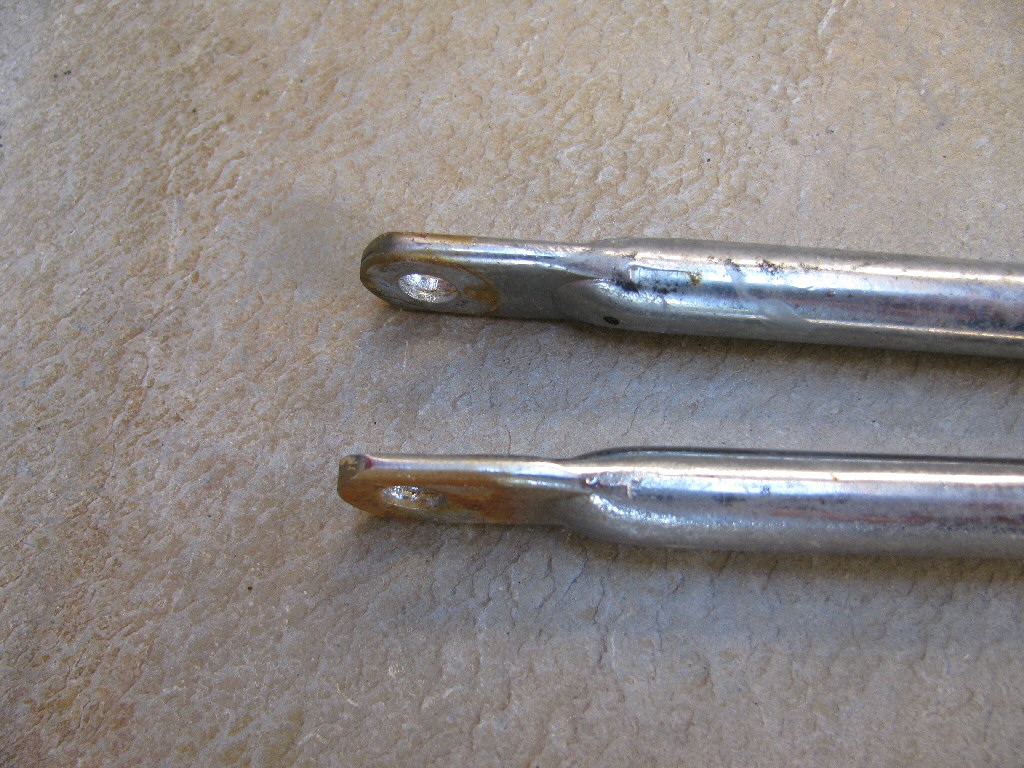
U
bracket to V
bracket connections
Bolt (MG# 98054316)
I used 6 mm × 1 mm × 16 mm bolts.
Washer (MG# 95021106)
I used 6 mm flat washers.
Photo courtesy of Gregory Bender.
Nut (MG# 92602406)
Originally I believe these were standard 6 mm × 1 mm nuts. I prefer 6 mm × 1 mm nylon insert lock nuts.
Photo courtesy of Gregory Bender.
V
bracket to handlebar connections
Bolt (MG# 98054318)
I used 6 mm × 1 mm × 18 mm bolts.
Lock washer (MG# 95021106)
I used 6 mm lock washers.
Flat washer
I also chose to use 6 mm flat washers between the lock washers and the V
brackets.
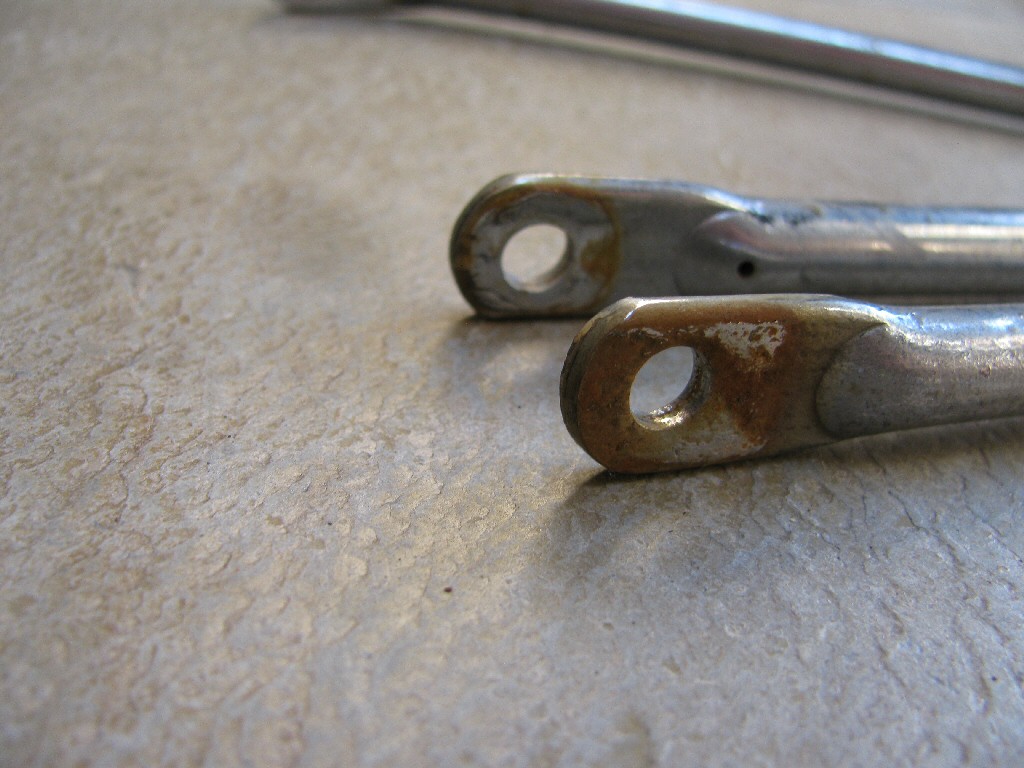
U
and V
brackets mounted
These photos ought to give you a good idea about how to mount the U
and V
brackets. Please note that I have placed spacers between the handlebar risers and the V
brackets. This is not original, but rather a modification to move the fairing just a bit more upright. I recommend trying the stock configuration first.
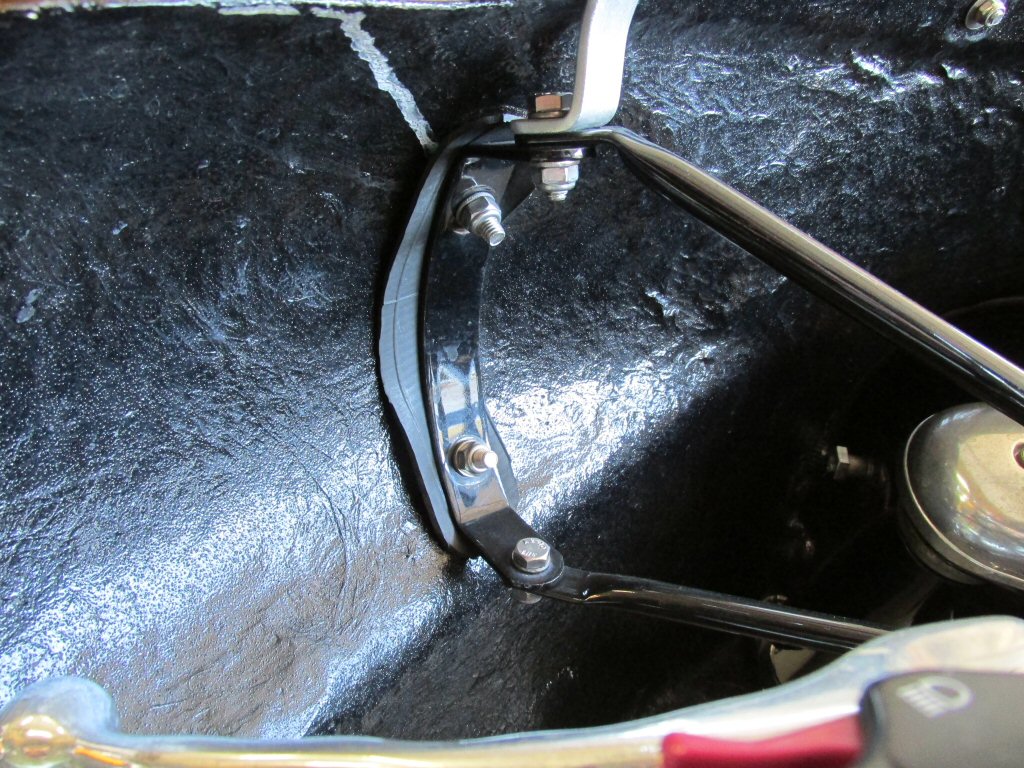
Ubracket mounted to fairing.
Photo courtesy of Gregory Bender.
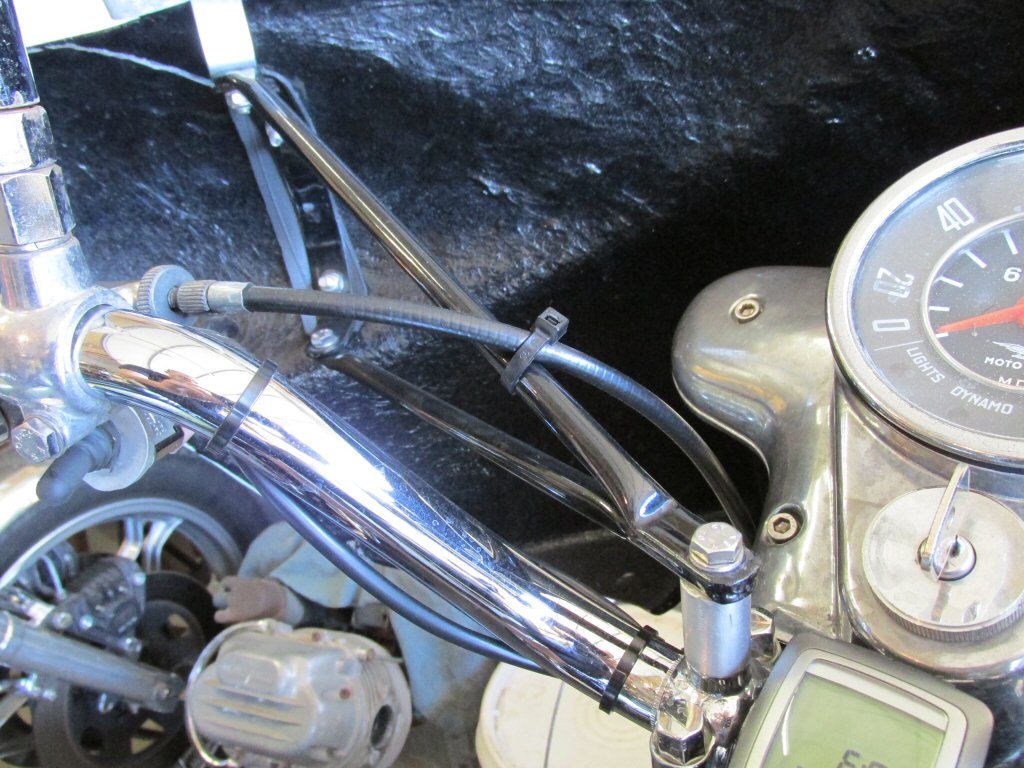
Vbracket mounted to
Ubracket and handlebar riser.
Photo courtesy of Gregory Bender.
Uand
Vbrackets mounted.
Photo courtesy of Gregory Bender.
Alternative brackets
Thanks to Howard Gilbert for sending me these photos of his bracketry: a practical alternative to the original brackets.
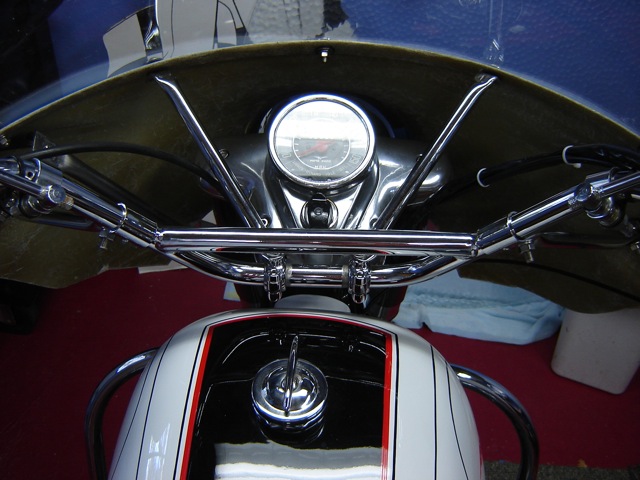
Photo courtesy of Howard Gilbert.
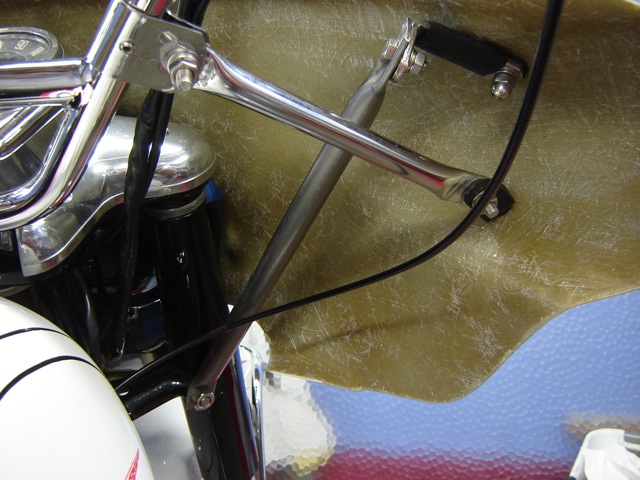
Photo courtesy of Howard Gilbert.
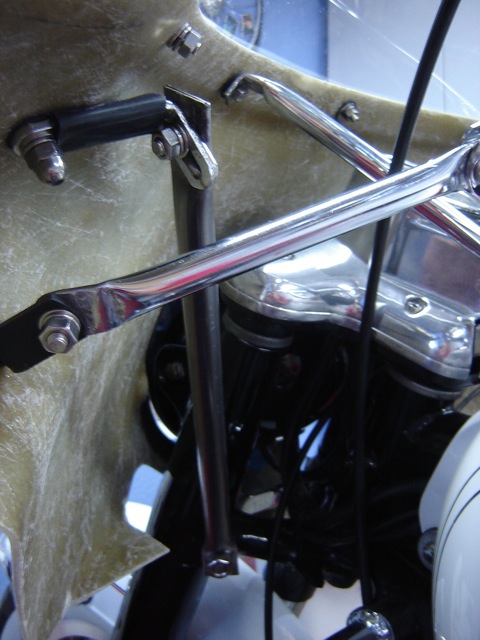
Photo courtesy of Howard Gilbert.