2007 September 10: :
Created:
Updated:
First entry|Previous entry|Next entry|Last entry
Decided the fit wasn't so tight that removing material with the rasp again would be necessary. Mounted a spare left front fork assembly up in the vise and inserted an axle.
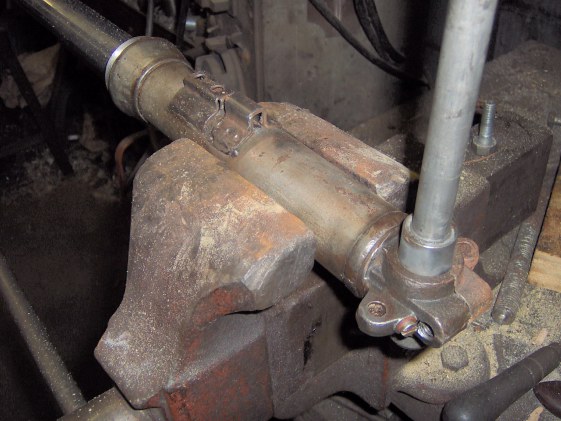
Photo courtesy of Charlie Mullendore of Antietam Classic Cycle.
Then slipped the backing plate assembly down over the axle. Finally the wheel was lowered down onto the brake assembly and turned slowly until the wheel was seated completely against the axle and the sandpaper had removed enough material that the wheel turned freely.
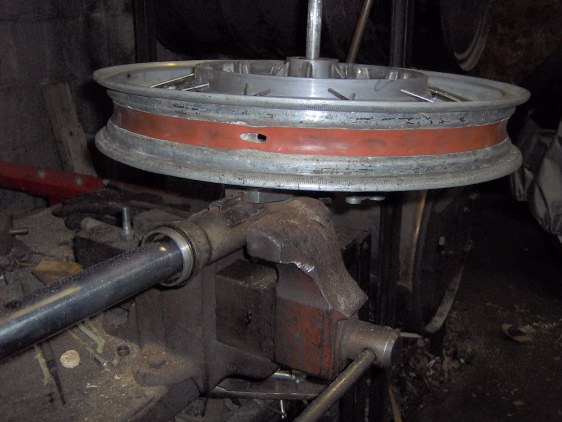
Photo courtesy of Charlie Mullendore of Antietam Classic Cycle.
Removed the wheel, made several marks with a pencil across the brake shoes, then put the wheel back on. Turning the wheel with one hand, I moved the brake arms (independently - no link rod between them) with the other. After a few revolutions, I removed the wheel to see if the pencil marks were gone. Once satisfied that the complete shoe had been in contact, I removed the wheel and backing plate to clean them off.
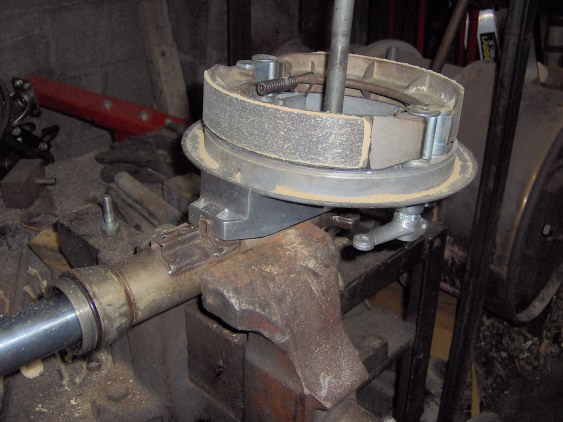
Photo courtesy of Charlie Mullendore of Antietam Classic Cycle.
Next thing on the list was to check the wheel bearing clearance. Removed the seals and slipped an axle in, with two wheel bearing central spacers and a washer to fill in the extra axle length. Tightened the nut and found that the bearings were too tight. I had written needs shims
on the wheel at some point in time (likely just after I borrowed
it's shims for another project) and had bought a packet of twenty-five 0.1 mm thick shims from McMaster-Carr to replace those I'd taken. The approx. 3 mm thick shim was still there and after about eight tries I found that eighteen of the thin ones (1.8mm) in addition was ideal.
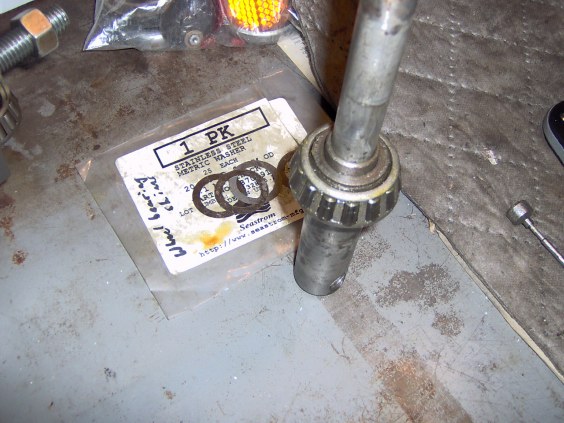
Photo courtesy of Charlie Mullendore of Antietam Classic Cycle.