2007 December 01: - :
Created:
Updated:
First entry|Previous entry|Next entry|Last entry
I'm having trouble remembering what I did when now. The last week has been a bit of a blur as I'm trying to get as much done as possible before my bro returns Monday. Wired up the generator and installed the cover(s) - plural because I sliced the new plastic cover down the center as Mark at Moto Guzzi Classic suggests. Definitely helped make installation easier and will hopefully keep it from cracking too.
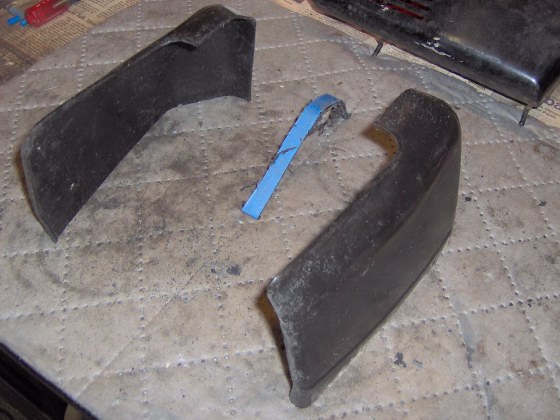
Photo courtesy of Charlie Mullendore of Antietam Classic Cycle.
Once the breather box was welded shut and painted, the new ball check valve, hoses and it were installed.
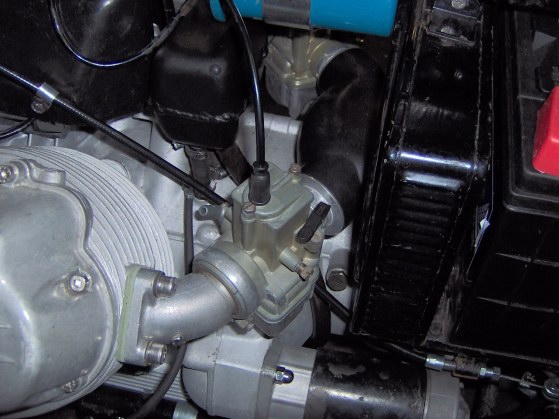
Photo courtesy of Charlie Mullendore of Antietam Classic Cycle.
Continued wiring - fabricated a small bracket to mount a Mercedes-Benz auxiliary fuse block. The direct power wire for the headlight will run through it. Fished the orange wire for that circuit and two black wires for the front brake light switch up through the original harness for less clutter. Instead of running four wires down to the rear brake light switch and then having to stuff them into the tiny terminals of the switch, I used a European-style junction block to tie them together and then route two wires down. I also used the junction to join the taillight wires which will make it easier to remove the rear fender if needed.
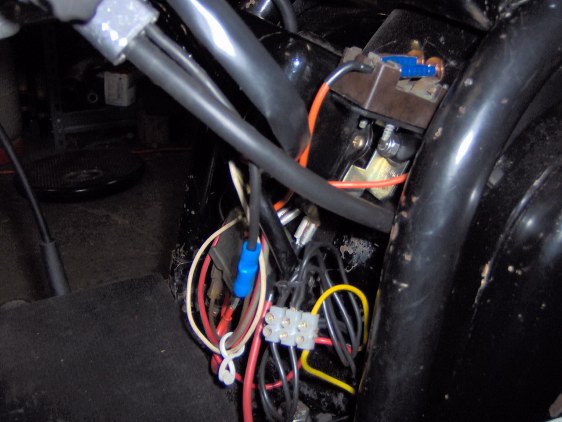
Photo courtesy of Charlie Mullendore of Antietam Classic Cycle.
Tidied up a few wires and them slipped the battery into position (again) to check how everything fits. That's one tall battery, so I removed about 1⁄8 inch from the top of the posts and covered the positive terminal so that it wouldn't accidentally contact the battery cover.

Photo courtesy of Charlie Mullendore of Antietam Classic Cycle.
On to the headlight relays - I wasn't happy with the fuse block and terminal board installed earlier. Some of the fuses and connections were rather loose due to both getting hot and melting a bit in the past. Dug new-old-stock replacements out of my stash and redid all of the wiring in the headlight bucket. While it was empty seemed like the best time to install the cube relays for the headlight high and low beams. Wiring was simple as was mounting - I've been using the longer headlight bolts and nuts to secure them in the past and did the same again.
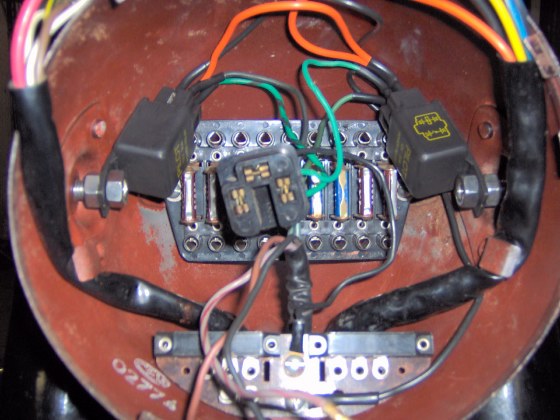
Photo courtesy of Charlie Mullendore of Antietam Classic Cycle.
Reconnected all of the other wires, routing them carefully to achieve maximum room between the headlight plug (which I slipped a piece of heat-shrink tubing over) and the fuse block and to minimize the chance of them getting pinched and short circuiting. Wiring is finally done! :-)
The list grows shorter (grips; clean the tank, install new mounting rubbers, petcocks, fuel hoses and filters; install the seat, J-B WELD one bottom tab of the left side cover and polish/wax it out; fill what fluids I haven't already; then double check everything before first fire
). I had hoped to get a few miles on it before the first snow/ice/etc. fell, but the forecast looks pretty grim as I write this. If there's salt on the road, test rides will have to wait. Don't want to have to give my freshly reassembled bike a bath (or risk corrosion) after it's first test hop. Bummer.