2013 February 11: Remove broken petcock from tank (0.75 hours)
When I started this project, I noted that there were no petcocks in the gas tank. In fact, the remains of one broken-off petcock remained. Tonight after work I used progressively larger drill bits until I had gotten most of the petcock removed. A few light taps with a small punch and I had knocked the remainder inside the tank. I chased the threads with my 12 mm × 1 mm tap and test fit a pair of petcocks. All is well and I am thrilled that I will not need to repair the threaded bungs (or make due with NPT threaded plugs - which I dislike).
With that accomplished, I needed to remove all of the material that had fallen inside the tank when I drilled out the old petcock. The pecocks have brass bodies and brass is not attracted by magnets. Shaking it out of the filler tube neck is a ridiculous proposition. So, I shook all the material into one side of the tank and then vacuumed it out with my shop vac. Of course, my shop vac does not have an attachment small enough nor long enough to reach down from the filler neck into the bottom of the tank. So, I grabbed a length of PVC pipe that would fit from the filler neck down to the bottom of one side of the tank. I secured the PVC pipe to an attachment on my shop vac with electrical tape such that it would not leak. This worked like a charm and easily sucked out all of the little pieces and larger chunks.
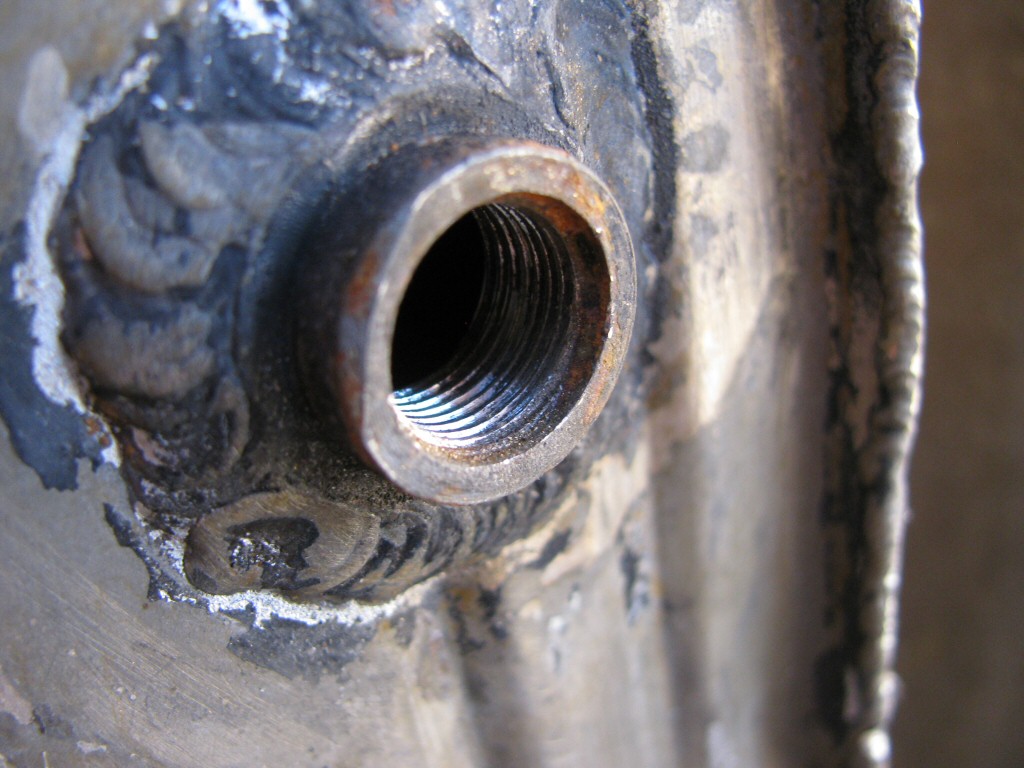
Photo courtesy of Gregory Bender.
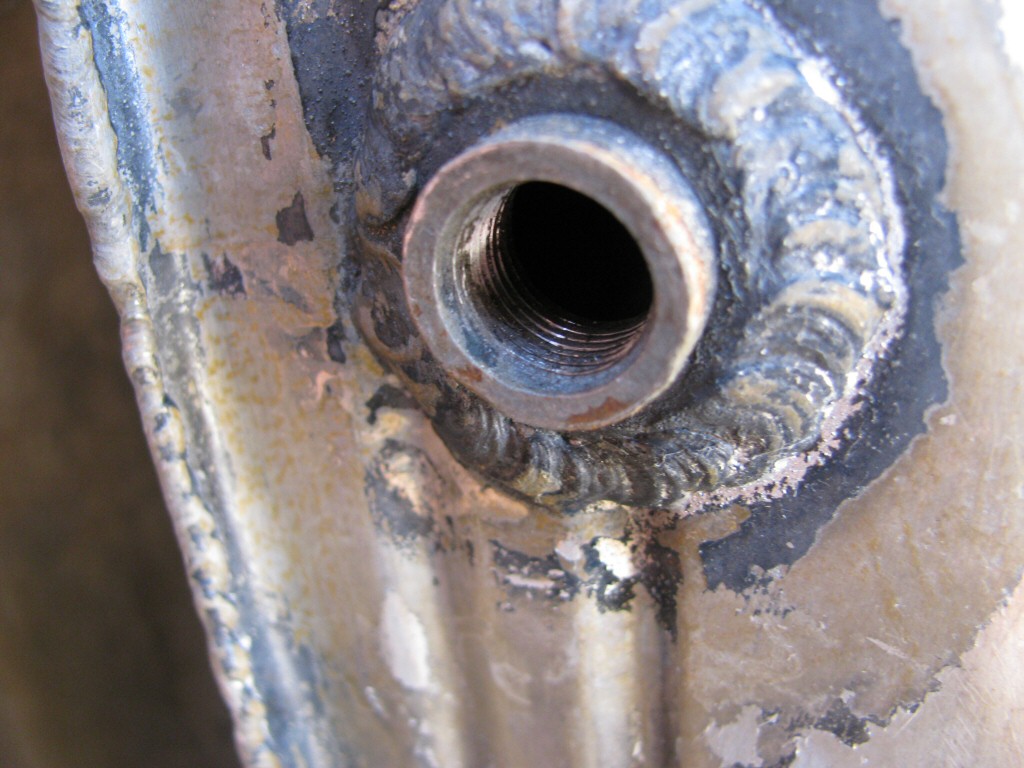
Photo courtesy of Gregory Bender.